WiseMonitors: Cameras and Monitors
This tutorial was originally created by wisemx. It was originally posted on SDKnuts.net.
Introduction
Placing monitors and cameras in your map is fairly simple.
Important things you may already know:
- Only one camera can be active at one time, regardless of how many monitors there are.
- The camera can see what you see thus there is no player model. Gordon will not show and in Multiplayer games you will not show. (To yourself)
- The camera and monitor can be parented. They can move with other entities.
Creation
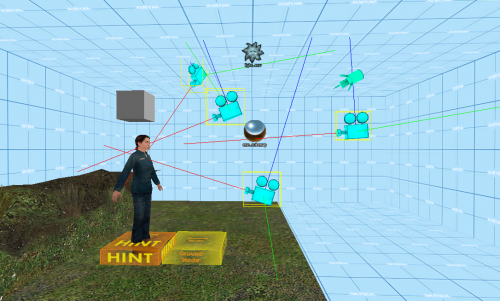
To place a camera in your map use the Entity tool and create a point_camera. You do not have to name the monitor; instead you will later specify the camera name for your Monitors, which can be switched to another camera at any time.
In the properties for the point_camera you can alter the FOV, Field of View. Typically numbers between 20-65 are best. Player FOV in HL2 is 75, Suit Zoom is 25 and Crossbow is 20. Always name your point_camera, you will not be able to address it without a name. The point_camera only has one flag, Start Off. Your cameras can be SetOn and SetOff with inputs. When using multiple cameras you can also target them with SetOnAndTurnOthersOff. The FOV for each camera can be changed with ChangeFOV.
In this project I’m using a func_button the player will press to switch between the 4 cameras. The events are:
- Player presses invisible
func_buttonon one of the monitors. - Command is sent to a math_counter to
Add 1. - The
math_countersends a value to a logic_case. - The
logic_casehas 4 case values, depending on how many times the player has pressed thefunc_button1 of 4 cases sends a command to one of four logic_relays. - The correct
logic_relaysends a command to the monitor:
| My Output | Target Entity | Target Input | Parameter | Delay | Only Once | |
|---|---|---|---|---|---|---|
| OnTrigger | monitor_1 | SetCamera | camera_1 | 0.00 | No |
All of the monitors in this project are named monitor_1, so they will all change together. That same command above could be sent from any button or trigger, etc. The advantage of using the system above is the nice effect of cycling through the 4 cameras. In addition to the camera action the button and relays are also changing the appearance of the sprites, which are a nice touch borrowed from HL2.
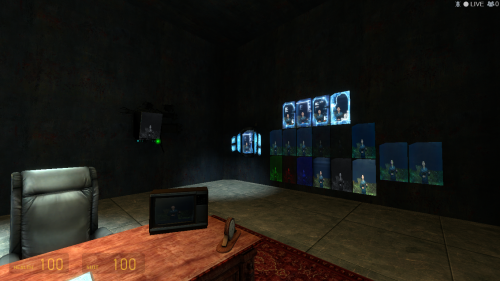
In the image below you can see monitors, func_monitor entities, created on the wall, inside of props and parented to a prop that can be moved.
In the top row are the 4 dev prison TV overlays, behind each of these func_monitor entities is bottom layer func_monitor textured with dev_tvmonitor1a.
There are 12 dev materials you can use for your monitors, you can create your own too. Also illustrated are overlays used with one of the dev monitor materials. (Shown on the top level.) The two monitors to the right are each created with three func_monitor entities. The one of the left has the three func_monitors layered. On the right they’re overlapping each other. The reason for this is three of the dev monitor materials are red blue and green. Used by themselves the monitor will be a single color. The layered and overlapping brushes show how you can create both a clear color image and a distorted color image.
When you create your func_monitor only the face needs to be textured with one of the dev monitor materials, the sides and back can be done with nodraw or a material. You can apply the Dev monitor material to the entire brush but if you do the images from the camera will be on each face. On the monitors placed on the wall I’ve used the tools material tools\toolsblack. If you use nodraw on the back of these monitors the wall behind them will show thru. Another thing to consider is the using the Fit button when applying the dev monitor materials to the face of your func_monitor. If you don’t fit the material to the face of your custom brush it will look odd. To do this select the textured face with the Face Edit Dialog open and click the F (Fit) button. The dev monitor material you are using will be properly sized to your brush.
CS:S doesn't have point_camera and func_monitor in the fgd but the engine code is still there. There may be custom FGDs online to add it back.

