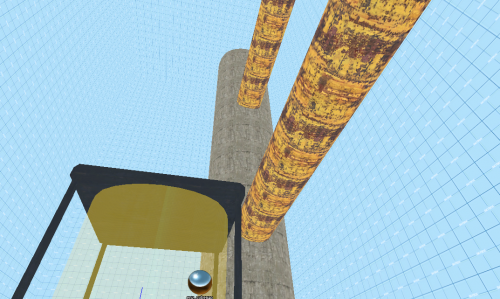
WiseColumns:Columns with Displacements
This tutorial was originally created by wisemx. It was originally posted on SDKnuts.net.

Quick explanation
- Create three cubes with the texture you will be using on the columns.
- Place the cubes end to end like blocks.
- Select all of the outside faces and create displacements with the power of 3. Do not select the end faces, only select the 4 sides of each of the three cubes.
- Click the Subdivide button.
- Delete the two end cubes, they are no longer needed.
- Stretch the remaining cube to the height/length required.
In the image above all of the displacements were stretched to size. The same method is used for vertical or horizontal columns.
Detailed instructions
Chose the texture you’ll be using and then create three cubes with the square dimensions of the width required for your column. In the image below only the cube in the center will be kept, the other two are used to make sure the center cube will be straight and smooth.
Open the Face Edit tool, click the Displacement tab and then select all of the outside faces of all three cubes by holding Ctrl as you left click on them. (Leave the Face Edit tool open but out of your way.) Again, do not select the end faces, only select the 4 sides of each of the three cubes.
Click the Create button and chose a power of 3. (Use 2 for minimal smoothness and 4 for the maximum, 3 is typically best as it is better than 4 on system performance and smooth enough for most everything.) After you create the displacement surfaces click the Subdivide button. What remains is somewhat of a mess, but we’re going to delete those end cubes now, the stretch the remaining center cube to size.
