WisePrecip: Rain and Snow
This tutorial was originally created by wisemx. It was originally posted on SDKnuts.net.
Introduction
Last night (09 March 2005) Valve released an update for HL2 that contained the textures which will now allow us to create Rain and Snow effects. (Apparently there have been textures for CS:S, and of course other custom textures.) There will no doubt be a lot of questions about the effects you can create. From what I’ve been able to determine you do not have a lot of control over the Rain and Snow but it is still a nice effect none the less. In the download for this tutorial I’ve included two vmf files, one for rain and one for snow. If you experiment with these you will find that both of these textures perform a little differently.
One thing you need to be careful of, for appearance reasons only, is rain or snow over water. Rain and snow will bleed right through your water (or other objects), which might look odd. You can however alter the volume of the precipitation to overcome the effect of these textures bleeding through. Interestingly the method to keep them at the surface of the water seems to work better with rain.
func_precipitation entity has a Parent property you could create the effect of precipitation moving across an area.The official description for func_precipitation is: "A brush entity that creates rain and snow inside its volume." This volume is what you will need to experiment with in your maps to achieve the effect you desire.
Creation
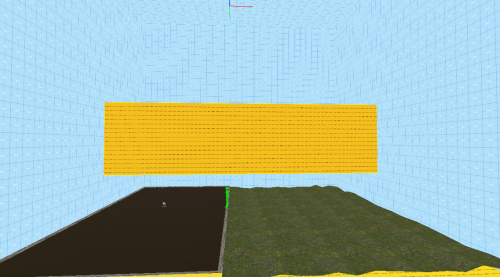
The first thing you need to do is create a brush over the section where you want precipitation. Create this brush with the tools/toolsnodraw texture. Now press Ctrl+T and tie this brush to entity func_precipitation. Click Apply.
The properties for func_precipitation are:
- Name: The name that other entities refer to this entity by. You will assign a name if you want to create inputs from other entities. For example to
kill(remove) the precipitation. - Parent: The name of this entity's parent in the movement hierarchy. Entities with parents move with their parent.
- Density (0-100%): This is the visibility of your precipitation. Values from 1-10 seem to work best, 5 is the default and higher numbers will appear jagged. You probably don’t need to change this, but experiment.
- Color (R G B): The default color, 100 100 100, seems to work best with the default textures.
- Precipitation Type: Either Rain or Snow.
