Checkpoints
In the last section, you made the simplest nav mesh that a level can have. The nav areas were marked from "PLAYER_START" to "FINALE". This allowed the flow to compute for the director to properly spawn in the Infected. There are other types of flows that Left 4 Dead uses. Every campaign consists of 5 levels:
- Level 1: PLAYER START to CHECKPOINT
- Level 2: CHECKPOINT to CHECKPOINT
- Level 3: CHECKPOINT to CHECKPOINT
- Level 4: CHECKPOINT to CHECKPOINT
- Level 5: CHECKPOINT to FINALE
A Checkpoint room is the "safe room" that the Survivors enter to transition from one level to another.
Checkpoint Requirements
To make a checkpoint room, you'll need to have a minimum set of pieces set up in your level. This includes:
- A Checkpoint door – that the player uses to enter the room.
- An
info_changelevelbrush entity. - An entity called an
info_landmark. - A nav area assigned with the CHECKPOINT attribute inside the room.
- A destination level to transition into.
The destination level also requires:
- A Checkpoint door – that the player uses to exit the room.
- An
info_landmarkwith the same name as the previous level. - A nav area labeled with the CHECKPOINT attribute inside the room.
Create tutorial05.vmf
In the sdk_content directory, open the map called "tutorial03_complete.vmf" in Hammer. By default, it will be located at:
C:\Program Files\Valve\Steam\SteamApps\common\left 4 dead\sdk_content\mapsrc\Your First L4D Level Tutorial
Choose Save As... from the File menu, and the rename the file "tutorial05.vmf". Go up one directory level and save it in your standard mapsrc directory with the rest of your maps at:
C:\Program Files\Valve\Steam\SteamApps\common\left 4 dead\sdk_content\mapsrc
Creating a Checkpoint Door
Let's start with the Checkpoint door.
In the 3D Camera viewport, go to the upper story area in the 2nd room you created and look at the wall above the platform you created.
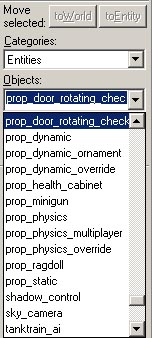
Click on the Entity tool ![]() and select "
and select "prop_door_rotating_checkpoint" from the Objects drop-down menu.
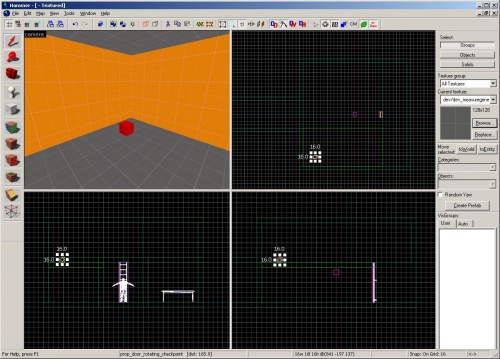
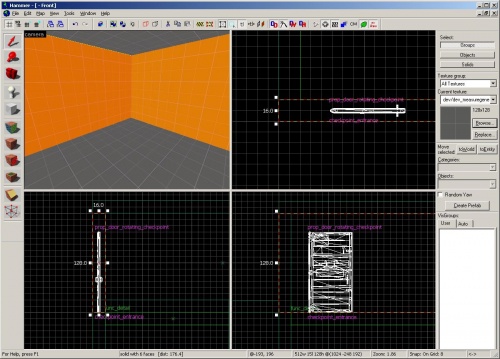
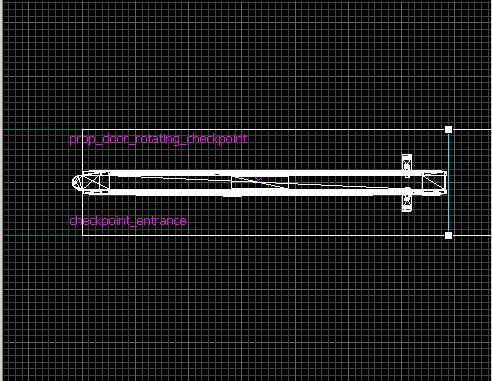
In the Camera viewport, look at the corner where the platform meets the wall and left-click to place the prop_door_rotating_checkpoint.
Set the door model:
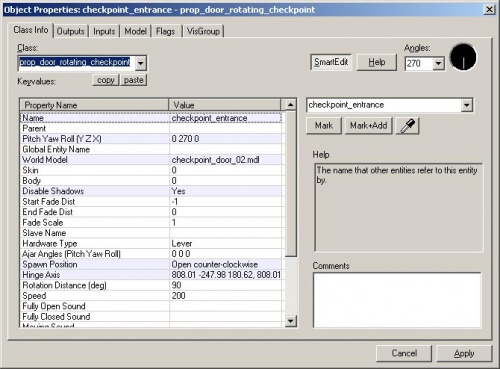
- Open up the Object Properties dialog box by pressing Alt+↵ Enter or by going into select mode and double-clicking on it.
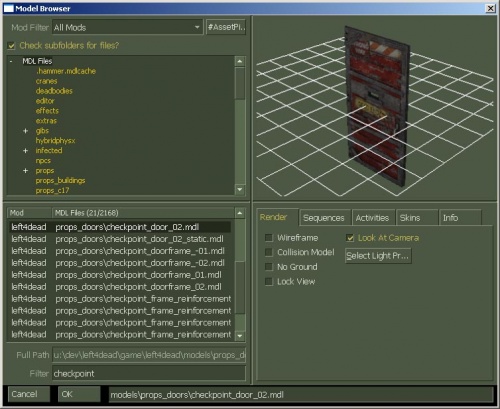
- Click on the World Model row and click on the Browse button on the right side. Type "checkpoint" in the Filter and select the model "
checkpoint_door_02.mdl". - Click on the OK Button.
Now, change the following properties:
- Name: "checkpoint_entrance"
- Pitch Yaw Roll (Y Z X): "0 270 0"
- Disable Shadows: "Yes"
- Spawn Position: "Open counter-clockwise"
Click on Apply and then close the properties.
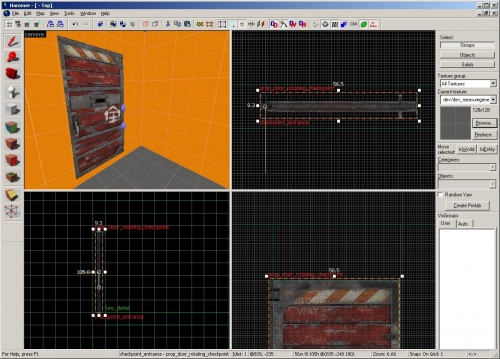
You should now see a checkpoint door model in the Camera viewport.
Position the door so that it's sitting on the platform floor and inside the wall at the middle of the thickness of the wall. You may need to adjust the grid size to move it into position.
Now we have a place on the wall where we want to cut a hole for the door.
"Last Stand" Saferoom Door
With the release of "The Last Stand" in ![]() we have a new set of wooden saferoom doors. These function identical to the default saferoom doors, with two exceptions:
we have a new set of wooden saferoom doors. These function identical to the default saferoom doors, with two exceptions:
- An additional prop_dynamic with the metal pieces which use the prop_door_rotating_checkpoint as a parent is required. This model must be non-solid to let the Infected ghosts in Versus mode pass the door.
- The sounds of the metal bar removal will not be the proper "wooden plank" counterparts, unless you use a level_sounds script for every map using this door.
Here's the content the level_sounds script requires:
"Doors.Checkpoint.Unlock"
{
	"volume"		"1.0"
	"soundlevel"	"SNDLVL_100dB"
	"pitch"			"95,105"
	"rndwave"
	{
		"wave"			"doors/CheckpointPlankRemove.wav"
		"wave"			"doors/CheckpointPlankRemove2.wav"
	}
}
The Clipping Tool
Instead of scaling and duplicating this wall brush that we need to cut a hole in, we're going to use the Clipping Tool to split our brush into the sections we need to make the hole.
Select the wall brush that the checkpoint door is sitting inside. (Note: You must select the wall brush)
Select the ![]() Clipping Tool to enter clipping mode (You can also press ⇧ Shift+X).
Clipping Tool to enter clipping mode (You can also press ⇧ Shift+X).
In the Top viewport, left-click and drag down where the left edge of the door is.
Let go after the two points form a vertical line like in the image above.
You should be left with the brush split into a white outline and a red outline with the helper nodes of the clipping tool in place along the middle. The white outline signifies the part of the brush that will be left behind and the red outline shows what will be deleted.
Press ⇧ Shift+X once. This will flip which side has the white outline and which side has the red outline.
Press ⇧ Shift+X again. This will change the clipping mode to keep both sides of the split.
Press ↵ Enter to make the split. You can press Esc to exit the tool without any changes made.
Now that we have one cut made, we need to make a couple more. Select the wall brush with the door still sticking in it and enter the Clipping Tool again.
Decrease your grid size with [ so that you can accurately clip along the edge of the right edge of the door and then left-click and drag to form a vertical line down that edge.
Press ↵ Enter to perform the split.
Select the brush that the door is still stuck inside and raise the bottom of it in the Side viewport so that it lines the top of the door model.
We now have the hole for our checkpoint door to sit in.
Remember that now that we've created a hole in our level, we need to seal it. We will seal this hole with the checkpoint room.
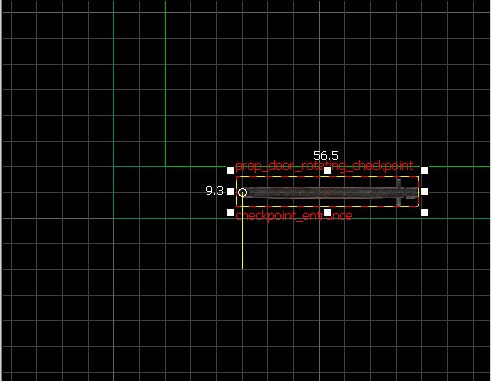
Select the checkpoint door again for now and you'll notice that it has a blue sphere in the middle of it in the Camera viewpoint and a circle in the middle of it in the other viewports.
In the Top viewport, left-click and drag the hollow circle to the left edge of the brush like in this image.
There should still be one circle/sphere at the center of the model. Drag this one to the same spot on the Top viewport but also drag it down in the Side viewport so that its under the first one that you dragged.
What you've done is make the prop_door_rotating_checkpoint use this line as the pivot for which way the door rotates, like the hinge on a real door.
