Visibility
Visibility basics
The file extension for the maps that are compiled is .bsp. BSP stands for Binary Space Partitioning. Basically, the game engine only needs to draw areas of the level that are visible from where the player is standing. This helps with the performance of the level (how fast the frame rate is). To do this, the engine cuts up the level into chunks called leafs. If the player is standing in a leaf that sees into another leaf, then that leaf is drawn. Regular (non-entity) brushes determine where the leaf cuts get made. Brush entities, such as the func_ladder that we created in the previous section, do not affect where cuts are made.
So why would you not want brushes to cut up the level into more leafs? If you have more brushes that cut up the level, the engine has to do more work to calculate visibility and more cuts in the map also mean a higher number of faces to draw.
Any brush that you create that will not block visibility effectively should be a brush entity called a func_detail. These func_detail brushes are still solid in the world, but are ignored for visibility calculations.
- This is a very basic explanation of the game engine's visibility system. For information on BSP and visibility drawing in greater detail, see Visibility optimization.
Create tutorial03.vmf
In Hammer, open the map file tutorial02.vmf that you created in the previous tutorial if it's not already open. This should be located in the tutorial mapsrc folder, by default:
C:\Program Files\Steam\steamapps\common\left 4 dead\sdk_content\mapsrc\
Now we'll make a new version to work with:
- Go to File menu and choose Save As...
- Change the name to
tutorial03.vmf.
Creating a Platform
Sticking with our level called tutorial02, let's create a platform that extends the upper floor where we created our ladder.
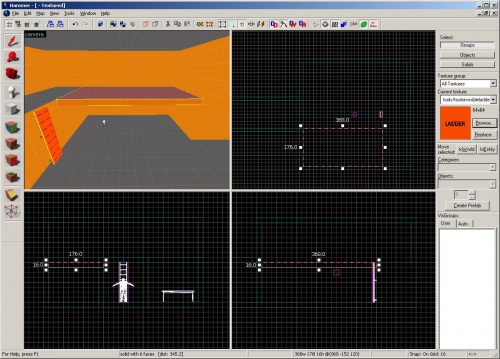
Using the ![]() Selection tool, duplicate the back wall brush that we extended out to create the upper story in the last tutorial by ⇧ Shift-dragging it. Reshape it to be a platform that extends out from the upper story on one side.
Selection tool, duplicate the back wall brush that we extended out to create the upper story in the last tutorial by ⇧ Shift-dragging it. Reshape it to be a platform that extends out from the upper story on one side.
It should be 368 units wide, 176 units long, and 16 units deep.
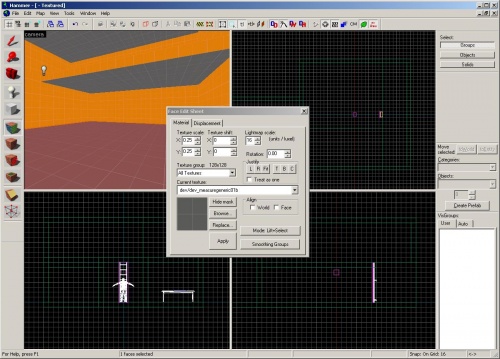
Feel free to re-texture the bottom of the platform so that it matches the ceiling and floor.
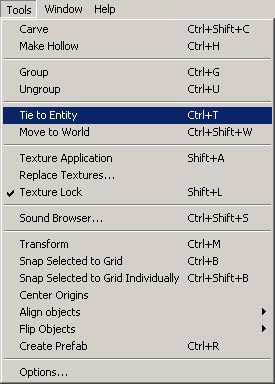
Now, go to the Tools menu and choose Tie to Entity. You can also use the Ctrl+T keyboard shortcut.
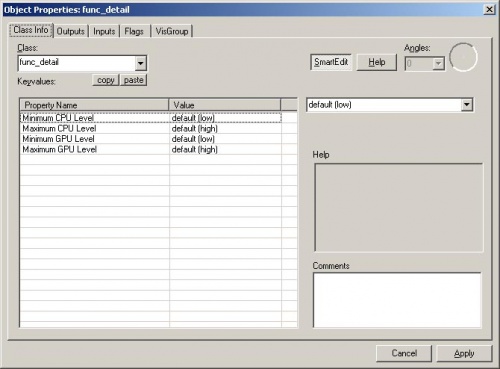
The default Class for a brush entity is func_detail.
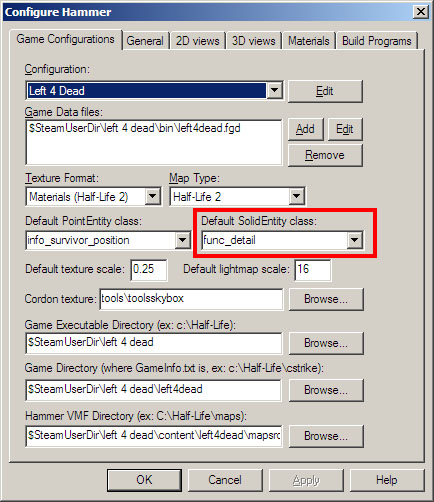
If you see something else under the Class drop-down menu, you will need to change a setting in Tools > Options > Game Configurations tab.
Make sure the Default SolidEntity Class field is set to "func_detail".
That's it. You're done! You just created a brush that will not cut up the BSP into more leafs.
Run the map
Press F9 to open the Run Map dialog and click on the OK Button to compile the map and run it in the game.
Good candidates for func_detail brushes
So how do you know to make a brush a func_detail or not?
Details such as:
- Columns and beams
- Trim
- Frames
- Small platforms
- Posts
- Furniture
- Trusses
func_detail. This will create a leak to the outside.