Advanced Nav Editing
Using the OBSCURED Attribute
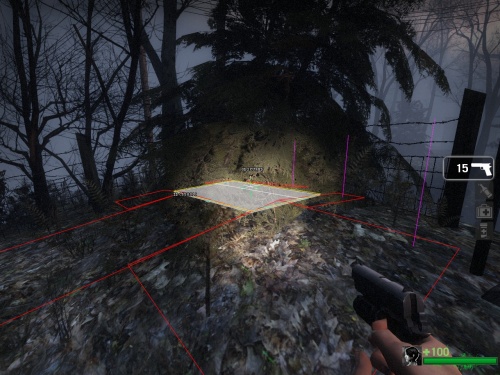
The OBSCURED attribute allows infected to spawn on that area even when the survivors can see it. This is used mainly in areas that are masked such as inside trees.
In VS maps, these are especially helpful in allowing player infected to spawn in more places.
This also prevents survivor bots from seeing infected through objects like bushy trees.
To use the OBSCURED attribute, select the nav area and use "mark OBSCURED" from the console.
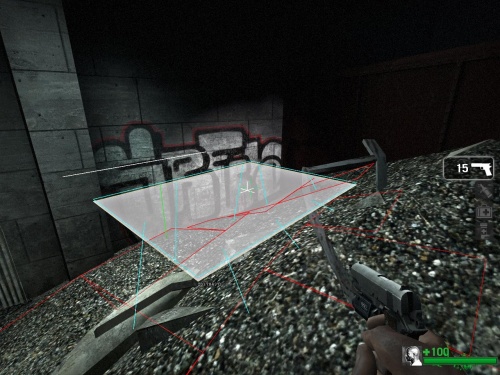
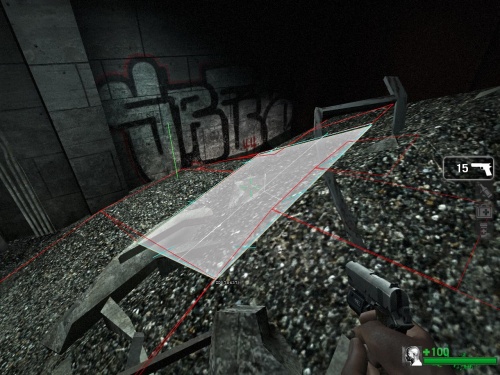
When you draw your own nav areas, you will notice that they draw completely flat even if they are drawn on a displacement surface that is not flat.
You can drop the nav area to conform to the displacement heights by selecting the nav area and using nav_corner_place_on_ground, or use F2 in the default nav edit config.
It is also useful to use nav_split (Insert) to divide the area further and then use nav_corner_place_on_ground to form more closely to the displacement.
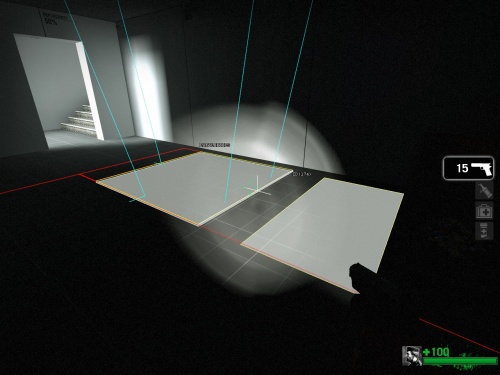
Instead of hand-drawing a nav area in between two existing areas (that have the same width or length), you can use nav_splice to automatically draw one for you.
Select one of the nav areas and then move the cursor over the one that you want to create an area in between.
Use "nav_splice" from the console or press O.
A new area gets created in between the two existing areas.
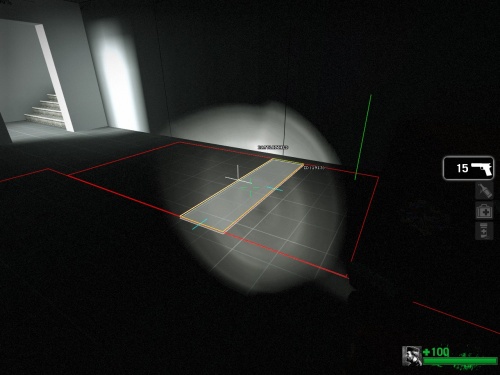
Nav meshes get bigger in file size with more areas. If you find that your nav mesh file is too large and that you can optimize by merging some areas together, then you can use "nav_merge" to combine two adjacent nav areas that have the same width or length.
The ↵ Enter on the numeric keypad is the default key for nav_merge.
Select one of the nav areas and move the cursor over the one you want to merge it with.
Press KP_Enter to perform a "nav_merge".
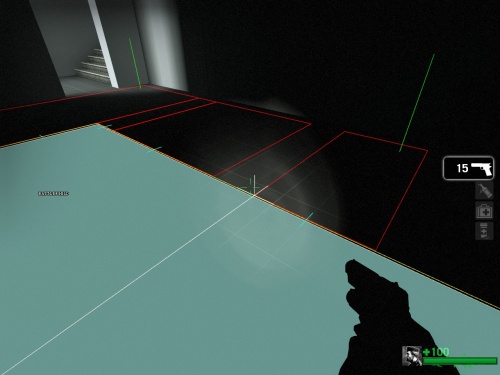
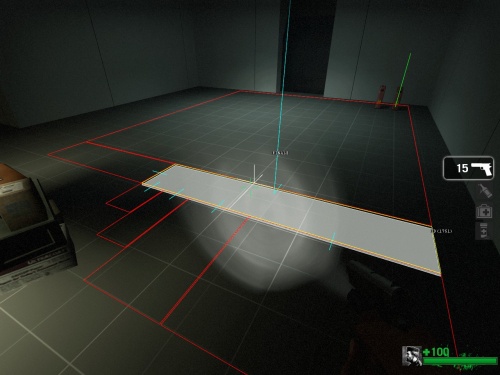
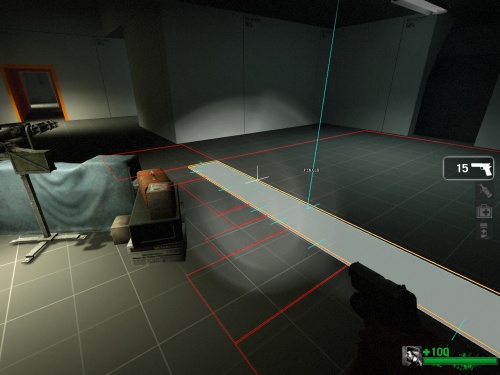
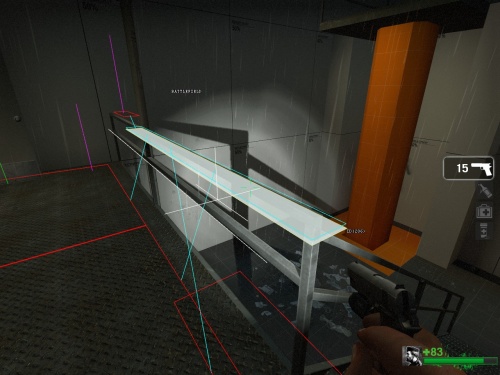
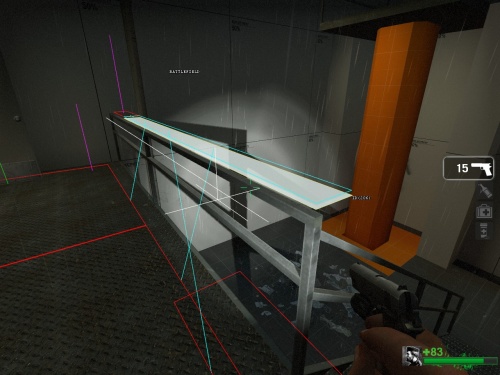
Sometimes there are thin brushes or props that the nav is difficult to generate on or draw on top of. In these cases, you can draw the nav lower or higher than it needs to be and manually match it later.
The commands "nav_corner_raise" or "nav_corner_lower" can be used to adjust the height of the selected nav areas.
The + and - keys on the numeric keypad can be used to raise and lower nav.
Mouse wheel method
The included nav_edit.cfg also contains some special bindings to move nav areas vertically using the mouse wheel.
- Press the 5 (center) key on the numeric keypad.
- Use the mousewheel to raise and lower the nav areas.
- Press the 5 (center) key on the numeric keypad again to leave this mode.
There are several situations you should not create in a Nav Mesh. These errors can cause AI to become stuck or just not to function properly.
These situations can be found easily by the "nav_trouble_report" command in the console. This will select the offending areas. You can zoom out in noclip mode to see them.
Running the nav_trouble_report performs the following tests:
| Name of test | Command | Description |
|---|---|---|
| Orphan check | orphan | Nav areas that aren't connected to the rest of the nav mesh |
| Missing Battlefield check | battlefield | Some nav areas are missing BATTLEFIELD attribute within the BATTLEFIELD |
| Missing Finale check | finale | Some nav areas are missing the FINALE attribute within the FINALE |
| Missing Checkpoint check | checkpoint | Some nav areas are missing the CHECKPOINT attribute within the CHECKPOINT |
| Overlap check | overlapping_areas | Multiple nav areas occupy the same space |
| Corner-to-corner connection check | corner-to-corner | Nav areas are connecting at the corners |
| Climb links from stairs check | climb_up_from_stairs | Nav areas have two-way connections on and off the sides of stairs |
| Connection to overlapping area check | connection_to_overlapping_areas | Connections between nav areas are overlapping |
| Long horizontal connection check | long_horizontal_connections | Connections between nav areas are too long |
| Double connections check | multiple_connections | Nav areas are connected multiple times |
| Floating/interpenetrating world check | floating_or_interpenetrating_areas | Nav areas are too high or too low |
| Areas with non-walkable connections check | non-walkable_connections | Nav is saying that you can walk from one area to the next but you can't |
| Disconnected ladder check | ladder_disconnected | A ladder isn't connected to any nav areas |
| Overlapping ladder check | ladder_overlapping | Two or more ladders are on top of each other |
| Non-climbable ladder check | ladder_not_climbable | A ladder can not be climbed (a prop or brush might be blocking it) |
You can also run nav_trouble_report <test_name> with individual parameters to just find errors each category. For example:
nav_trouble_report finale
nav_trouble_report orphan
