Outdoor Levels
In this tutorial, we'll learn how to incorporate the sky into the level so that we can make it feel like the player is outside. We'll also take a look at creating displacements which are kinds of brushes that you can form terrain out of.
Create tutorial06.vmf
In Hammer, open the map file tutorial05_part2.vmf that you created in the previous tutorial if it's not already open. We will make this level an outdoor level.
Now we'll make a new version to work with:
- Go to File menu and choose Save As...
- Change the name to
tutorial06.vmf.
The Sky
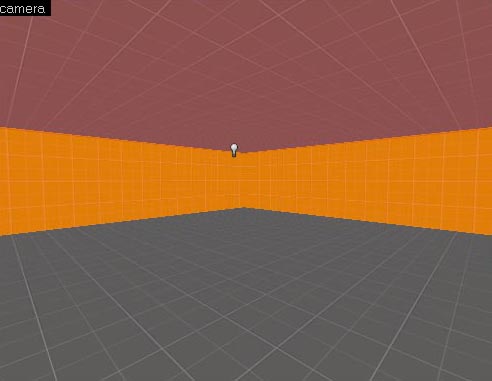
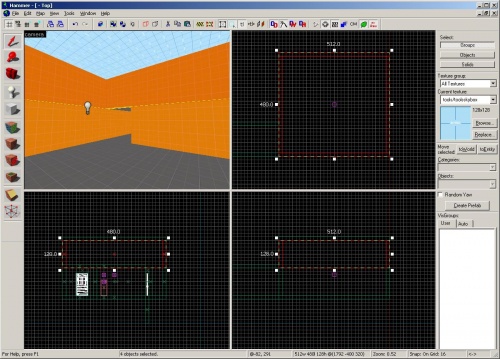
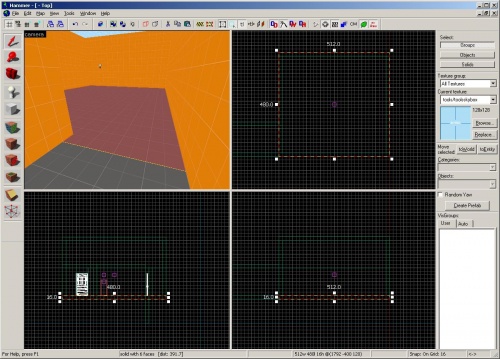
In the Camera viewport, move to the second room in the level (the one that has the dimensions 512 x 480) and select the ceiling.
In the Texture box, click on the Browse Button to bring up the Texture Browser.
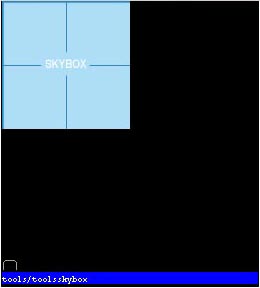
Type "tools" in the Filter drop-down field and find the texture called "toolsskybox"
Double-click on it to set it to the active texture.
With the ceiling brush still selected, click ![]() 'Apply current texture.
'Apply current texture.
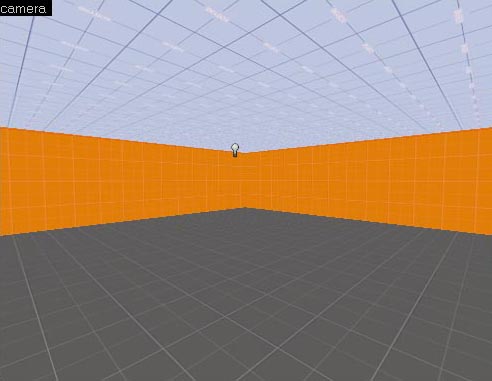
Any face of a brush that is assigned this toolsskybox texture will automatically draw the sky in the game engine.
Right now, it's going to be a little weird to have the walls abruptly end so close to the where the player can see. So, let's raise the ceiling and add another set of walls to make the sky a little further out.
Now, we need to assign the sky that we want seen where the skybox texture is.
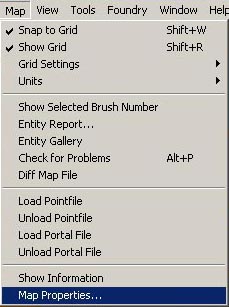
Go to the Map menu and select Map Properties.
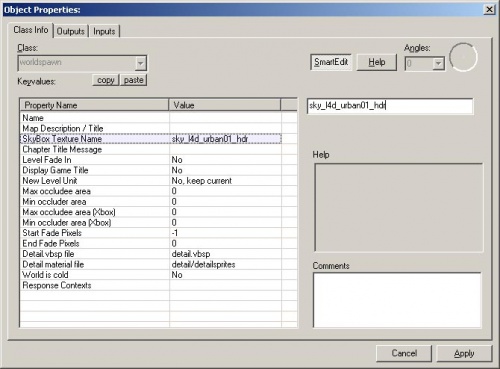
The Map Properties dialog box will appear.
Change the SkyBox Texture Name to "sky_l4d_urban01_hdr".
This is the skybox texture used in the No Mercy campaign.
See it in-game
Press F9 and click on OK to see the results in the game.
Alternative skies
Other skybox texture names you can use:
| Death Toll | "sky_day01_09_hdr" |
| Dead Air | "urbannightburning_hdr" |
| Blood Harvest | "sky_l4d_rural02_hdr" |
Creating a Displacement
Displacements are special brushes that you can sculpt to form more organic shapes with, such as terrain. The easiest example we can start with is a pile of dirt on the ground. Let's create a displacement in this outdoor room we've just created.
- Go to File menu and choose Save As...
- Change the name to
tutorial06a.vmf.
Displacements can be any texture that you normally apply to a brush. There are blend textures, however, that we can use to paint on displacements and they blend between two textures smoothly.
Click on the Browse Button on the Texture Box.
Type "blend" into the Filter drop-down field.
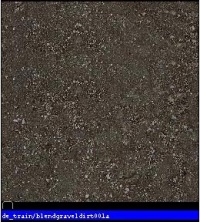
Select the texture "blendgraveldirt001a" and double-click on it to make it the current texture.
In the Camera viewport, select on the floor brush in the outdoor room.
In the Side viewport, duplicate the floor by moving your cursor over the Side viewport and pressing ⇧ Shift+{Up_arrow key.
Move the floor up so that the top of the new floor is 16 units above the old floor (if it isn't already that height when you duplicated it).
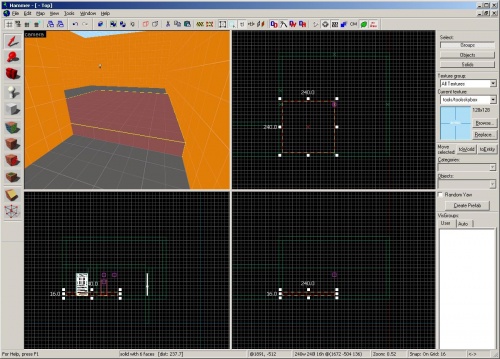
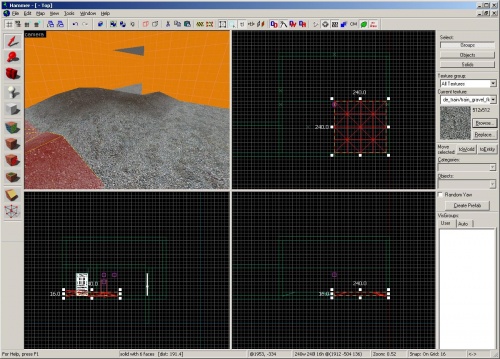
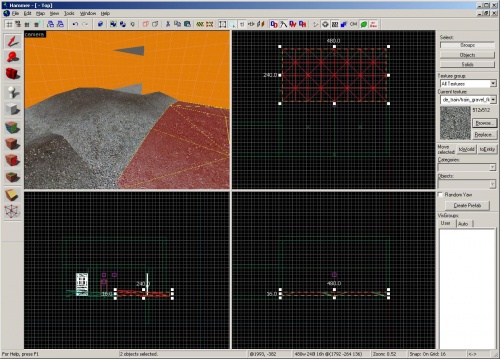
Now shape the brush so that it is 240 units wide and 240 units long and 16 units high.
Move it so that it covers the bottom left corner of the outdoor room in the Top viewport.
Apply the current texture to the brush with ![]() 'Apply current texture.
'Apply current texture.
Now, enter the texture application mode by clicking on the ![]() Toggle Texture Application icon.
Toggle Texture Application icon.
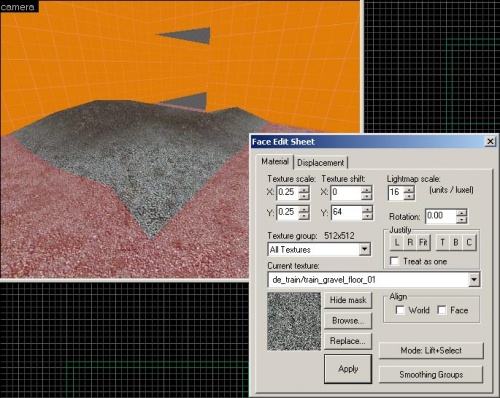
With the Face Edit Sheet dialog box still up, left-click on the top face of the new floor brush to select it.
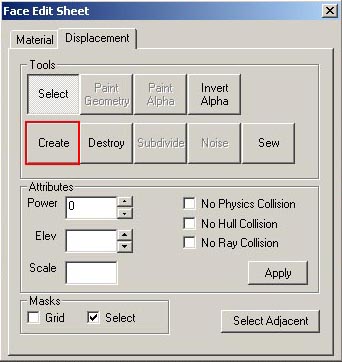
Click on the Displacement tab on the Face Edit Sheet dialog box.
Click on the Create button.
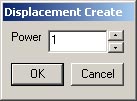
A Displacement Create window will pop up.
Change the Power field to "1" and click OK.
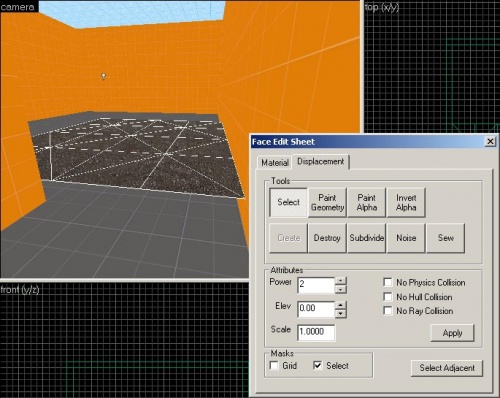
You should now see your new floor brush look like a mesh where the top face was.
Sculpting a Displacement
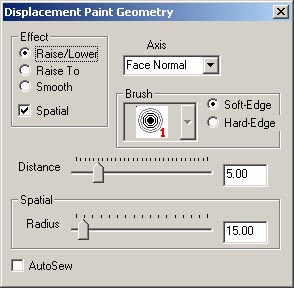
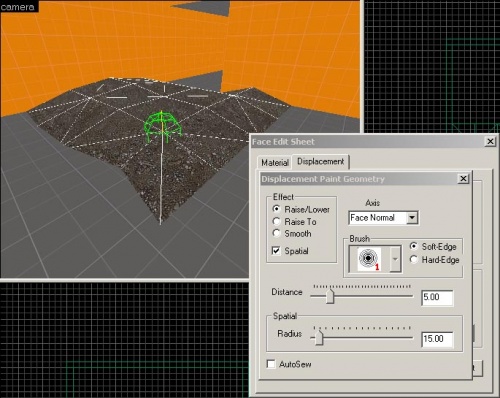
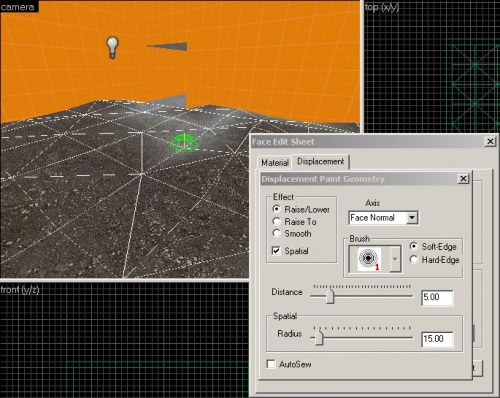
Click on the Paint Geometry button in the Face Edit Sheet dialog box.
The Displacement Paint Geometry window will appear.
Leave the default settings for now.
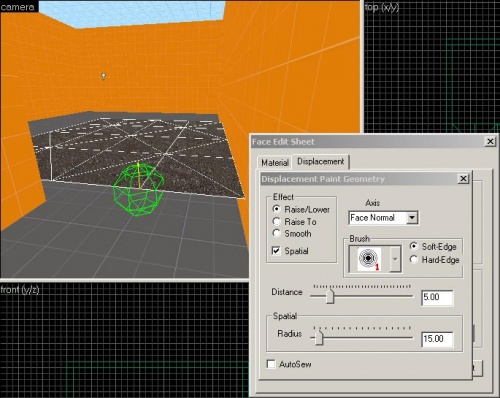
In the Camera view, you can still navigate around with the Displacement Paint Geometry window up.
As you move your cursor around on the displacement, you'll notice a green sphere that snaps to each point on the displacement mesh.
This sphere designates the point where you will be editing your mesh.
Note: In Windows Vista x64 with DX10 the screen may start flashing/blinking when you attempt to Paint Geometry. Try this workaround from another Valve wiki page.
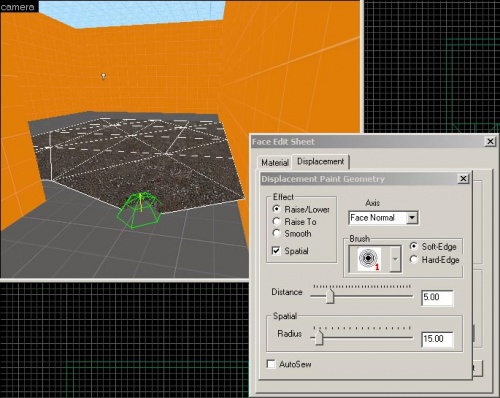
Left-clicking on one of the points of the displacement with these settings will raise the point. Right-clicking will lower the point.
Try lowering the point in the middle of the entrance to the hallway by right-clicking on it four times.
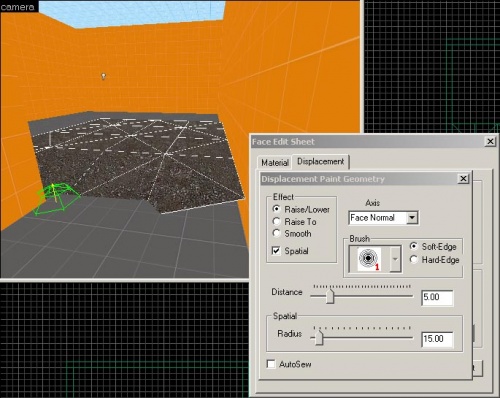
You can also raise and lower the points by holding the ⇧ Shift key down and holding down the left mouse button. Then, move the mouse up and down so that the point doesn't snap to positions. It moves freely.
Move the point to the left of the first point down into the floor using this method.
Using either method, shape the displacement so that it looks like a mound of dirt on the floor.
Painting Alpha on a Displacement
Before we test out the displacement in the game, let's paint it so that it blends with a floor texture.
Close the Displacement Paint Geometry window.
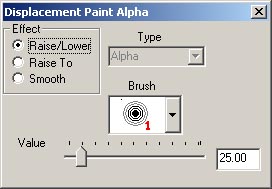
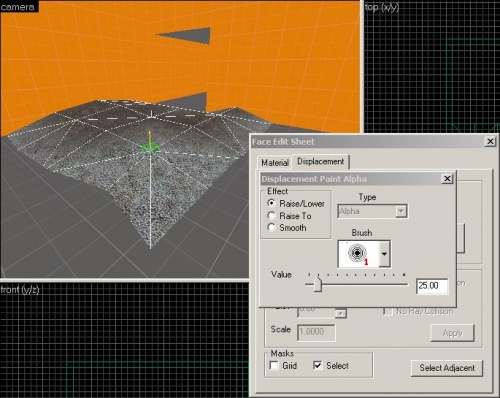
In the Face Edit Sheet dialog box, click on the Paint Alpha button.
The Displacement Paint Alpha window will appear.
In the Camera viewport, just like when you painted the positions of the points of the mesh, you can paint the alpha of the blended texture by left-clicking on the points.
Paint the edges of the displacement so that the gravel texture touches the floor and blends up to the dirt.
We now have our dirt mound. Close the Displacement Paint Alpha window.
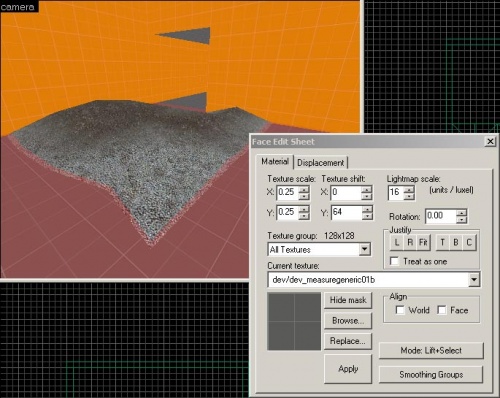
With the Face Edit Sheet dialog box still up, click on the Material tab and then select the original floor below the displacement including the hallway floor.
Click on the Browse button in the Face Edit Sheet dialog box.
Type "gravel" in the Filter drop-down field and select the texture "train_gravel_floor_01" by double-clicking on it to make it the current texture.
Click on the Apply Button in the Face Edit Sheet dialog box to apply the gravel texture to the floor.
You can close the Face Edit Sheet dialog box by clicking on the X at the top right corner of the window.
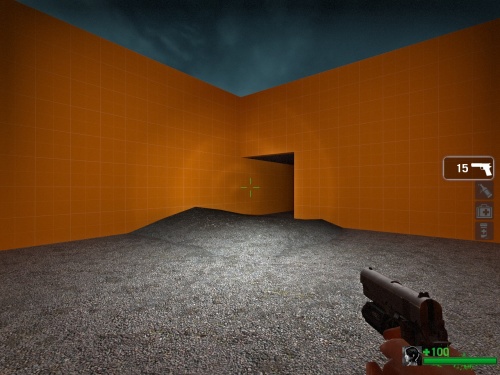
Press F9 and click OK to run the level in the game.
Your displacement in-game should look something like this image.
Displacements can be any side of a brush. We just used the top of the brush to make a ground, but sides of brushes can be used to make cliffs or cave walls. You can also have multiple sides of the same brush be displacements.
Sewing multiple displacements together
Now we'll make a new version to work with:
- Go back to Hammer, go to File menu and choose Save As...
- Change the name to
tutorial06b.vmf.
We will use this file to make multiple displacement brushes and sew them together along their shared edges.
Select the displacement brush.
In the Top viewport, duplicate the displacement by pressing ⇧ Shift+Right_arrow keys.
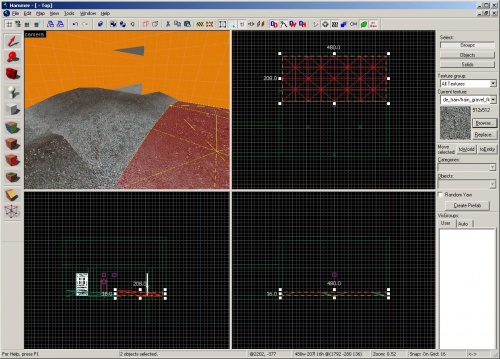
Move the new displacement to the right so that its left edge lines up with the original displacement's right edge.
Select both the displacement brushes and duplicate them again in the Top viewport by pressing ⇧ Shift+Up_arrow keys.
Move them so that their bottom edge lines up with the original displacements' top edges.
Shape the brushes so that the top edge in the Top viewport is in the room.
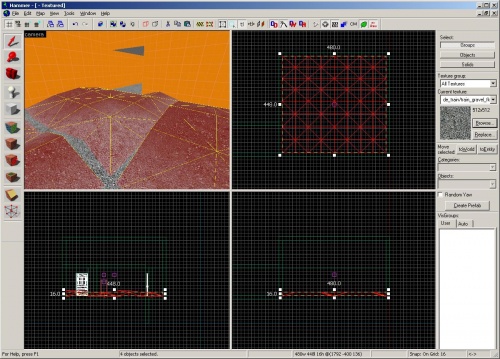
In the Camera viewport, select all the displacement brushes by holding Ctrl and clicking each of them.
You'll notice that none of their displacement edges line up currently (even though their brush edges do).
Click on the ![]() Toggle Texture Application icon.
Toggle Texture Application icon.
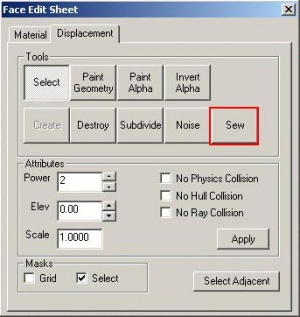
In the Face Edit Sheet dialog box, click on the Displacement tab.
Click on the Sew Button to sew all the shared edges together.
You can also paint the geometry and the alpha with multiple displacements selected. It will edit shared points.
Press F9 and click on OK to run the level in the game.
Rural Template map
The Left 4 Dead Authoring Tools also come with examples and templates for outdoor maps. Open the file "zoo_rural_01.vmf" to see them and copy them into your own levels.
By default, this map can be found at:
C:\Program Files\Valve\Steam\SteamApps\common\left 4 dead\sdk_content\mapsrc\zoo
