Finale Events Part 2
Creating an Escape Vehicle
Now, let's make the escape vehicle.
In Left 4 Dead, each of the four campaigns has a different escape vehicle. There's a helicopter, a boat, an airplane, and an APC.
The escape vehicle can really be anything. It can even just be a room that has a door that is opened at the end of the finale.
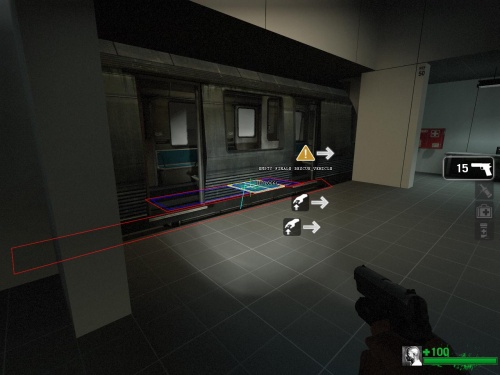
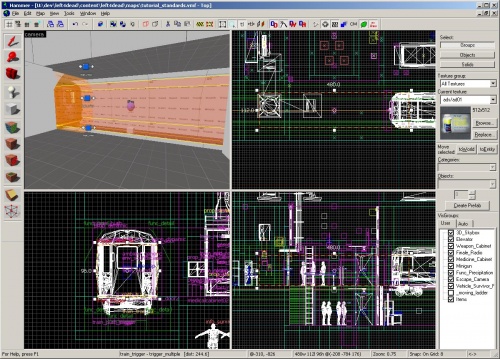
In the tutorial_standards map, a subway car is used as the escape vehicle so you can see how to use an object that moves in the level.
Placing a prop_dynamic
To make your own subway car as an escape vehicle, you'll first need to place the model of the subway car. Instead of a prop_static, which is, well, static, we want to place a prop_dynamic so that it will move.
Go to the Entity Tool and select "prop_dynamic" from the Objects drop-down menu.
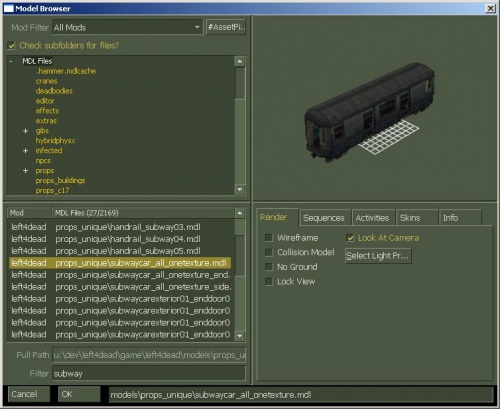
Open up its properties and click on the World model row and click on the Browse Button on the right side.
Type "subway" in the Filter and select the model "props_unique\subwaycar_all_onetexture.mdl".
Click OK.
Close the properties.
We now have the model that we will use for the escape vehicle. Now we'll need the brush entity to move the model. It's called a func_tracktrain.
Creating a func_tracktrain
Go into the Block Tool.
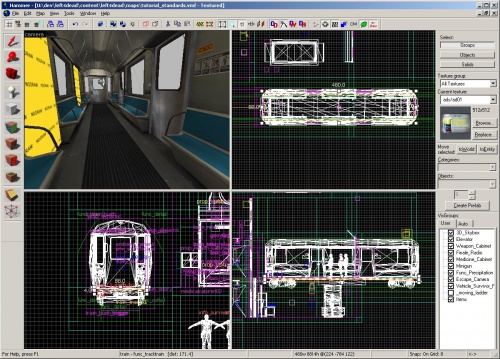
In the Top viewport, draw a brush approximately the same size as the subway car and press the ↵ Enter key to create it.
In the Side or Front viewport, shrink the brush so that it is just below the floor of the subway car.
With the brush still selected, click on the Browse button in the Texture bar.
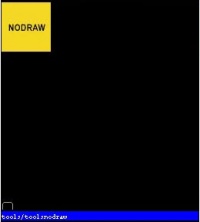
Type "nodraw" in the filter and select the texture "tools/toolsnodraw".
Double-click on it to make it the current texture.
Click on the Apply current texture tool in the tool bar to apply it to the selected brush.
With the brush still selected, press Ctrl+T.
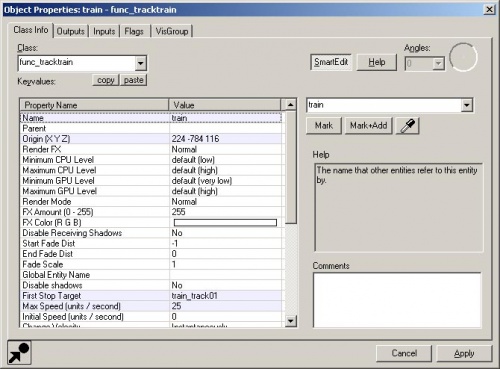
- Change the Class to "func_tracktrain". Click on Apply to see the properties for a func_tracktrain.
- Change the Name to "train".
- Change the First Stop Target to "train_track01".
- Change the Max Speed to "25".
- Change Height above track to "0"
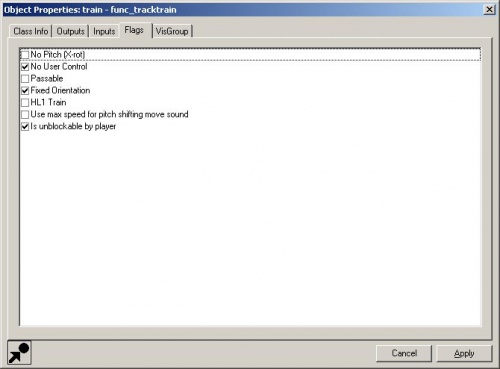
Switch to the Flags tab.
- Check the No User Control box.
- Check the Fixed Orientation box.
- Check the Is unblockable by player box.
Click on Apply and close the window.
Adding path_track entities
Now we'll need to create the path for our train to travel on.
Go into the Entity Tool and select "path_track" from the Objects drop-down menu.
Place the path_track in the Camera viewport near the middle of the subway car and open its properties with Alt+↵ Enter.
Change the Name to "train_track01".
Change the Next Stop Target to "train_track02".
Click on Apply and close the properties window.
In the Top and Front viewports, move the path_track to exactly the middle of the func_tracktrain brush. You can find this exact position by clicking on the func_tracktrain and finding the helper node (which, by default, is placed at the middle). You can move the helper node, but make sure you move the path_trac to wherever that helper node is located.
Go back to the Entity Tool and place another path_track where you want the train to move to for the survivor pick up.
Open up its properties and change the Name to "train_track02" and the Next Stop Target to "train_track03".
Back in the Entity Tool, place a third path_track where you want the train to move to escape the level.
Open up its properties and change the Name to "train_track03".
Parenting the prop_dynamic to the func_tracktrain
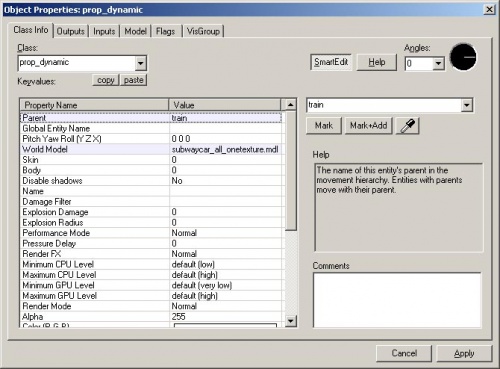
Go back to the prop_dynamic subway car model and open up its properties.
Change the Parent to "train". This will parent the subway car model to the func_tracktrain. Whenever the func_tracktrain moves, the subway car model will move with it.
Now, we'll need the trigger_multiple to check if all the Survivors are on board the train.
Creating the trigger_multiple
Draw a brush with that Block Tool that is contained inside the subway car at the position where it picks up the Survivors.
Click on the Browse button in the Texture bar.
Type "trigger" in the filter and select the "tools/toolstrigger" texture.
Double-click on it to make it the current texture.
Apply the texture to the selected brush.
Press Ctrl+T to make it a brush entity.
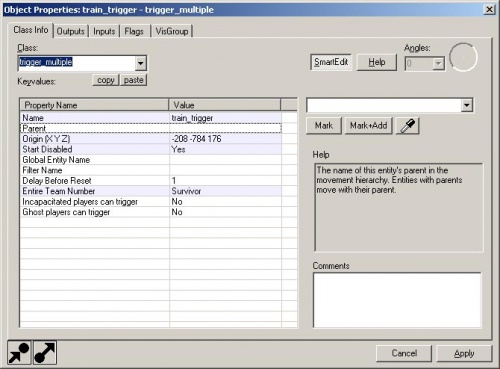
Change the Class to "trigger_multiple" and click Apply to see the properties for a trigger_multiple.
- Change the Name to "train_trigger".
- Change Start Disabled to "Yes".
- Change Entire Team Number to "Survivor".
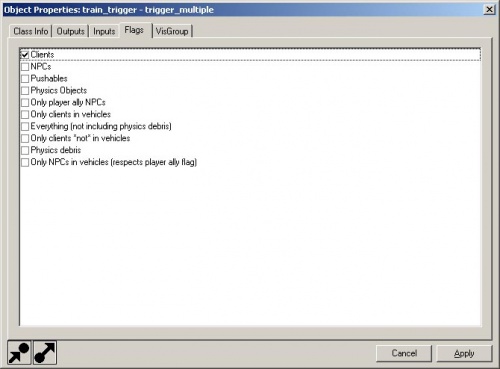
Switch to the Flags tab.
Make sure the box for Clients is checked.
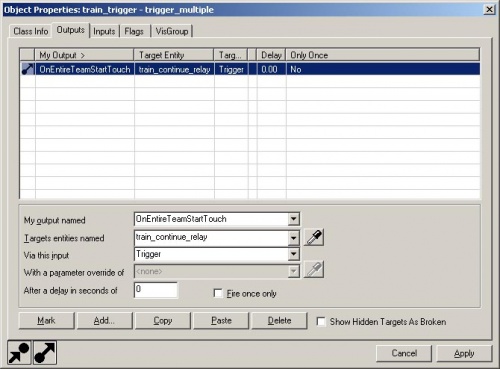
Switch to the Outputs tab.
Add an output with the following:
- My output named: "OnEntireTeamStartTouch"
- Targets entities named: "train_continue_relay"
- Via this input: "Trigger"
This trigger will now send a Trigger output to a logic_relay called "train_continue_relay" when all the survivors are touching it.
Now, let's set up the logic_relay of all the things that should happen when the survivors touch the trigger.
In the Entity Tool, select "logic_relay" from the Objects drop-down menu.
Place the logic_relay in the Camera viewport near where the "train_trigger" is, and open up its properties.
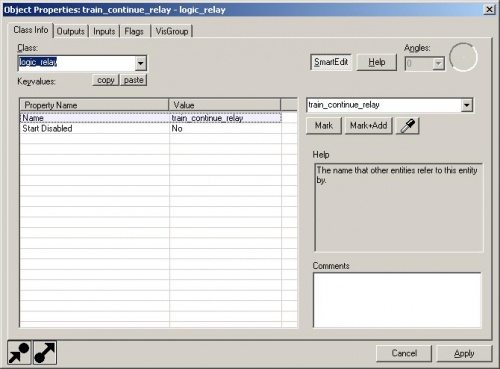
Change the Name to "train_continue_relay".
Switch to the Outputs tab.
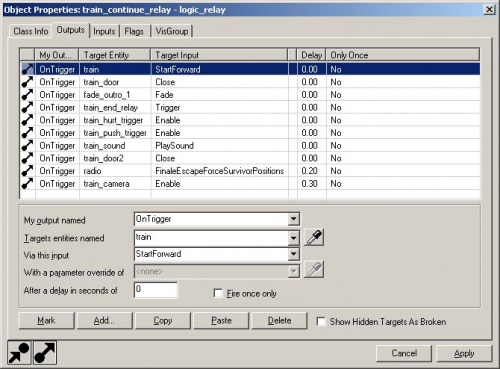
Add an output with the following:
- My output named: "OnTrigger"
- Targets entities named: "train"
- Via this input: "StartForward"
Add an output with the following:
- My output named: "OnTrigger"
- Targets entities named: "radio"
- Via this input: "FinaleEscapeForceSurvivorPositions"
This means that the train will continue to move forward when all the survivors who are alive and not incapacitated have touched the "train_trigger" and this logic_relay will also teleport the Survivors to positions where they are safe from harm.
We'll need to place the Survivor positions where they will teleport to when the escape occurs.
Placing the info_survivor_positions
Go to the Entity Tool and select "info_survivor_position" from the Objects drop-down menu.
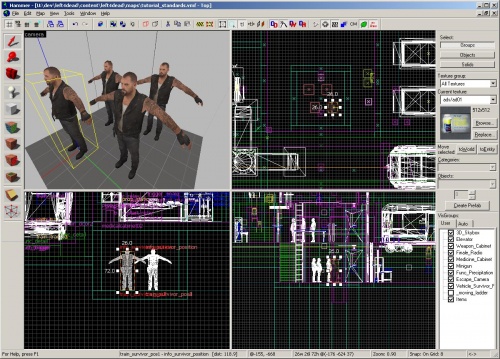
Place 4 of these in the Camera viewport where they can't be touched by the infected team.
This might require you to build a small container for them off the level as shown in tutorial_standards.vmf.
Open the properties for each one.
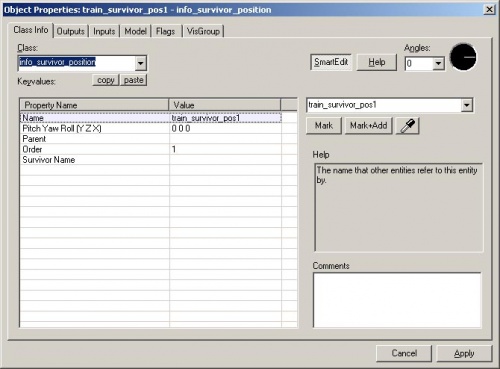
Change the Name of the first one to "train_survivor_pos1".
Change the Name of the second one to "train_survivor_pos2".
Change the Order of the second one to "2".
Change the Name of the third one to "train_survivor_pos3".
Change the Order of the third one to "3".
Change the Name of the fourth one to "train_survivor_pos4".
Change the Order of the fourth one to "4".
Completing the Escape Vehicle
Go back to "train_track02" and open up its properties.
Switch to the Outputs tab.
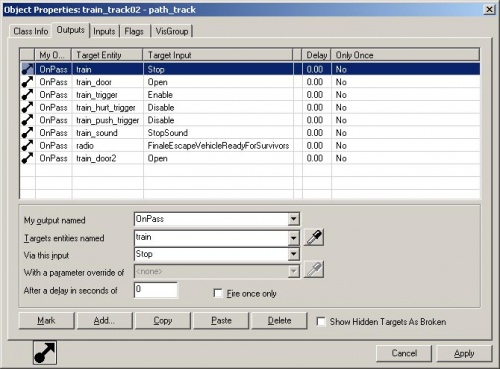
In the tutorial_standards map, there are other outputs hooked up for doors to open, infected to get killed if they get in the way, and survivors to get pushed out of the way. Ignore these for now and just add these outputs:
Add an output with the following:
- My output named: "OnPass"
- Targets entities named :"train"
- Via this input: "Stop"
This will stop the train when it gets to this path_track where it will pick up the survivors.
Add an output with the following:
- My output named: "OnPass"
- Targets entities named: "train_trigger"
- Via this input: "Enable"
This is the output that will enable our trigger_multiple.
Add another output with the following:
- My output named: "OnPass"
- Targets entities named: "radio"
- Via this input: "FinaleEscapeVehicleReadyForSurvivors"
This will tell the survivor bots to get to the nav area marked with the "RESCUE_VEHICLE" attribute.
We still need something to send an input to the func_tracktrain to start from its initial position to the survivor pick up position.
Go into the Entity Tool and select "logic_relay" from the Objects drop-down menu.
Place it near the "train_continue_relay" entity and open its properties.
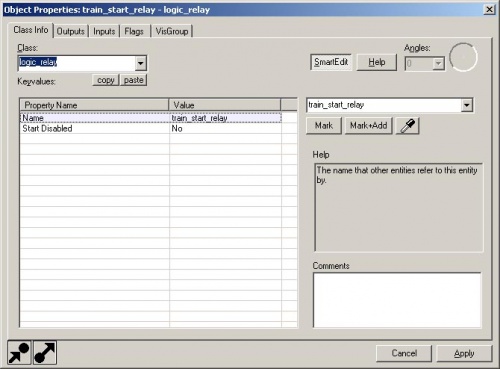
Change the Name to "train_start_relay".
Switch to the Outputs tab.
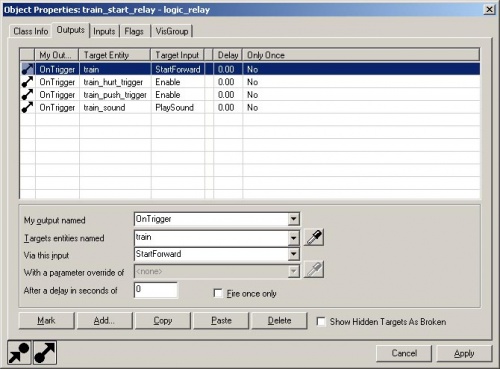
Add an output with the following:
- My output named: "OnTrigger"
- Targets entities named: "train"
- Via this input: "StartForward"
Click Apply and close the properties window.
Now, go back to the trigger_finale (the radio model) and open its properties again.
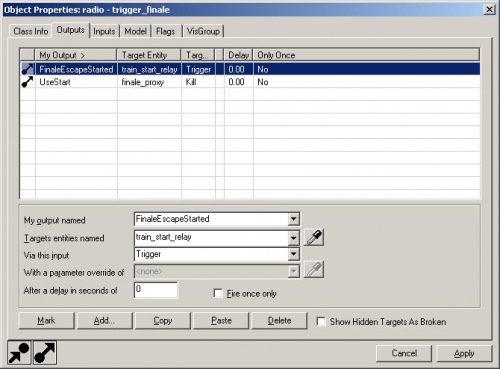
Add an output with the following:
- My output named: "FinaleEscapeStarted"
- Targets entities named: "train_start_relay"
- Via this input: "Trigger"
The trigger_finale will now start the train when the escape phase of the finale starts.
We still need an output to the trigger_finale that will tell it that the escape is complete.
Go to the Entity Tool and select "logic_relay" from the Objects list.
Place it in the Camera viewport and open up its properties.
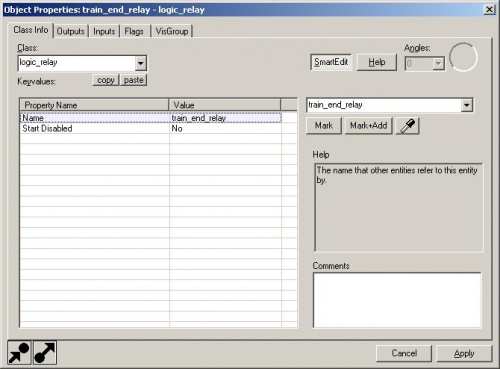
Change the Name to "train_end_relay".
Switch to the Outputs tab.
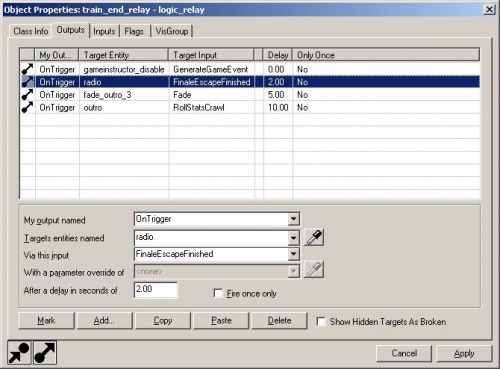
Add an output with the following:
- My output named: "OnTrigger"
- Targets entities named: "radio"
- Via this input: "FinaleEscapeFinished"
- After a delay in seconds: "2"
This will tell the trigger_finale that the survivors have escaped 2 seconds after being triggered.
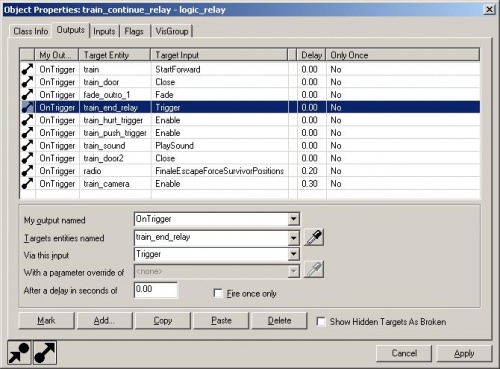
Go back to the "train_continue_relay" and open up its properties.
Switch to the Outputs tab.
Add an output with the following:
- My output named: "OnTrigger"
- Targets entities named: "train_end_relay"
- Via this input: "Trigger"
We could have put the FinaleEscapeFinished output here but we're preparing to add other things for the "train_end_relay".
We will now need to update the nav to include the RESCUE_VEHICLE areas.
Save and compile the map with F9.
When the level loads, enter nav edit mode with Page_Down.
Use noclip N to get to where the subway car picks up the survivors. You'll notice that the subway car is in its initial position. You don't have to play through the finale to get it to its pick up position.
Simply bring down the console and type "ent_fire train_start_relay trigger" and press ↵ Enter.
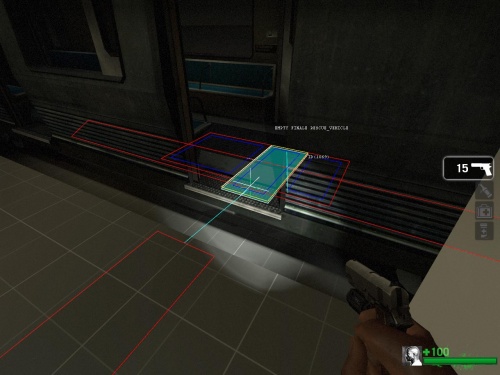
Once the subway car is in position, you can place a nav_mark_walkable M inside it and use nav_generate_incremental B to build the nave mesh for it.
Make sure that the nav areas inside the subway car are connected to the rest of the level.
You should see a light blue (cyan) line connecting the areas.
If the areas are not connected, select both of the areas that you want to be connected and use nav_connect Insert.
Select all the nav areas inside the subway car and use "mark RESCUE_VEHICLE" in the console to mark them with that attribute.
These are all the things necessary for a finale to work properly. Now, we can add some of the optional components of the finale.
