Elevators
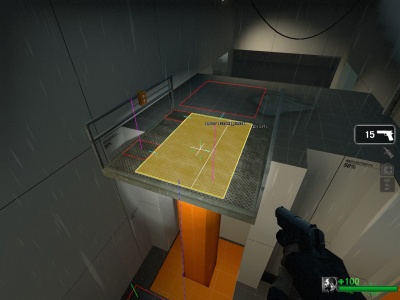
Left 4 Dead has a unique system for creating elevators that the survivors can ride up and/or down. The nav mesh needs to connect seamlessly throughout the level from where the survivors start to where they need to get. Therefore, the elevators need to connect nav mesh areas vertically.
The brush entity to use for an elevator is called a func_elevator. You can also use a prop that is parented to an invisible func_elevator or a prop with its own animations that with an invisible func_elevator.
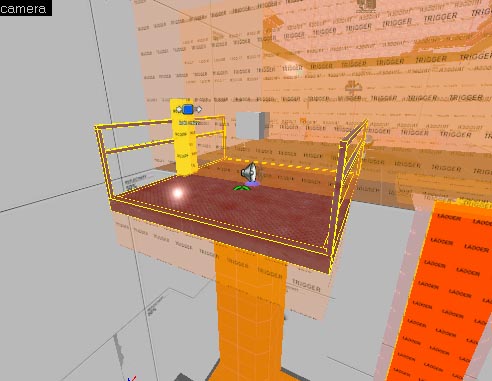
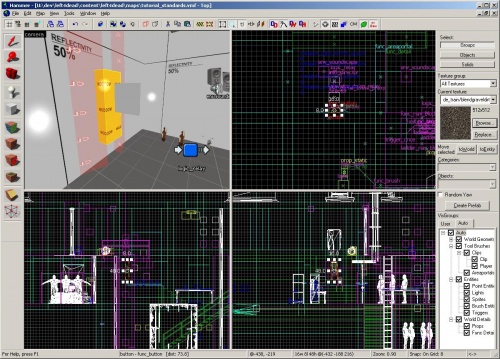
An example of a func_elevator made purely from brushes can be found in tutorial_standards.vmf.
Creating the brush elevator
Create a brush or multiple brushes that you want to be the func_elevator.
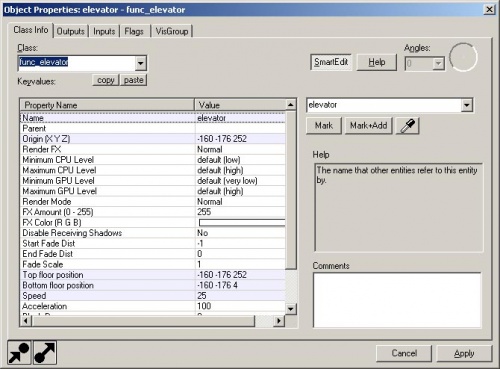
Select them and press Ctrl+T to tie them into an entity. Select "func_elevator" from the drop down menu.
Change the name to a unique name.
Change the third number in the Bottom floor position to be below the Top floor position by any amount (this will help you move the helper nodes).
Set the Speed value (inches/units per second).
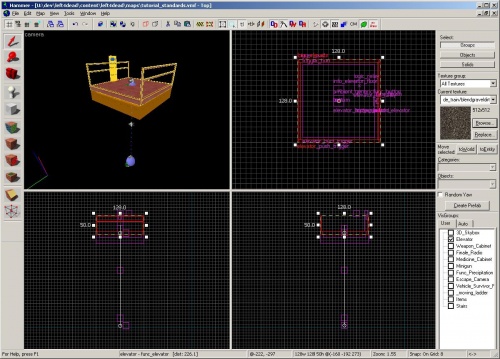
In the Front or Side viewport, you can see the helper nodes that represent the Top and Bottom floor positions.
First modify the last value of the Bottom floor position coordinates so you can see the node. Move the Bottom floor position helper node by left-clicking inside the circle of the node and dragging it down to where you want the elevator to descend to.
Adding floors
In order for you to be able to tell the elevator to go to a certain floor, you'll need to place info_elevator_floor entities.
Go to the Entity Tool and select "info_elevator_floor" from the Objects drop-down menu.
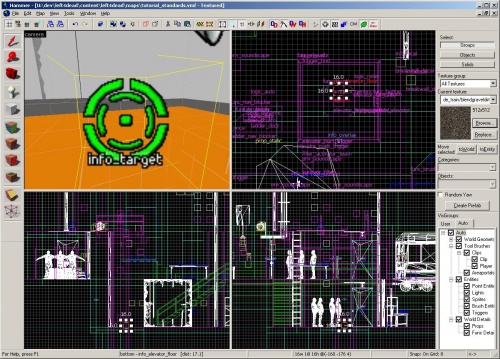
Place two in the Camera viewport under the elevator.
In the Side or Front viewports, move them so that one is where the Top floor position of the func_elevator is and one is where the Bottom floor position of the func_elevator is.
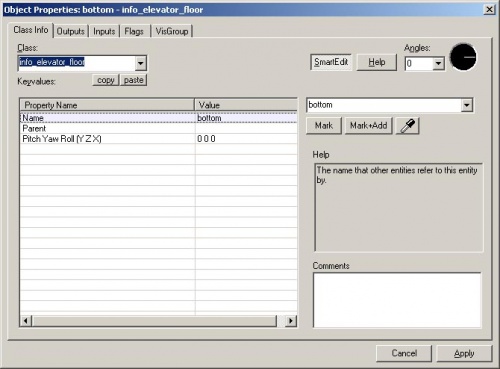
Open the properties for the bottom one by pressing Alt+↵ Enter.
Change the Name to "bottom".
Open the top one and change its Name to "top".
Controlling the elevator
Now, you'll need something to send an input to the func_elevator to tell it to move.
In the tutorial_standards map, there is a func_button that the survivors can press.
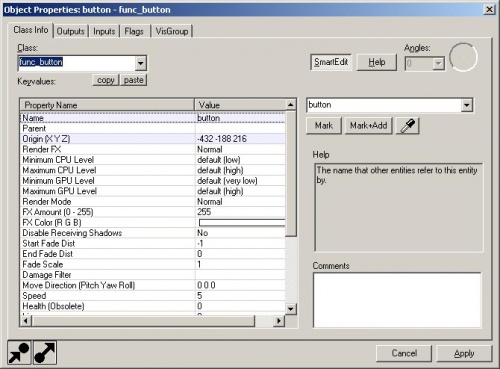
To create a func_button, create a brush and use Ctrl+T to tie it to an entity. Choose "func_button" from the drop down menu.
There are several properties that depend on how you want your button to work, but for now, simply leave them all as default but change the Name to "button".
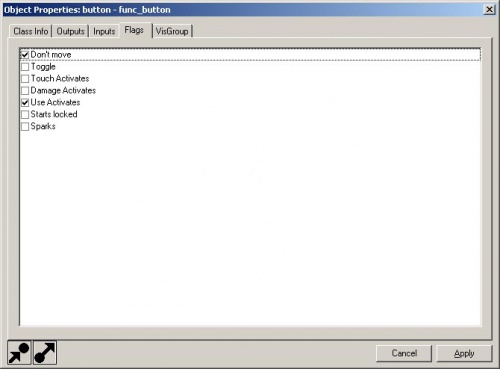
Switch to the Flags tag in the Object Properties and select the following checkboxes:
- Don't move
- Use Activates
This means that the survivors can press it with +use and the button won't move when pressed.
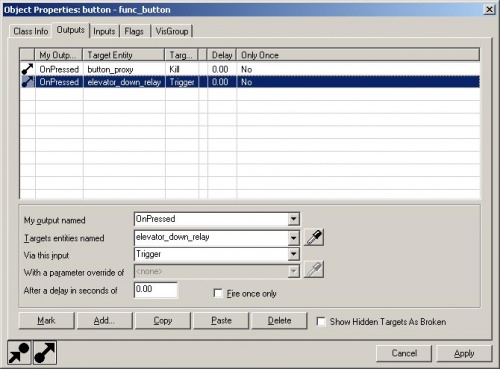
Now switch to the Outputs tab.
Add a new output by clicking on the Add... button near the bottom of the window.
- Change the My output field to "OnPressed".
- Change the Target entities field to "elevator_down_relay".
- Change the Via this input field to "Trigger".
Now we need to create the elevator_down_relay entity that will relay the messages we want sent when the button is pressed.
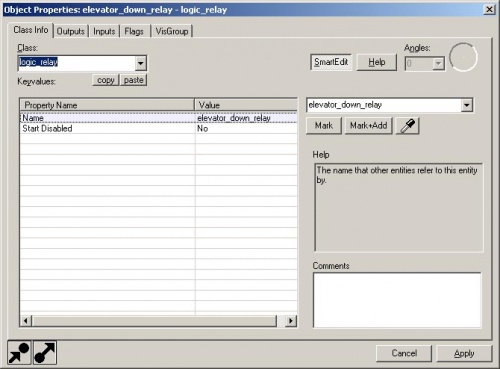
In the Entity Tool, select "logic_relay" from the Objects drop-down field.
Place a logic_relay near the func_button.
Open its properties with Alt+↵ Enter.
Change the name to "elevator_down_relay" to match the output we are sending from the func_button.
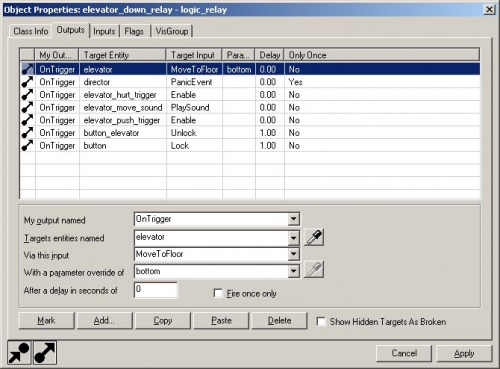
Switch to the Outputs tab and add a new output with the following fields:
- My output named: OnTrigger
- Targets entities named: elevator
- Via this input: MoveToFloor
- With a parameter override of: bottom
- After a delay in seconds of: 0
This will send the elevator down when the relay is triggered which we trigger when a survivor presses the button.
Depending on the setting for your elevator, you might need to tell the elevator to move to the other position. Look at the func_button on the func_elevator in tutorial_standards.vmf for an example.
Editing the nav for a func_elevator requires you to put the elevator in each position it can be in, placing a nav_mark_walkable (M) on it and building incremental nav (B).
The elevator nav will need further refining later on. Please consider troubleshooting with Sorting Out Navigation Flow when you are ready to do so.
