Level Standards
There are other examples in the tutorial_standards level that most Left 4 Dead levels need.
Cubemaps
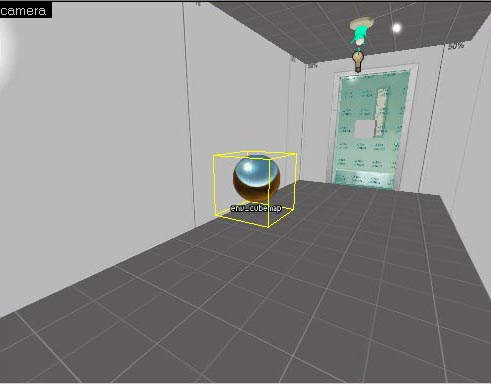
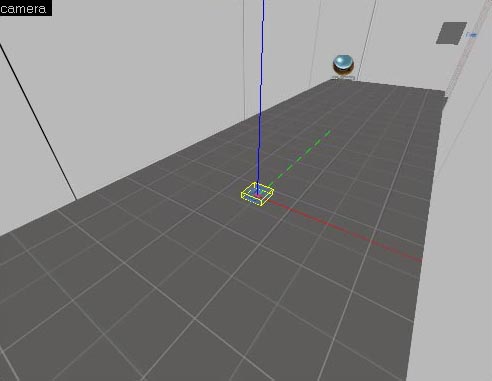
You will notice that there are these reflective spheres placed throughout the tutorial_standards level:
Cubemaps are basically information that some materials need to render correctly. Mainly, any material that is reflective needs a cubemap. It's safe to place one env_cubemap entity in every room in a level.
buildcubemaps" and press the ↵ Enter key to build the cubemaps. This will change the bsp so make sure it isn't read-only.- For more information, see Cubemaps.
Overlays
Overlays are sheets of materials that you can place on top of a brush. We used overlays to show dirt/trash/rugs on the ground, graffiti/signs on the walls, and door frames.
Let's start with an easy placement for one on the ground.
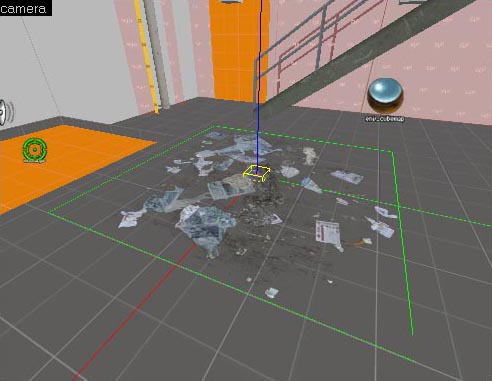
The room with the staircase has an example of trash on the ground.
To place an overlay, click on the ![]() Overlay Tool.
Overlay Tool.
Click on the Browse button on the Texture box to select an overlay texture.
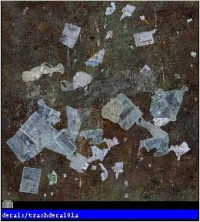
Type "decal" in the Filter Field and find the texture "decals/trashdecal01a"
Double-click on the texture in the browser to make it the current texture.
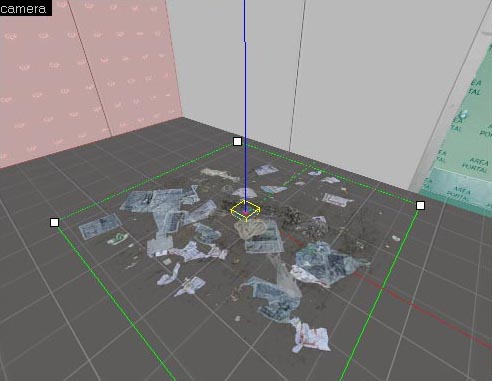
Point to the ground in the Camera viewport and left-click to place the overlay.
Press Esc to go to the Selection Tool and you can move/rotate/scale the overlay similar to brushes.
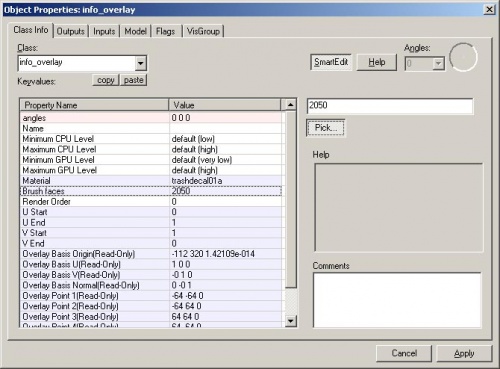
Overlays have assigned brush faces. If you move an overlay to another brush, you will need to assign the brush that it is on top of to it.
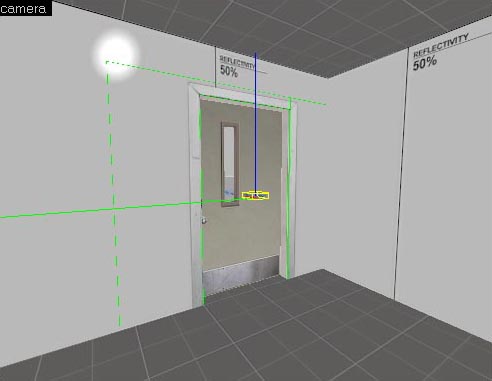
Move the overlay to the hallway behind the door shown in the image above. You will notice that the texture does not appear anymore on the floor.
Now open its properties by pressing Alt+↵ Enter.
Click on the "Brush faces" row and click on the "Pick..." button on the right side.
With the properties still open, left-click on the floor that the overlay is now on top of in the Camera viewport.
You should see a brush face number appear in the row that is different from the original.
Click on Apply and close the properties to see the overlay on the hallway floor.
Now, take a look at the door frame in the first room of the tutorial_standards map.
You will see an overlay that has multiple brush faces assigned to it. When you click on the Pick... button, you can assign multiple brush faces to have the overlay appear on top of each brush.
Creating an Infected-Only Ladder
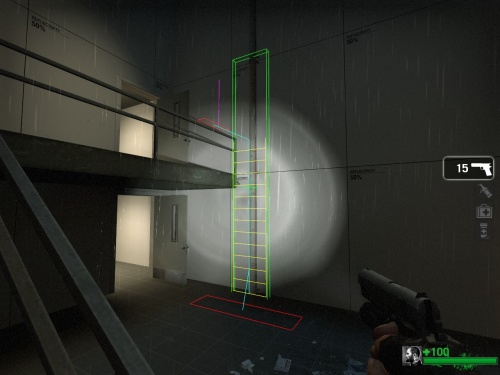
Creating an Infected-only ladder is much the same as creating a ladder for everyone to use.
In Left 4 Dead, the convention is that infected can climb up gutters and pipes as if they are ladders where survivors can not.
Start out making a brush with the Block Tool.
Texture the brush with the tools/toolsnodraw texture.
Then enter the Texture application mode and select the front face of the ladder.
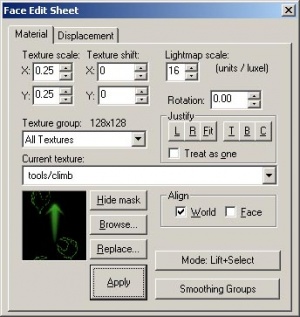
Click on the Browse button in the Face Edit Sheet.
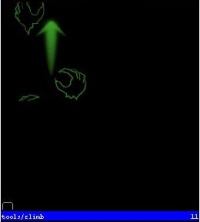
Select the texture tools/climb texture.
Double-click on the texture to make it the current texture in the Face Edit Sheet.
Click Apply to apply it to the front face and close the Face Edit Sheet.
Select the brush and use Ctrl+T to make it a brush entity.
Change it to a func_ladder in the Class drop-down list.
Press F9 to save, compile, and run your map in the game.
Switch to nav editing mode (Page_Down), point at the ladder with your cursor and use "nav_build_ladder" or press P in the default nav configuration.
