Panic Events
Panic Events are occasions where the designer forces an infected horde to appear at a certain time. You still will only have limited control over where they will come from, but you can at least have control over them spawning.
Examples of Panic Events are when you turn the generators on in the second map of No Mercy, when you ride the scissor lift up in the third map of No Mercy, and when you summon the elevator in the fourth map of No Mercy.
The func_elevator that we just looked at in the tutorial standards map has the button that you use to summon the elevator sending an output to cause a Panic Event.
Placing an info_director
The first thing you'll need to do if you want to create a Panic Event is an info_director.
Go into the Entity tool ![]() and select "
and select "info_director" from the Objects drop-down menu.
Place it by left-clicking in the Camera viewport.
Open its properties by pressing Alt+↵ Enter.
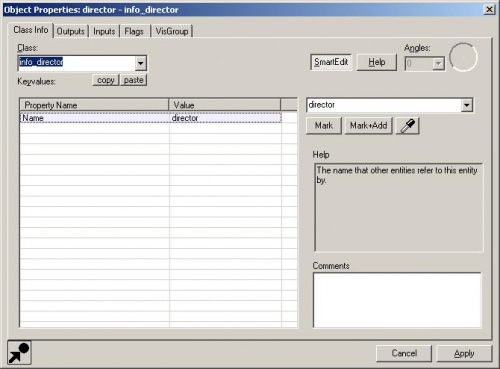
Change the Name field to "director" so that you can send an input to it.
Now, enter the Selection tool ![]() by pressing Esc and double-click on the entity you want to send an input from. In this case, open the
by pressing Esc and double-click on the entity you want to send an input from. In this case, open the logic_relay we used to call the elevator down, "elevator_down_relay".
Switch to the Outputs tab.
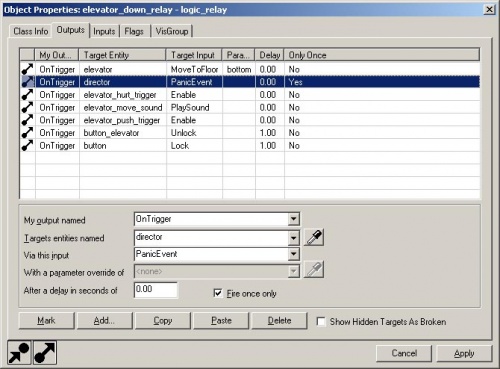
Click on Add... to create an output.
Change My output named to "OnTrigger".
Change Targets entities named to "director".
Change Via this input to "PanicEvent".
Check the box for Fire once only.
This will tell the relay that when it's been triggered, to send a Panic Event to the director but only the first time.
Now, you'll press F9 to save and compile your map.
In the game, you'll need to make some changes to the nav file so that the Panic Event will work properly.
sv_lan 1" in the console.When the level loads, type the following console commands:
director_stop
nb_delete_all
nav_edit 1
z_debug 1
If you have a config file that you use for nav editing, exec that config (i.e. exec nav.cfg).
Move to where you have your Panic Event triggered. In the tutorial standards map, go to the button where the elevator is summoned.
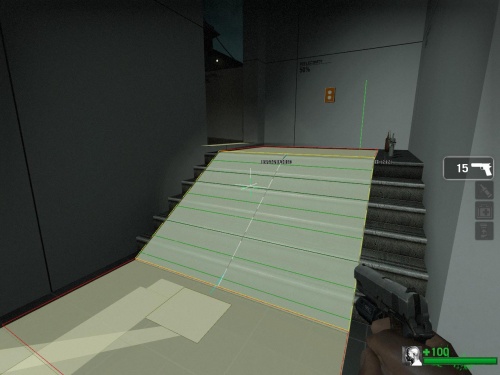
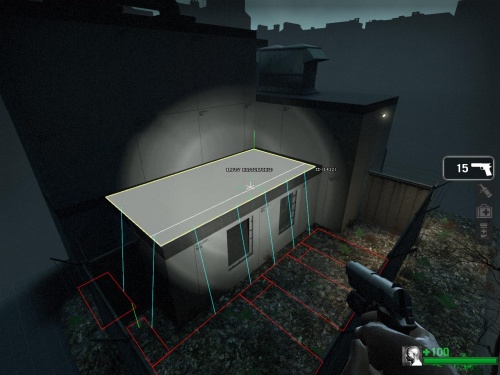
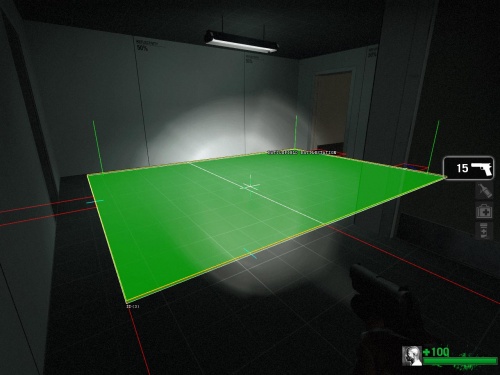
Select areas around the Panic Event and grow the selection so that you are including enough areas for the horde to spawn from.
Once all the areas you want are selected, bring down the console and type "mark BATTLEFIELD" and press the Enter key.
You'll notice that in tutorial standards, it has included areas that the survivors can't get to as BATTLEFIELD.
The BATTLEFIELD attribute on the nav area is where the Panic Event is fought and where the infected can spawn from. Normally, there's a 1500 unit bubble around the survivors that the director tries to spawn infected within. Using the BATTLEFIELD attribute, you can plan for areas that are farther away – allowing for moments where the infected are coming from a distance.
Now, find areas within the BATTLEFIELD that you think are good, strategic places for the survivors to fight from. The survivor bots will need to know that these are good spots, so select them and mark them as "BATTLESTATION".
The Game Instructor
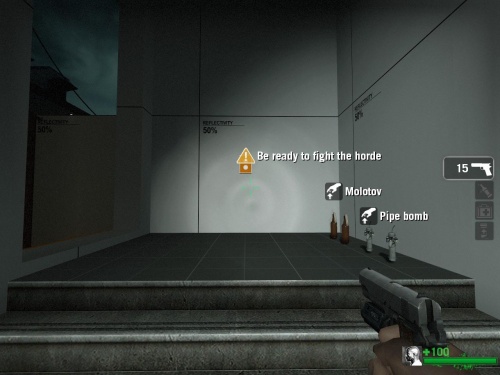
When you play Left 4 Dead, you'll notice there are text messages that appear to explain how things work or where something is that needs your attention. We call this system the Game Instructor.
Panic Events, as we've designed in Left 4 Dead, should have a Game Instructor Message associated with them. There is one attached to the elevator button in the tutorial standards map.
To set this up yourself, go to the Entity tool ![]() and select "
and select "info_game_event_proxy" from the Objects drop-down menu.
Place the entity in the level where you want the message to be located.
Open its properties by pressing Alt+↵ Enter.
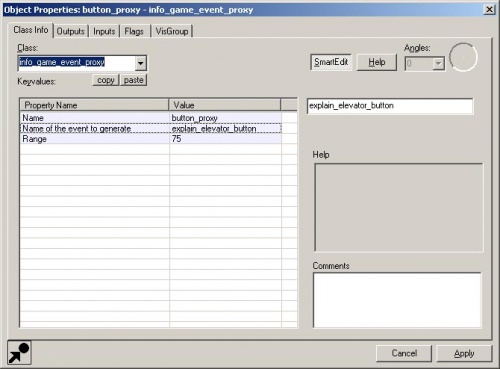
Give it a unique Name.
For Name of event to generate, enter "explain_elevator_button".
Change the Range to "75".
Now, switch to the Flags tab.
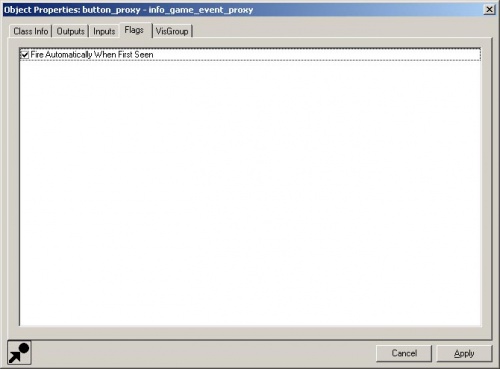
Check the box Fire Automatically When First Seen.
This means that the instructor message will appear when the player sees it.
Now, we'll need to fire an input to the info_game_event_proxy to turn it off when the button is pressed.
Double-click on the func_button that you used to trigger the elevator_down_relay to open its properties.
Switch to the Outputs tab.
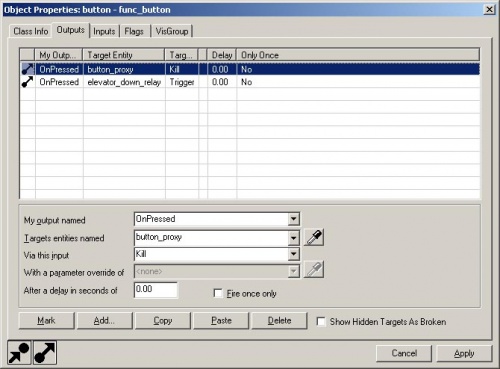
Click on Add... to add an output.
- My output named : "OnPressed".
- Target entities named: entities named to "button_proxy" or the name you gave to the
info_game_event_proxy. - Via this input: "Kill".
This will remove the info_game_event_proxy from the level once the button has been pressed.
