Clip Brushes
This page either contains information that is only partially or incorrectly translated, or there isn't a translation yet.
If this page cannot be translated for some reason, or is left untranslated for an extended period of time after this notice is posted, the page should be requested to be deleted.
Also, please make sure the article complies with the alternate languages guide.
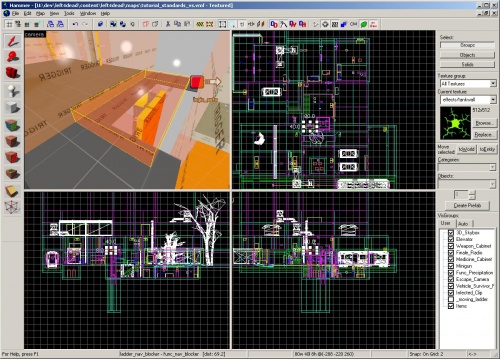
Looking around the tutorial_standards.vmf level in Hammer, you may have noticed that some of the brushes placed do not actually render in the game version of the level.
Similar to the trigger_changelevel brush that you created in the checkpoint tutorial, all trigger brush entities are invisible in the game.
There are also clip brushes that can block survivors and infected.
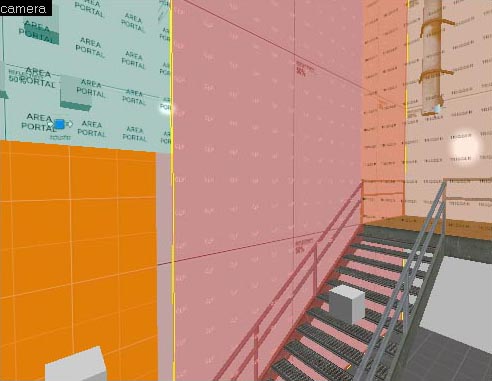
You can use these to cover geometry that players can get stuck on. The railings for the stairs in tutorial_standards.vmf are a good example of this.
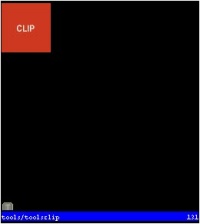
To make a clip brush, simply create a brush and attach the tools/toolsclip texture to it.
Brushes with this texture applied to them will block all players, npc's, and physics objects. They will not block bullets.
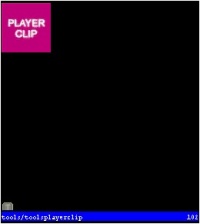
You can also just block players by using the tools/toolsplayerclip texture.
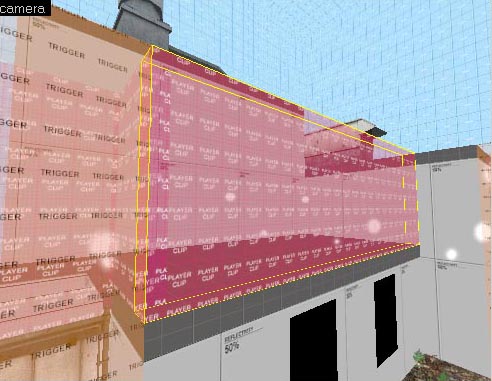
This is handy for above walls and fences that you want infected to climb over but you don't want players to accidentally get knocked over.
The exterior area shown here from tutorial_standards.vmf is a good example of this.
Sometimes, you may want to block the nav mesh without adding a clip brush. You might even want to block the nav for just survivor bots or just infected. You can use a brush entity called a func_nav_blocker to block the nav.
In the tutorial_standards map, a func_nav_blocker brush entity has been used to keep the survivor bots from trying to use the ladder nav before the ladder has been raised.
To create a func_nav_blocker:
- Use the Block Tool to create a brush along the area of the floor that you want to block the nav.
 Примечание:If you choose to rotate a brush at an angle between 0 and 90 degrees, the nav will be blocked along the bounding box of the func_nav_blocker.
- Apply the "tools/toolstrigger" texture to the brush.
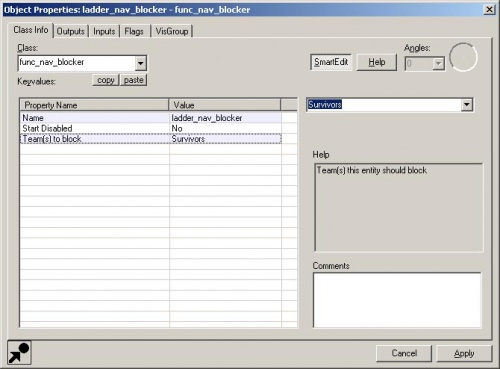
- Use Tools > Tie to Entity to turn the brush into a brush entity and open the brush properties.
- Change the Class to "
func_nav_blocker". - Change the Name to something unique. In this case, I've used "ladder_nav_blocker".
- Change the Team(s) to block to "Survivor". If you want to block infected only, then change it to "Infected".
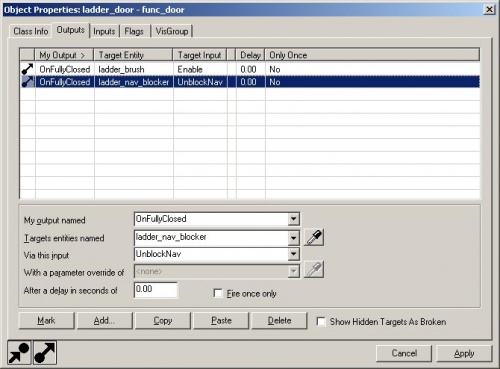
You can also unblock the nav that a func_nav_blocker is blocking by sending an input to it.
Add an output with the following:
- My output named: "OnFullyClosed" (This is set up for the ladder that gets raised.)
- Target entities named: "ladder_nav_blocker"
- Via this input: "UnblockNav"
- L4D Level Design/Стандарты|:L4D Level Design/Стандарты]]
