Breakable Walls
Contents
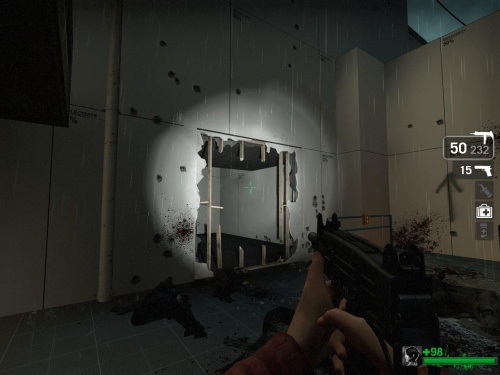
There are some walls in Left 4 Dead that the infected can break to surprise the survivors. For example, in the hospital, at the elevator, there are a few walls that break to allow the infected to come into the area.
There's also an example in the tutorial_standards.vmf map.
Creating a func_breakable
Start by creating a brush for the wall in the Block Tool.
The wall will need to fit into an existing wall in your level.
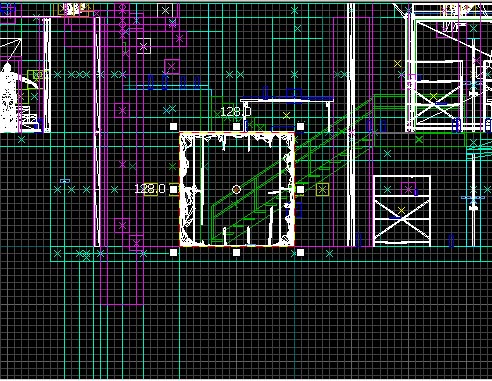
Make the wall with these dimensions:
- 128 Units Long
- 16 Units Thick
- 128 Units Tall
Press Ctrl+T to turn the brush into a brush entity.
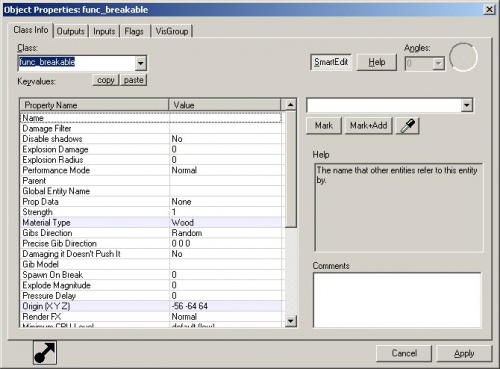
The properties window will appear.
Change the Class to "func_breakable" and click on the Apply button.
Change the Material Type to "Wood".
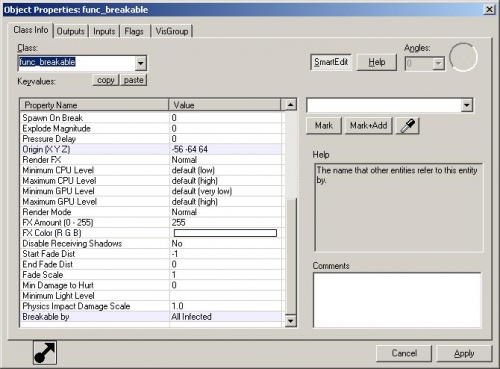
Change the Breakable by to "Infected".
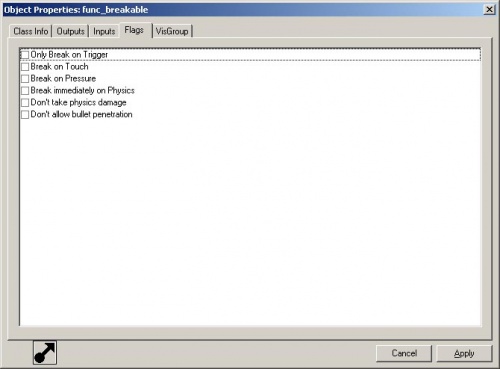
Switch to the Flags tab.
Make sure that none of these boxes are checked unless you want the wall only to be broken when it receives an input by some other entity in the world.
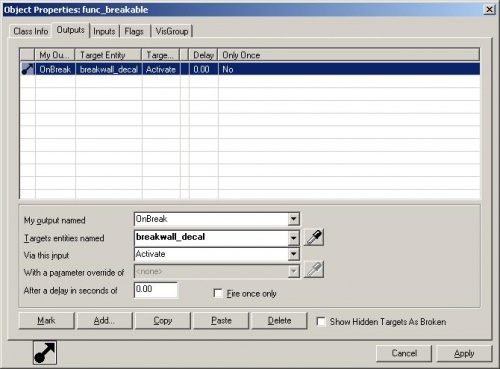
Switch to the Outputs tab.
Add an output with the following:
- My output: "OnBreak"
- Targets entities named: "breakwall_decal"
- Via this input: "Activate"
We will later add decals to turn on so that the edge of the solid wall will not look too straight.
Click on Apply and close the properties window.
Position the func_breakable wall in the space in the wall where you want the infected to come out from.
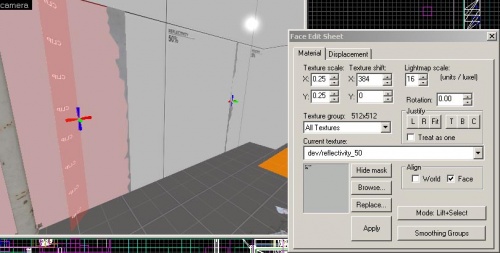
Go into the Texture Application Mode.
With the Face Edit Sheet window up, in the Camera viewport, Alt+left-click on the wall that is solid. This samples the texture and the alignment of that brush face.
Continue holding the Alt key down and right-click on the func_breakable wall face that is next to the wall that is solid to align the textures up properly. Alt+right-clicking transfers the texture and alignment of the sampled face.
Adding a Breakwall Model
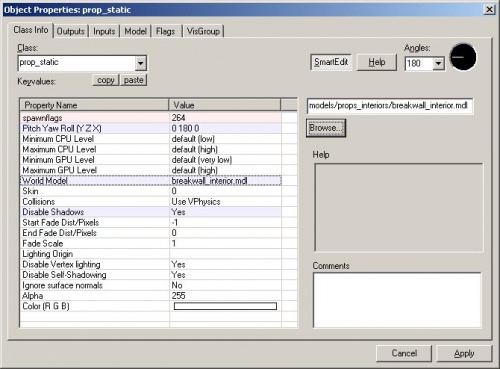
Go to the Entity Tool and select "prop_static" from the Objects list.
Place the prop_static in the Camera viewport next to the func_breakable wall.
Open its properties.
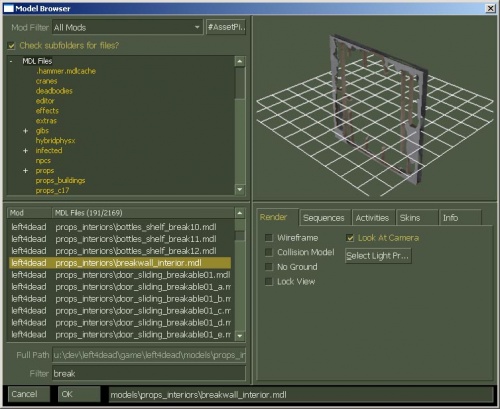
Click on the World Model row and click the Browse button on the right side.
Type "breakwall" in the filter.
Select the model "props_interiors/breakwall_interior.mdl"
Click OK.
Change Disable Shadows to "Yes".
Click on Apply and close the window.
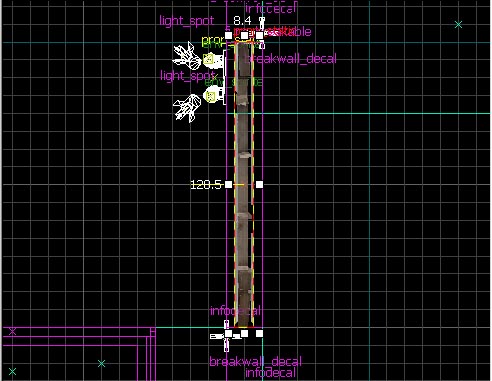
Position the prop_static inside the func_breakable.
This model will be revealed when the func_breakable brush entity is destroyed.
Placing infodecals
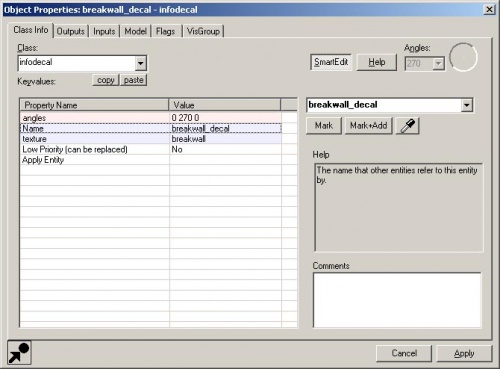
Go to Entity Tool and select "infodecal" from the Objects list.
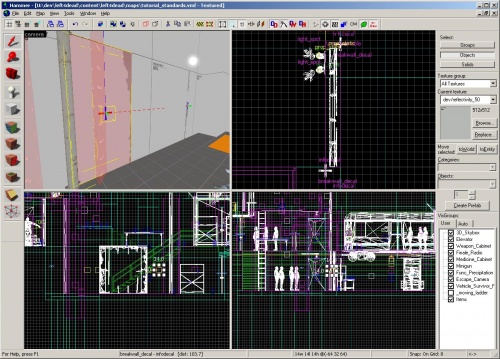
Place it in the Camera viewport on the wall that doesn't break on the left of the breakwall.
Open its properties with Alt+↵ Enter.
Change the Name to "breakwall_decal".
Click on the texture row and click on the Browse button on the right side to bring up the texture browser.
Type "overlays" in the filter.
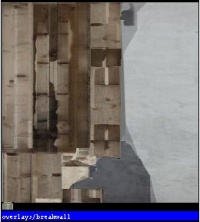
Select the texture "overlays/breakwall".
Double-click on the texture to make it the infodecal's texture.
Click on Apply and close the window.
Position the infodecal so that it shares the same plane as the wall that the func_breakable is set in.
Select the infodecal and duplicate it (⇧ Shift+Right_Arrow key).
Position it on the right side of the func_breakable.
Open its properties.
Click on the texture row and click on the Browse button on the right side.
Type "overlays" in the filter.
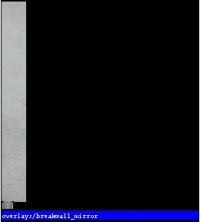
Select "overlays/breakwall_mirror".
Double-click on the texture to set it in the info_decal properties.
Click Apply and close the window.
This will cover the straight edge of the right side of the wall.
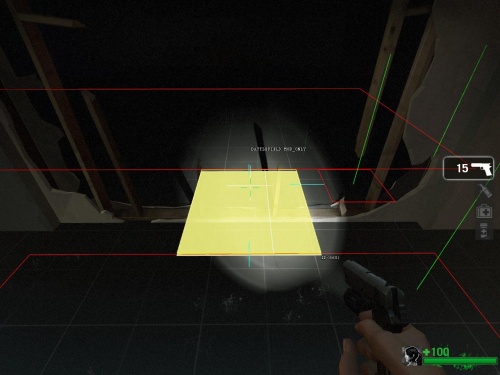
Recreate the nav area through this breakwall so that the infected can walk through the prop_static cleanly.
ent_fire !picker break