Zh/L4D Level Design/Ladders
译者:joyo_a(百度ID)
接下来我们将返回Hammer来添加一个梯子到我们的地图。
创建tutorial02.vmf
我们要做的第一件事是我们为在上一节中使用的地图创建一个新版本的地图。
在Hammer里,打开你先前创建的地图文件tutorial01.vmf(如果你还没有打开)。默认情况下,它应位于mapsrc文件夹中:
C:\Program Files\Steam\steamapps\common\left 4 dead\sdk_content\mapsrc\
现在我们将建立一个新版本来工作并完成它:
- 转到文件File,然后选择Save As...。
- 更改名字为
tutorial02.vmf。
建造房间
首先,选择在第一个房间教程中创建的第二个房间的天花板。
将笔刷向上移动128个单位。
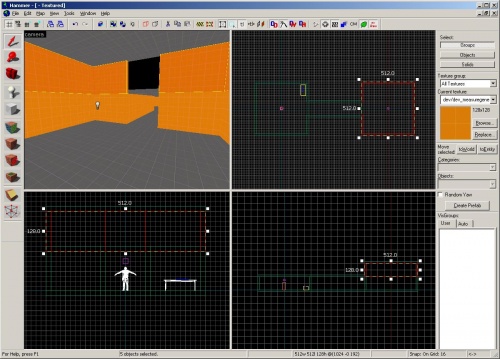
在第二个房间中选择墙壁笔刷并复制它们使新的墙壁搁置在旧的墙上。
你修改的房间应该看起来像这样:
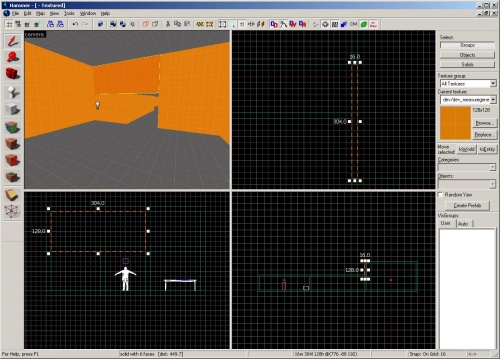
你现在将看到一个我们包含的房间和走廊之外的黑色的洞。如果有一个洞或“leak”到地图的外部,地图将无法正确编译或正确运行。我们来修复它。
选择墙的上面部分到洞的一侧。
通过拖动拐角手柄来扩大其大小以覆盖开口。
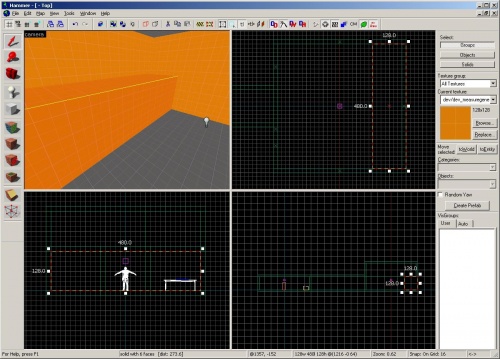
创建一个窗台
现在在3D视图中单击第二个房间中后墙的下部。
使用顶部视图,将墙扩大到房间,使其宽128个单位,形成一个窗台。
通过按Esc键取消选择画笔。
纹理一个笔刷面
只是为了说明如何改变笔刷面的纹理,让我们改变所有的地板和天花板的纹理为dev/dev_measuregeneric01b纹理。
编辑笔刷的各个面,在Tool栏中单击![]() Texture application mode按钮。
Texture application mode按钮。
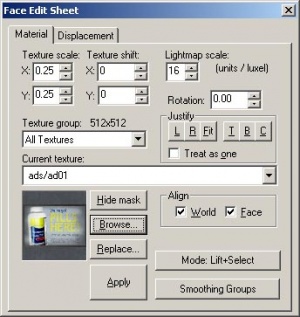
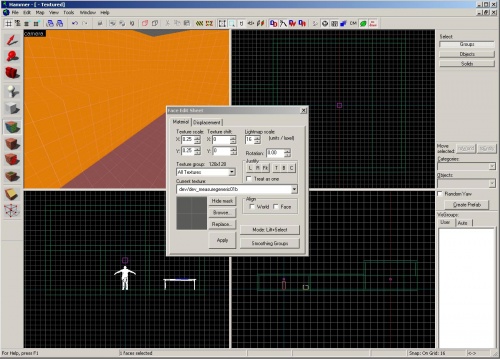
你将看到Face Edit Sheet对话框。
你可以浏览纹理,就像当你使用Texture栏的Browse来查找纹理,或者你可以从现有的面“提升”。
要从现有的面提升,只需在您看到灰色显影剂纹理的地板上左键单击。
你会注意到这会将Face Edit面板上的缩略图替换为measuregeneric纹理。
要将它应用到另一个面,只需在要接收纹理的面上右键单击。
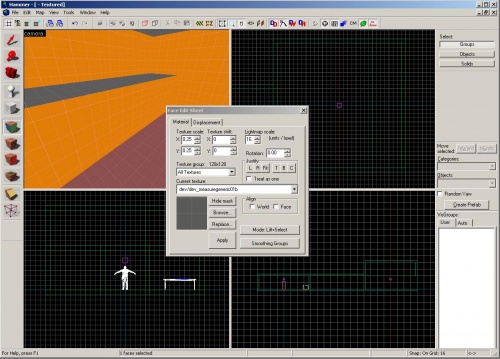
在你创建的窗台的顶部右键单击以给它与地板相同的灰色纹理。
放置一个梯子模型
切换到![]() Entity Tool,并从Entity栏的Objects下拉菜单中选择“
Entity Tool,并从Entity栏的Objects下拉菜单中选择“prop_static”,如果它还没有设置为这个。
通过点击你刚刚扩大的后墙以放置prop_static。
按Esc键取消选择prop_static,然后双击它以显示其属性。
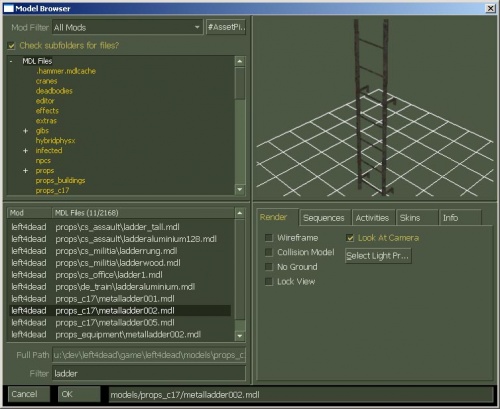
单击World Model行。
单击Object Properties对话框右侧的Browse。
在Filter字段中输入“ladder”。
选择“props_c17/metalladder002.mdl”然后单击OK。
单击Object Properties对话框里的Apply。
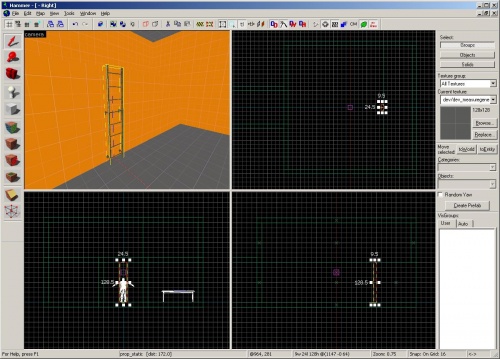
你现在应该有个梯子在你放置你的prop_static的地方。
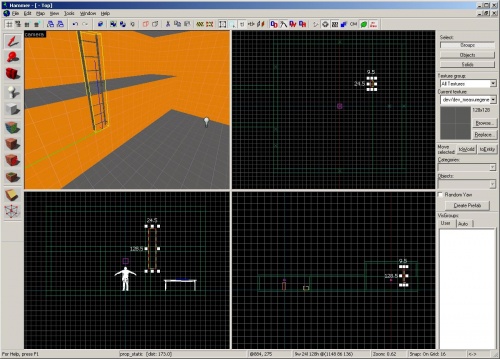
切换回Selection tool,然后旋转并移动你的梯子,这样它就在这个后壁的中间,并且底部接触地板。
创建一个func_ladder
Now that you have the model that shows where your ladder is, you will need to place the actual entity that allows players and and other characters to climb it.
Click on the Browse button on the Texture bar.
Type "nodraw" into the filter.
Double-click on the texture "tools/toolsnodraw" to select it and close the browser.
Decrease your grid size to 2 units in order to fit the ladder better by pressing the [ key twice.
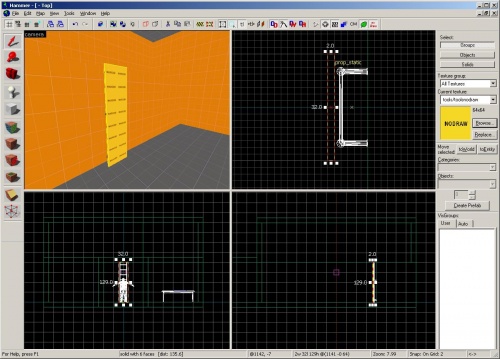
Click ![]() Block Tool and then create a brush in the Top viewport in front of the ladder.
Block Tool and then create a brush in the Top viewport in front of the ladder.
The brush should be approximately 32 units wide, 128 units tall, and 2 units thick. If necessary, resize the brush by dragging the corner handles and drag into place in front of the ladder model as shown in the image.
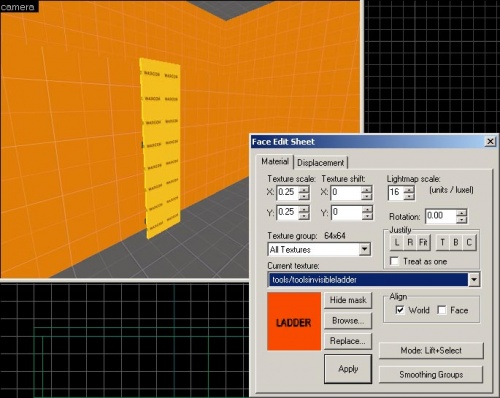
Now, you will need to make one face of the brush (the face that points out from the ladder) a ladder tool texture. To edit individual faces of brushes, click the ![]() Texture application mode button.
Texture application mode button.
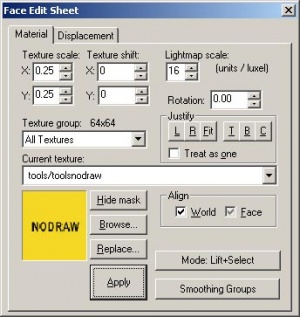
You will see the Face Edit Sheet dialog box appear again.
With this dialog box still appearing, select the face pointing away from the ladder in the Camera viewport by clicking it with the left mouse button.
Click on the Browse button in the Face Edit Sheet dialog box and you will see the Texture browser window appear again.
Type "ladder" into the Filter field.
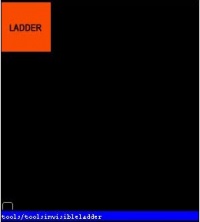
Double-click the texture "tools/toolsinvisibleladder".
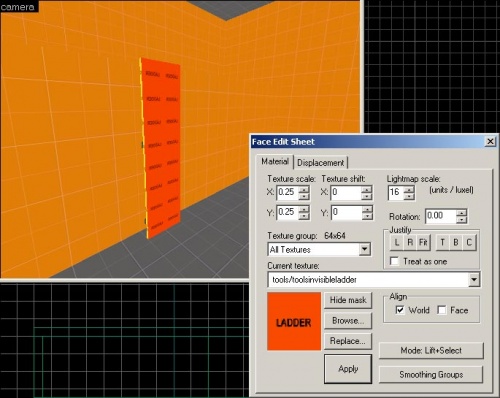
You should see the LADDER texture now occupying the thumbnail in the Face Edit Sheet.
Now click the Apply Button and your selected face should change to the LADDER texture.
Exit the Texture application mode by closing the Face Edit Sheet dialog box.
Select the brush with the LADDER texture on the one face.
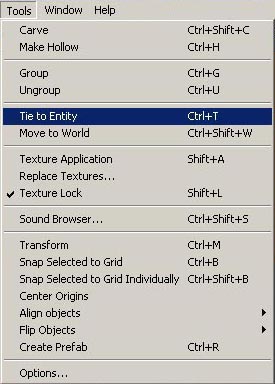
Go to the Tools menu and pick Tie to Entity.
This will make the brush a brush entity. This changes the solid block of geometry we had before into a special brush that can have properties that can be changed to affect the game.
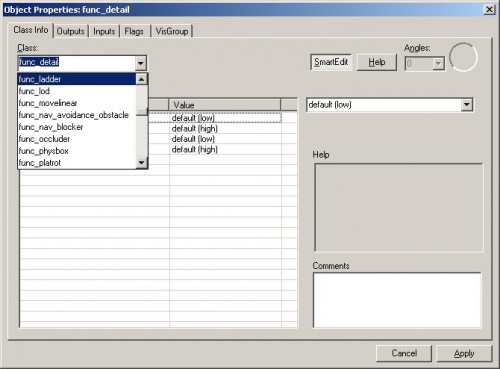
The default brush entity is a func_detail which we will talk about a little later.
We want to make this brush entity a func_ladder. Pull down the drop-down menu choices and select "func_ladder".
Then click on the Apply button to confirm the change and close the Object Properties dialog box.
Compile the level
Now compile the level by pressing the F9 key and then clicking on the OK Button.
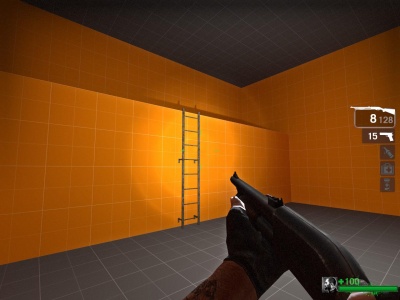
Your ladder look something like this in-game.
You should be able to move up to your ladder and move up it to climb up onto the ledge. If you can't, it's possible it was not created correctly. Try going back to Hammer, deleting your ladder and creating it again.
