Ru/L4D Level Design/Nav Meshes
Сейчас мы создадим навигационную сетку (коротко Nav) для нашего уровня. Навигационная сетка представляет собой "зоны передвижения ботов" на карте. Это позволяет ботам-выжившим и инфицированным "знать", как передвигаться в окружении.
Создание tutorial04.vmf и компиляция
Откройте в Hammer файл карты tutorial03.vmf, который вы создали в предыдущем учебнике. По умолчанию, он должен находиться в папке mapsrc:
C:\Program Files\Steam\steamapps\common\left 4 dead\sdk_content\mapsrc\
Сделаем новую версию для работы, и сохраним ее:
- Откройте меню File и выберите Save As...
- Измените имя на
tutorial04.vmf. - Нажмите F9, чтобы открыть окно Run Map, нажмите кнопку OK для начала компиляции.
Getting Started
После загрузки уровня:
- Перед нами появится диалог "Map is unplayable", так как у нас нет навигационной сетки. Нажмите Continue чтобы убрать этот диалог.
- Откройте консоль разработчика ` (тильда)
- Введите
"director_stop"и нажмите ↵ Enter.- Это остановит создание зараженных AI директором.
- Введите
"nb_delete_all"и нажмите ↵ Enter.- Это удалит всех зараженных и ботов выживших.
- Введите
"nav_edit 1"и ↵ Enter.- Это переключит игру в режим редактирования навигации.
- Спрячьте консоль снова нажав на `.
Генерирование навигационной сетки
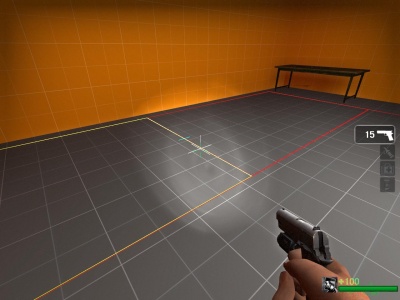
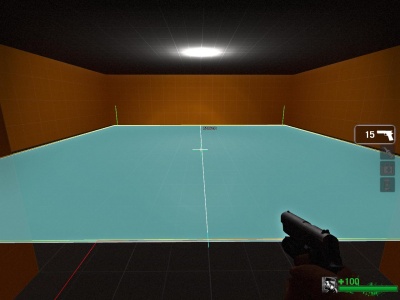
Спрятав консоль, взгляните на пол в холле между двумя комнатами.
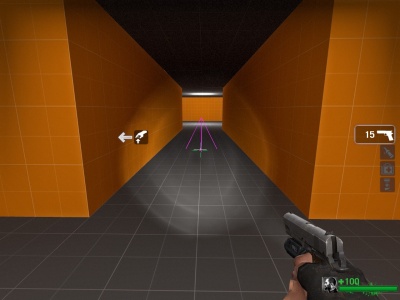
Откройте консоль и введите "nav_mark_walkable" и нажмите ↵ Enter.
Закрыв консоль, вы увидите пирамидообразную фигуру на земле куда вы указали.
Значит вы расположили маркер генерации навигации называемый "nav_mark_walkable".
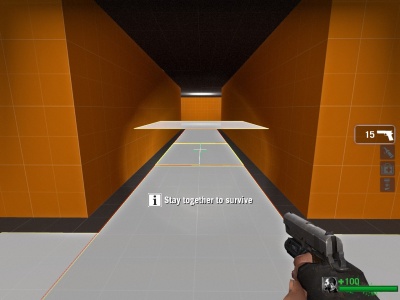
Снова откройте консоль и введите "nav_generate_incremental" и нажмите ↵ Enter.
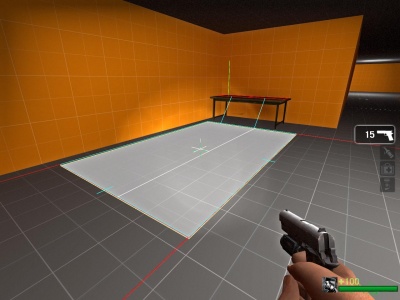
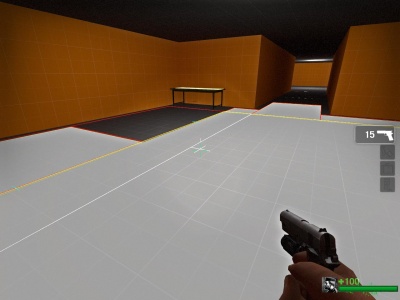
Эта команда сгенерирует навигационную поверхность вокруг nav_mark_walkable. Навигационная поверхность представлена как несколько соединенных прямоугольных блоков.
nav_mark_walkable на вашем уровне. У каждого nav_mark_walkable ограничен радиус создаваемой навигационной поверхности. In general, build nav areas for one section at a time to keep the nav mesh clean.nav_generate_incremental автоматически сохраняет навигационную поверхность вашей карты при запуске. Если вы хотите сохраниться вручную,то вы можете использовать комманду "nav_save".Выделение навигационной зоны
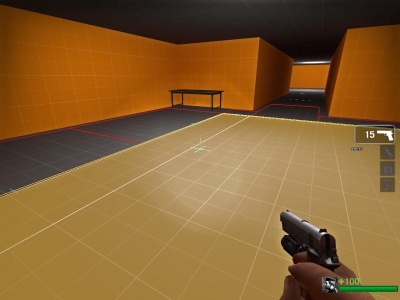
После выполнения nav_generate_incremental , все новые навигационные поверхности будут выделены. Это ставновится удобным, когда у вас есть ошибка и вы хотите сгенерировать навигационную поверхность снова. Для удаления выделенной навигационной поверхности, введите комманду "nav_delete" в консоли. Эта комманда удалит все выделенные навигационные поверхности. Если вы сделаете это, то вы можете создать навигационную поверхность размещение другого nav_mark_walkable и выполнения nav_generate_incremental.
- Чтобы снять выделение, введите "
nav_clear_selected_set". - Чтобы выделить навигационную зону, наведите прицел на зону и введите "
nav_toggle_in_selected_set". эта комманда выделит навигационную зону на которую вы прицелились.
Как вы знаете редактирование навигационной поверхности требует множества консольных комманд. Наиболее эффективный способ редактирования, заключается в привязывании клавиш к этим коммандам.
Файл конфигурации (cfg) был включен для легкого старта.
Откройте консоль и введите:
bind PGDN "exec nav_mode"
и нажмите ↵ Enter.
Теперь при нажатии на клавишу Page Down игра будет переключаться между режимами "Редактирование Nav" и "Режим игры".
Привязывание ваших клавиш (для профессионалов)
To set your own keys using the bind command, bring down your console and type:
bind <key> "console command"
For example, if you want to bind the Z key to "nav_toggle_in_selected_set", type this in your console:
bind z "nav_toggle_in_selected_set"
You may want to open the left4dead/cfg/nav_mode.cfg file in a text editor to add or change key bindings.
- For more information on binding commands to keys, see Bind.
nav_mode.cfg. If you're using your own bindings, you'll have to substitute your own key shortcuts for the one given.Разделение навигационных зон
You will also notice that the Nav Mesh in your level currently has large areas that cover the entire room. Sometimes, it's necessary to split those large areas into smaller ones. For example, if you want to add an attribute like where the survivors start and you want the area to be right in front of the weapons table.
You can split up nav areas by using "nav_split".
In the included nav_mode.cfg file, nav_split is bound to the Insert key.
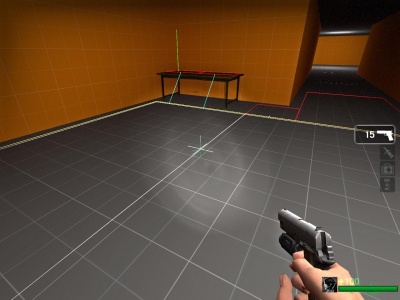
As you point at the nav areas, you will see a white line that moves either North/South or East/West with your cursor. Position the cursor so that a line draws to the right of the weapon table in the first room you created.
This line shows where the split will happen if you use nav_split.
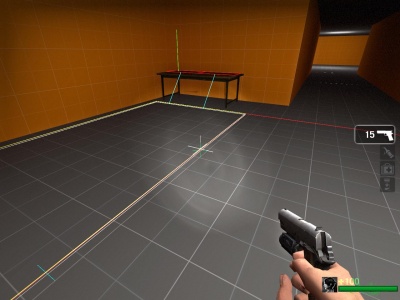
Press Insert to perform the split.
Now, position the cursor so that the new area you just split in front of the weapon table is split in half in the other direction.
Press Insert to perform the split and see the result.
Добавление аттрибутов
Nav areas may contain attributes that designate specific purposes. For example, a nav area marked with the attribute "EMPTY" means that a common infected cannot spawn on it. Let's say that you have a kitchen with a counter in it, and you don't want infected to be standing on the counter top when the player gets there because it looks weird. You can mark this area as "EMPTY".
First, enter the "z_debug 1" command to allow the attributes to be viewed.
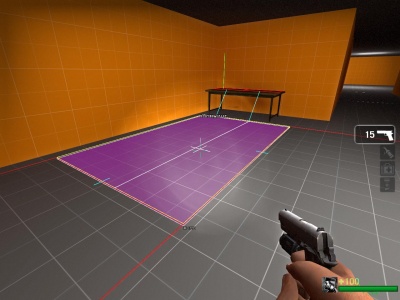
In our first nav mesh that we're creating, we need to designate where the Survivors are going to start when they appear in the map. Let's mark the area in front of the weapon table that we just split as "PLAYER_START"
Point your cursor at the area in front of the weapon table and use "nav_toggle_in_selected_set" by pressing the Z key.
Now bring down your console and type "mark PLAYER_START" and press ↵ Enter.
This will turn the selected area into a Player Start position for the survivors. It should turn a purple color.
clear_attribute <attribute name>" in the console to remove it. For example: clear_attribute PLAYER_STARTLeft 4 Dead requires certain nav areas in its levels for the Director to work properly. For this simple test level, we will use another attribute called "FINALE".
Walk down to the second room in this level and select the area that occupies by looking at it and pressing the Z key.
Bring down the console and type "mark FINALE" and press ↵ Enter.
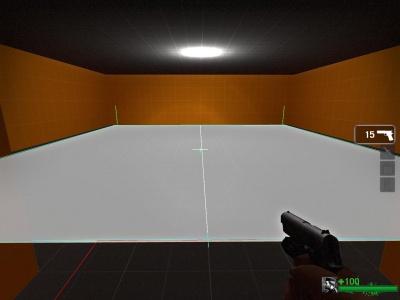
This will turn this room into a finale area and it will turn blue.
Now, the level has all it needs for the Director to work properly. The Director can create a "flow" from the starting point to the destination point.
To make the level a little more playable, let's mark the areas around the Player Start area as "EMPTY" so that the player won't get mobbed right after jumping into the map.
Select all the areas around the Player Start with the Z key.
Bring down the console and type "mark EMPTY" and press ↵ Enter.
This will prevent "wandering" common infected from appearing in these areas when the map starts.
Save the nav mesh by using "nav_save".
If you make a mistake or if you find that the auto generation of the nav mesh has mistakes, you can delete nav areas with the command "nav_delete". For example, the weapons table doesn't actually need a nav area on top of it. It may cause survivors to jump up onto it, which might not be desirable.
In the config file provided, this command is already bound to the Delete key.
To delete a nav area, point at it, select it with the Z key. Make sure you only have the areas you want to delete selected, then press Delete.
Теперь мы знаем основы Nav поверхности, теперь нам нужна игра для анализа Nav, для того чтобы директор знал где создавать зараженных.
Откройте консоль и введите "nav_analyze" и нажмите ↵ Enter.
Это процедура может занять несколько минут, после этого карта будет перезагружена.
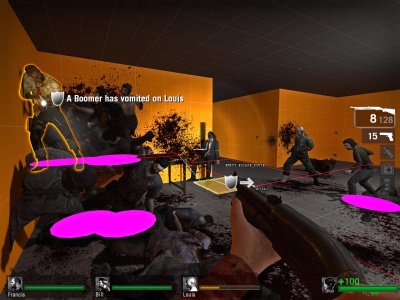
Для проверки правильности создания зараженных используйте "director_start" в консоли и перезагрузите уровень коммандой "map tutorial04".
Ваша сцена должна выглядить наподобии этой.
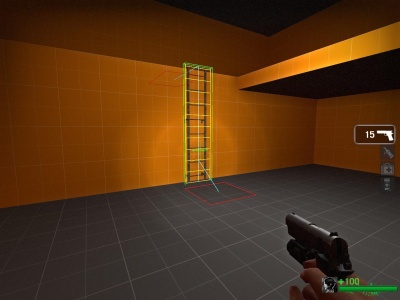
If you open up tutorial03 in the game, and switch to nav_edit 1, you'll see how a ladder looks with nav placed on it.
Do create nav on a func_ladder, position your cursor over it in nav_edit mode and use "nav_build_ladder".
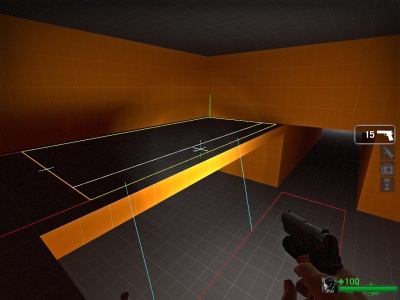
While a lot of the nav areas will be connected properly when you use nav_generate_incremental, there are some that you might want to tweak or change. For example, the catwalk we created in tutorial03 might not have connected properly to the areas below it.
To connect 2 nav areas, select them and use "nav_connect" in the console. The End key is currently bound to this in the nav_mode.cfg file.
This will connect the areas in both directions and form a light blue line as seen in this image. Infected can climb up (they can climb to any area 180 units or lower) and they can drop down. Survivor bots can also drop down.
To connect 2 areas one-way only, you will need to select the one you want to be able to connect to the other and then point to the second with the cursor but don't select it. Then, press End to use "nav_connect".
Make sure in both cases that the two areas you want to connect are not layered on top of one another. This will cause infected to bump their heads when they try to climb up.
Sometimes the nav_generate_incremental leaves out areas that you want to have nav on. In these cases, you will need to draw your own nav area.
Drawing nav areas is done with 2 keys. One key is bound to "nav_begin_area" and other bound to "nav_end_area". The nav.cfg file has nav_begin_area bound to the left mouse button and "nav_end_area" bound to the right mouse button.
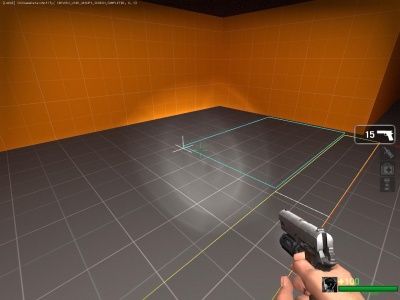
Point to the area you want to create an area and click the left mouse button. As you move the mouse around, you can see where the nav area will draw until you press the right mouse button to end drawing and create the area.
Click the right mouse to activate nav_end_area and see the result.
You might notice that the cursor doesn't snap to a grid when you're in this mode. You can set the snapping properties using "nav_snap_to_grid" in the console.
nav.cfg, the F9 key is bound to "incrementvar nav_snap_to_grid 0 2 1". This will change the grid size when you press the bound key and continue to toggle through the sizes each time you press the F9 key.It is also possible to draw a ladder using nav_begin_area and nav_end area. Simply point at a corner of the ladder and move the cursor vertically to go to the opposite corner.
- L4D Level Design/Visibility|:L4D Level Design/Visibility]]
