ModelDoc Editor
![]() ModelDoc Editor enables an end-user to create, view, and edit models, all in a single tool. It is the successor to
ModelDoc Editor enables an end-user to create, view, and edit models, all in a single tool. It is the successor to ![]() Model Editor.
Model Editor.
Launching ModelDoc Editor
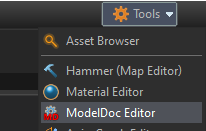
Like the rest of the tools, ModelDoc Editor can be opened in a variety of ways. You can:
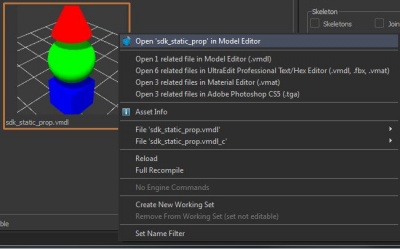
- Finally, you can open a model directly from the Asset Browser. Simple double-click a model in the Asset Browser, OR right click on it, and select Open in Model Editor:
Understanding ModelDoc
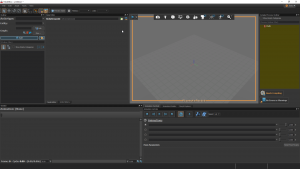
ModelDoc uses a node-based system for putting together models, but maybe not in the way you'd think. Nodes are stored in the Outliner, which is organized by Categories, each with their own unique settings and properties that are worth taking a once over.
To preview your model as you're working on it, you have to manually compile it, using the Needs Compiling button.
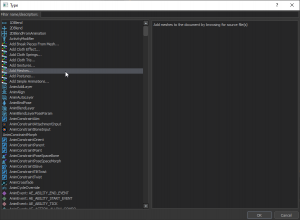
To add a mesh to your model, you will need to right click the Outliner, and add a Mesh Node to your model. This can be done by either finding the desired mesh node (usually RenderMeshFile) or more easily, clicking the "Add Meshes..." button which does the same thing.
Now, click the "Compile Model" button and your model should render! Usually though, your model won't spawn with it's textures, as it'll look for materials that aren't there. To override your materials from the .fbx file, add a new node called "DefaultMaterialGroup" which will override your default materials.
This is the most basic setup for compiling a model. You can now load it in Hammer, S2FM, or whatever tool you wish to use it with. And as long as your .vmdl exists in /content/ you will be able to go back and made modifications to the model! The final compiled model will be found in your mod's /game/ folder, in the same path it's in as /content/ is.
See also
| ||||||||||||||||||||||||||||||||


