Post Import Fixup steps
For help, see the VDC Editing Help and Wikipedia cleanup process. Also, remember to check for any notes left by the tagger at this article's talk page.
天空盒
在 CS:GO中, 3D天空盒通常都是在主地图内构建的, 而在 反恐精英2中,它们被分割成一个单独的3D天空盒地图。 地图导入器会尝试检测天空盒的几何形状,并自动将其分离出来, 但这只有在原始VMF中的天空盒几何形状在其自己的实例(instance)/预案(prefab)中时才有效。
更常见的情况不是这样,所以如果你在Hammer中打开新导入的地图,没有看到3D天空盒渲染,很可能是导入没有成功,它已经合并到主地图中了。然而,将其分离出来的过程实际上非常简单;
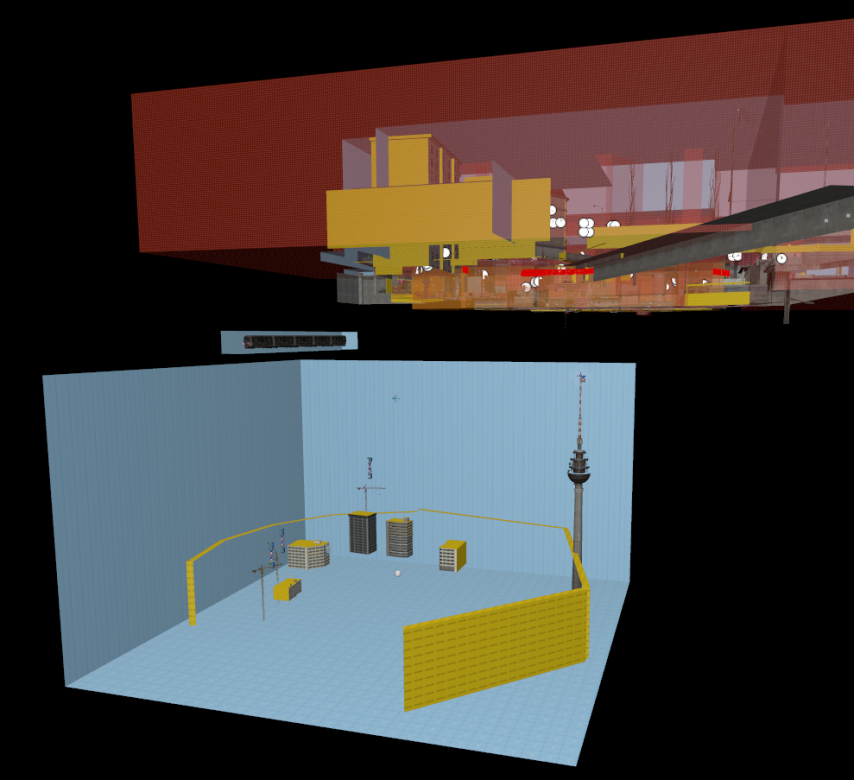
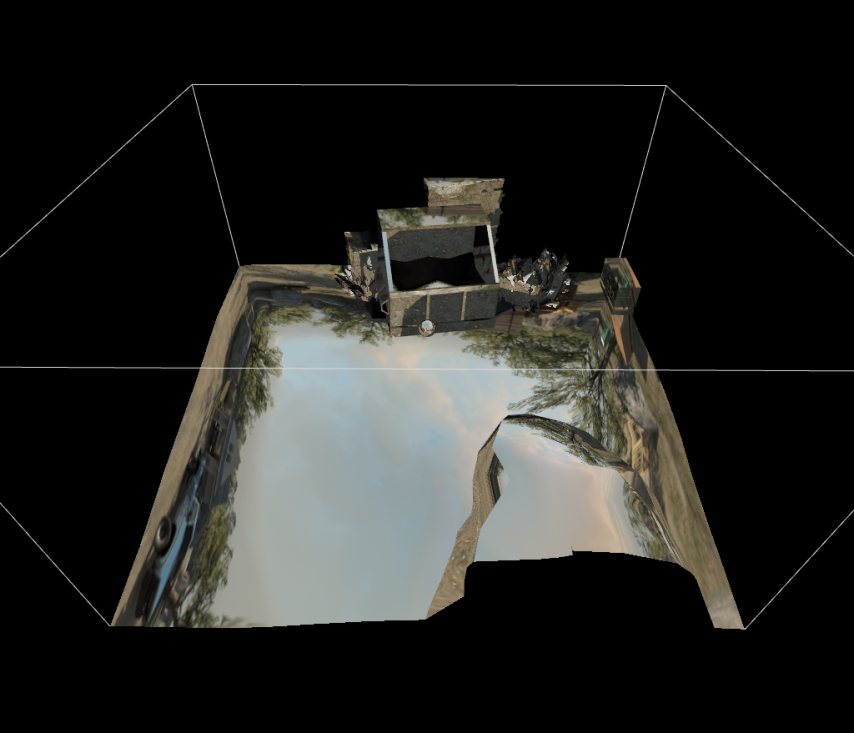
首先,找到你的3D天空盒,它应该在主地图区域外的某个封闭空间中:
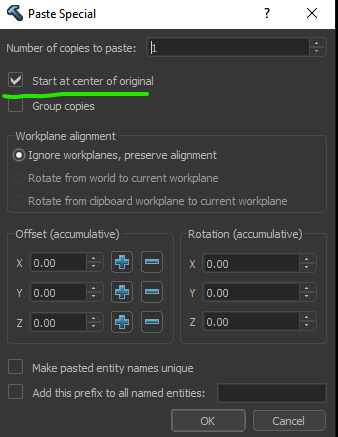
下一步是抓取skybox geo和它里面的任何实体,按Ctrl+x,然后使用File>New创建一个新地图,用合适的名称将其保存,如de_mymap_skybox,当保存新地图时,按Ctrl+⇧ Shift+V进行粘贴,确保被选中在原地图的中心,然后按OK
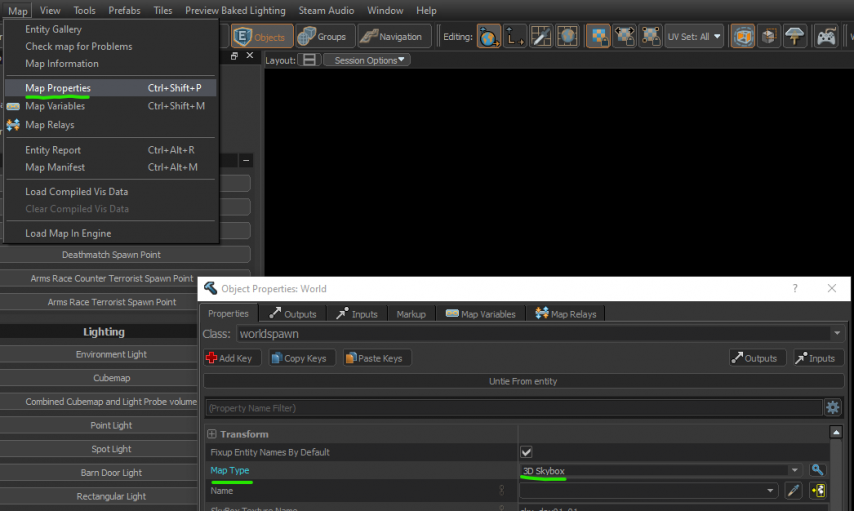
一旦skybox geo在你的新地图中,我们只需要告诉Hammer这是一个3D天空盒地图。要做到这一点,只需打开Map>Map Properties,在地图类型下拉菜单中,选择3D 天空盒:
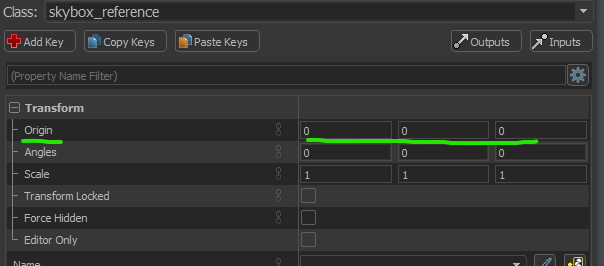
一旦完成,切换回你的主地图,并添加一个skybox_reference实体来调用你的天空盒 .vmap。最后,在其属性的Transform部分将skybox_reference的位置设置为0,0,0
如果一切顺利,你应该在Hammer中看到你的天空盒正常渲染!
最后要做的事情是复制(而不是移动)light_environment和env_sky实体到你的3D天空盒地图,以确保有照明和天空。
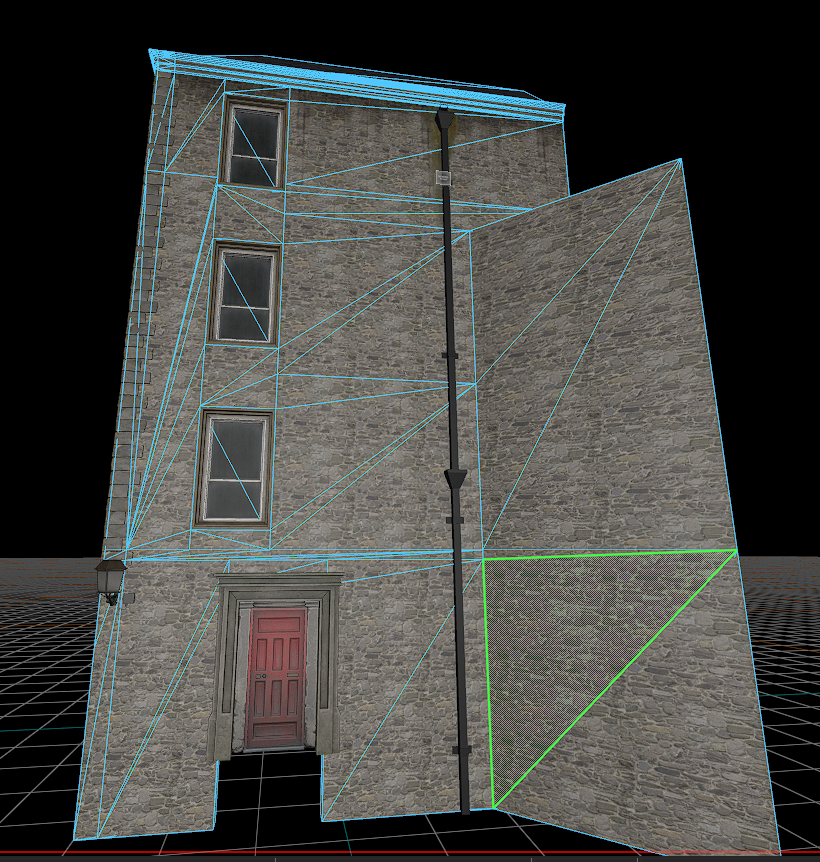
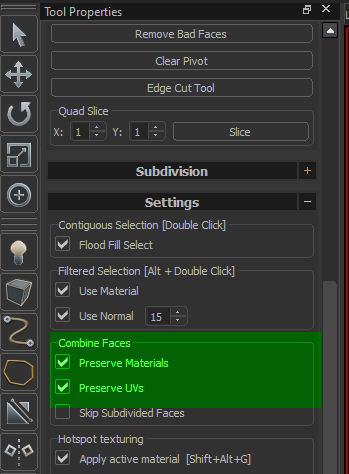
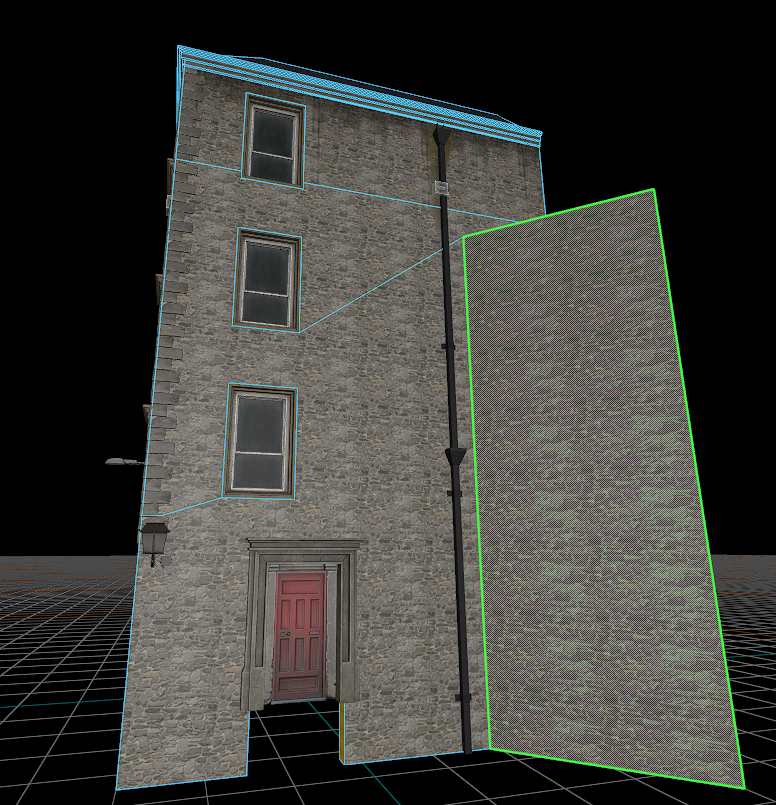
网格清理
Cubemaps/Lightprobes
导入器会尝试将旧的csgo风格的cubemaps转换为反恐精英2的新的组合盒式投影cubemap/lightprobe卷,然而,这一步经常会出现错误,建议你花些时间来手动修复这些。下面是这个步骤的一些提示:
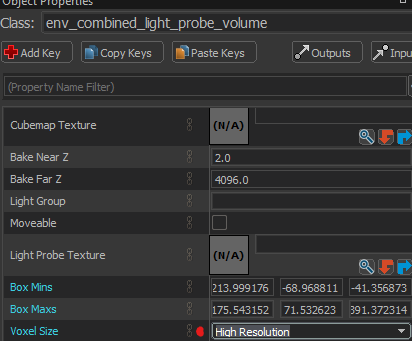
光线探测器的分辨率
对于游戏区域,建议使用高分辨率的体素尺寸,以便在动态物体/玩家身上获得最佳照明质量。其他区域可以根据你的需要使用较低的分辨率。
避免卷间留有空隙!
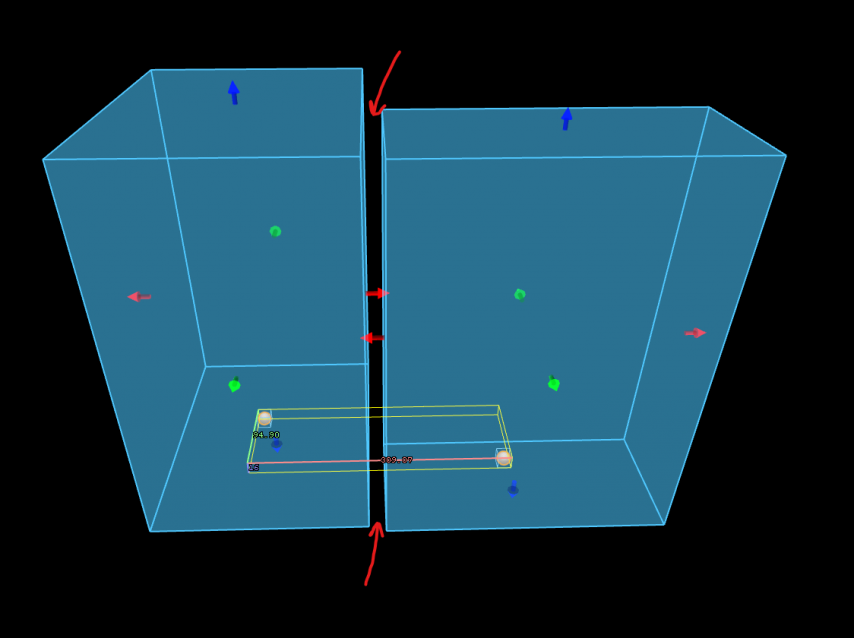
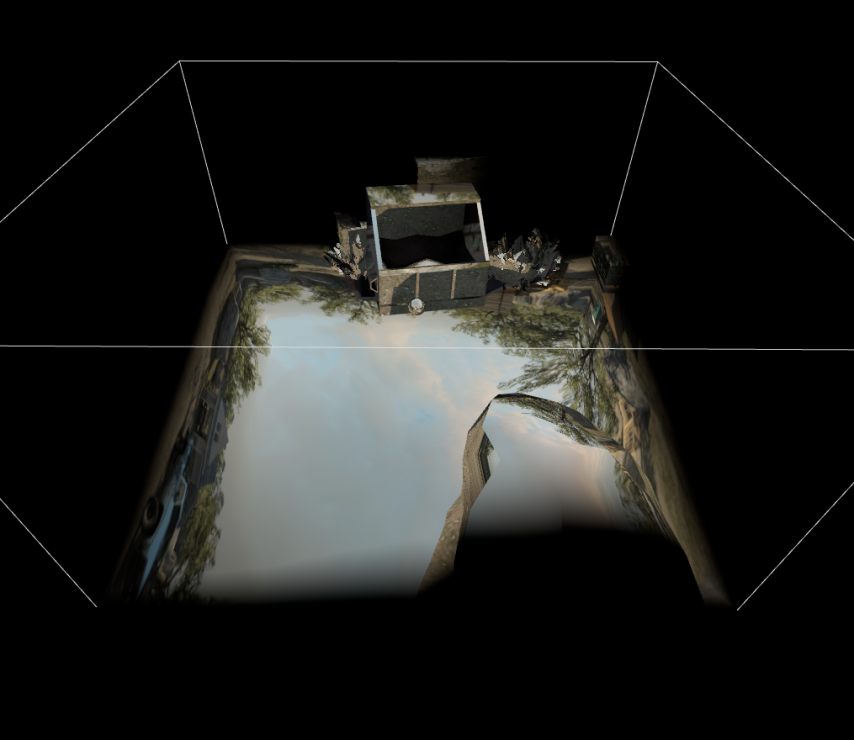
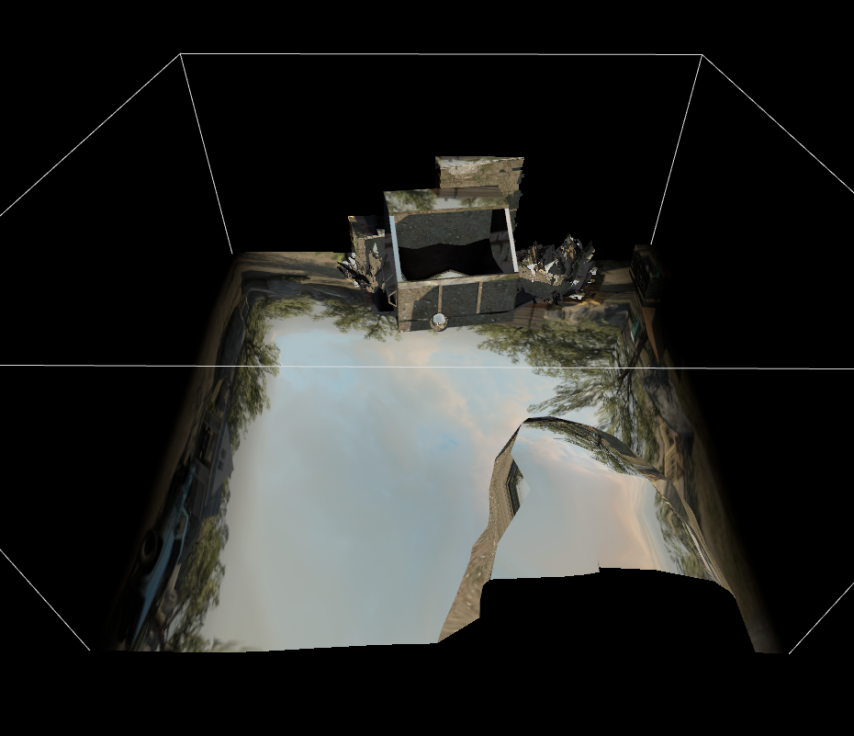
如果您的卷之间有任何空隙,这可能会导致玩家或动态道具照明不正确(有时是黑色或全亮)。例如:
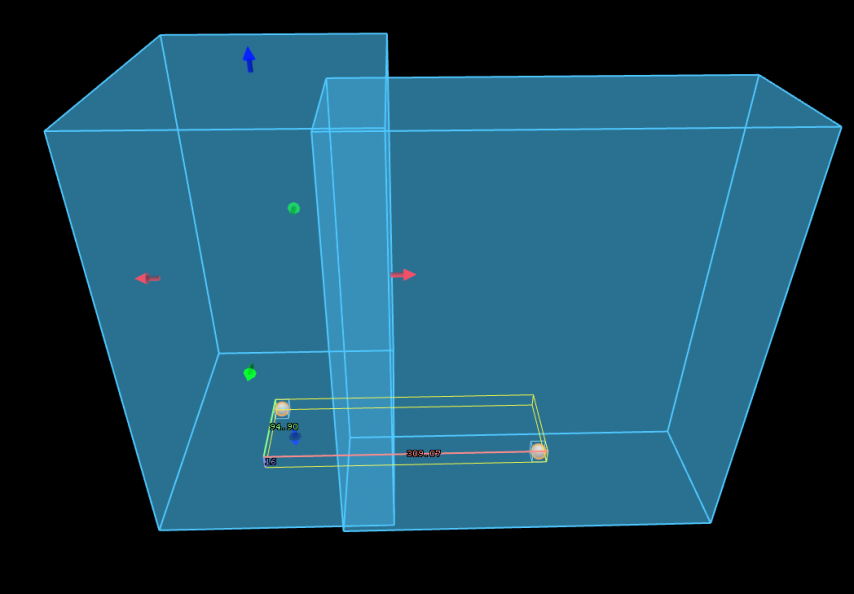
This can be fixed by closing the gap - It is totally fine for volumes to overlap and is necessary if using the Edge Blend feature.
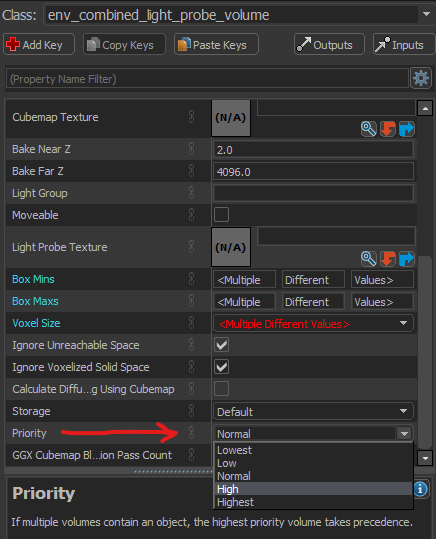
You can use the priority system to fix any issues if you have a volume within a volume.
Debugging Lightprobes
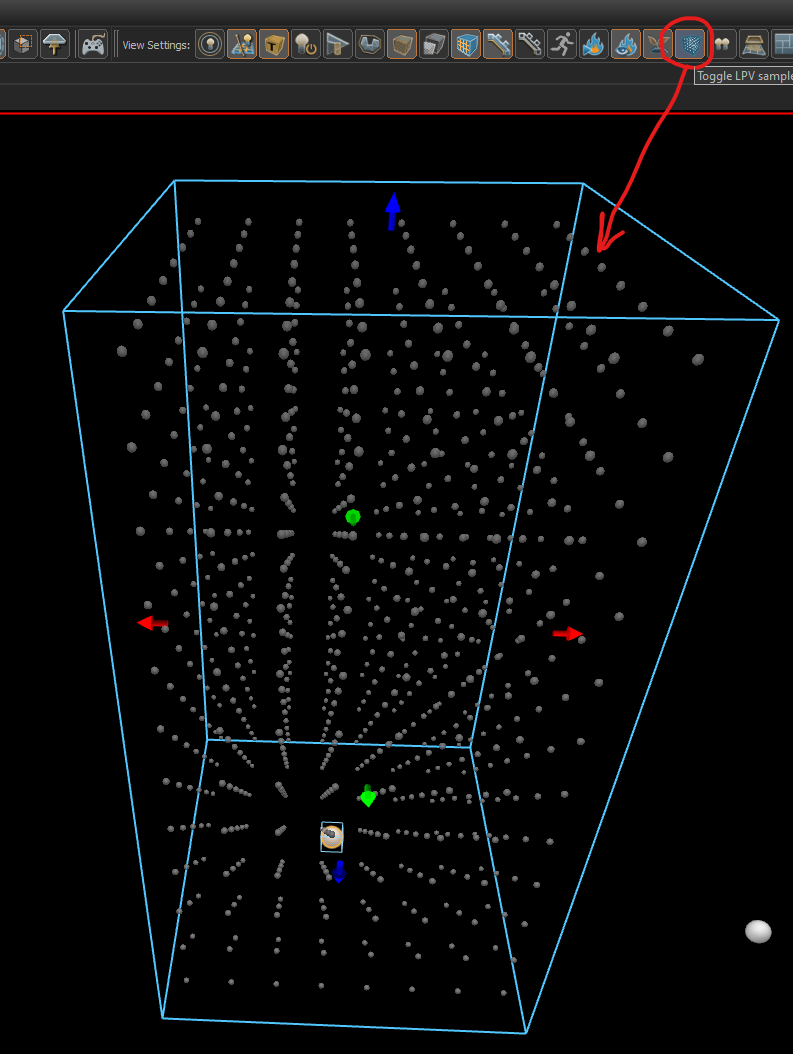
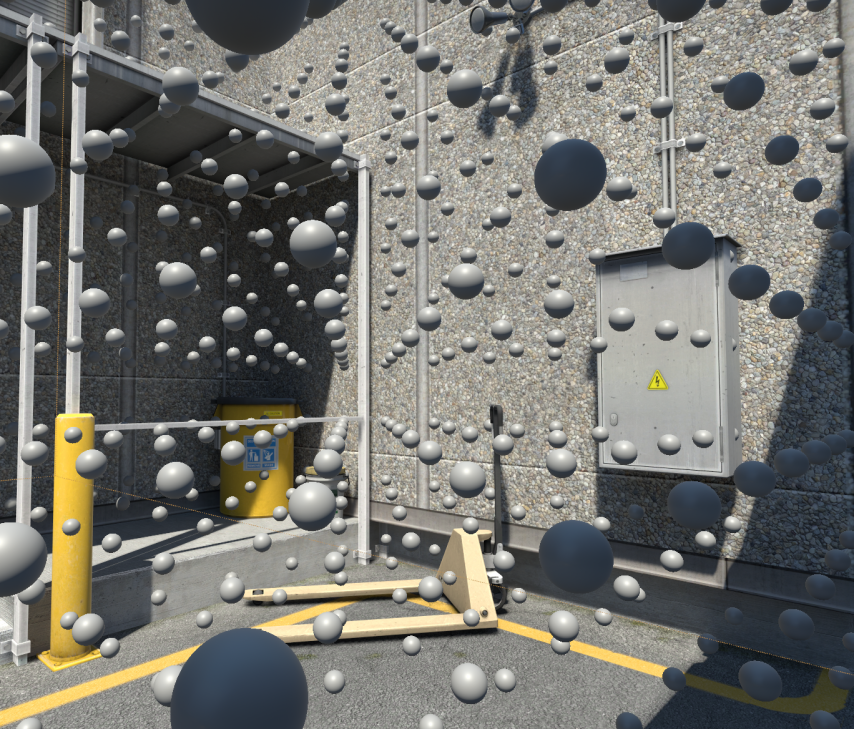
To visualize the light probes within your volumes, you can simply click this button which visualizes the currently selected light probe volume's density and baked lighting:
To view this in-game, simply type r_light_probe_volume_debug_grid 1 into VConsole, useful if you see unusual lighting happening on dynamic objects:
mat_fullbright 2 in-game.
Debugging cubemaps
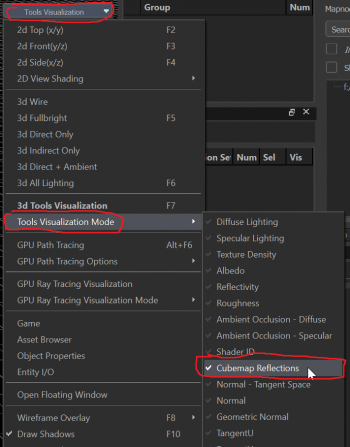
If you want to see what's going on with cubemaps, there's a view in Hammer for that here:
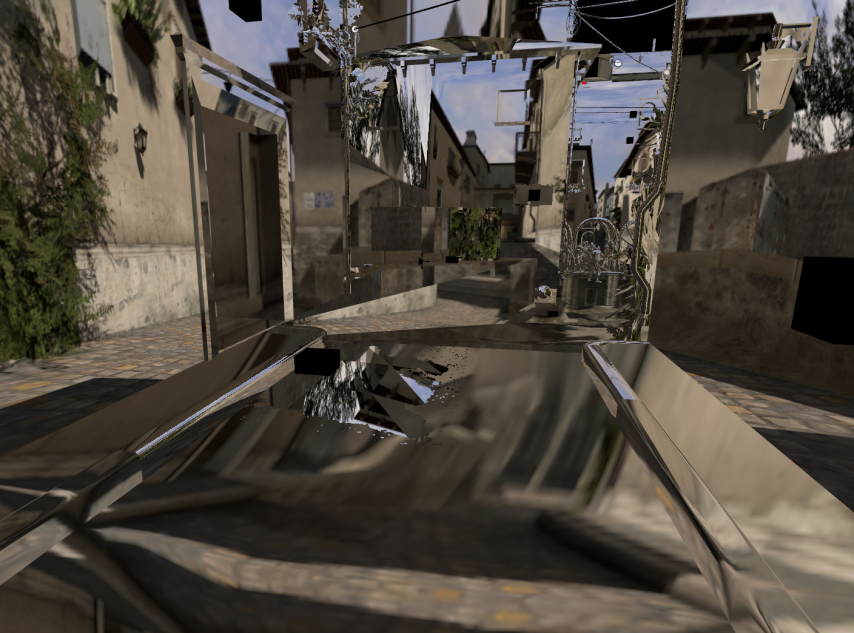
This visualizes cubemaps on surfaces:
This is useful for checking to see if cubemaps are correct/have gaps and for checking the blend settings between cubemap volumes.
Cubemap Blending
This feature allows for smooth transitions between cubemap volumes, and can be adjusted with Edge Fade Dist setting:
These values control the amount of edge blending along X,Y,Z in inches.
Here we see X,Y,Z set to 0. Notice the hard border where the cubemap volume ends.
Here X,Y,Z is set to 32, notice the edges of the cubemap volume fading out
And with X at 32, and YZ at 0. Note the blending on one axis
{{Note: Edge blended cubemaps can get costly! With the biggest perf hit coming from the faded edge region of your cubemap; That fade region must always fade to another cubemap, and when you have large blends and multiple overlapping cubemaps, those pixels can get exponentially more expensive as it looks up multiple cubemaps.
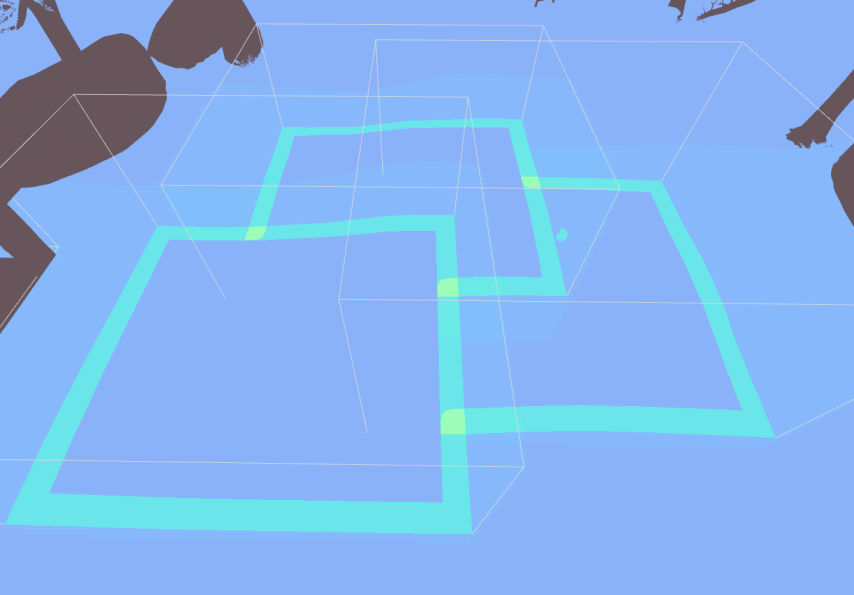
A good way to diagnose this is to use the Reflection Complexity view mode in Hammer, or mat_fullbright 8 in-game via vconsole.
In this example, there are three overlapping cubemap volumes with an edge fade of 32 in X & Y.
You can see that as more volumes overlap at the edge fade regions, the color changes from Blue>Green>Yellow based on how costly those pixels are (yellow being most costly).
