Zh/Adding Prop Models
道具模型是一种由与XSI Mod Tool类似的模型制作工具创建的几何文件。你可以想给电影添加道具一样把这些道具模型添加到地图中。
有三种最基本的道具类型:
- 静态 此类道具将永远在地图中不会产生变化。
- 动态 此类道具可以播放动画或者与其他对象一起移动。
- 物理 此类道具可以被随意摆弄(遵循物理规则,如重力)。
在此教程中你将学习如何放置其中两种类型并了解它们的作用范围。
我们将先从添加静态道具开始。
所有道具都是实体,操作也相同,因此再切换回实体工具。
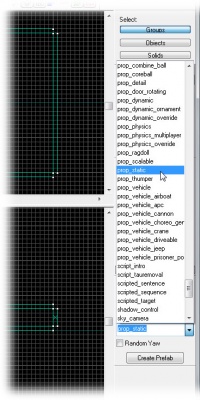
接着在对象工具栏的实体列表中选择prop_static。
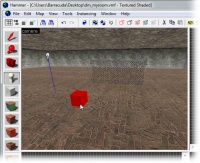
在三维视图中点击鼠标将prop_static放到地板笔刷之上。
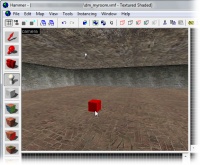
会出现一只红色小盒子。这是因为我们现在还没决定这个道具将会是什么样子的。
为此我们要给这样道具选择一只模型。
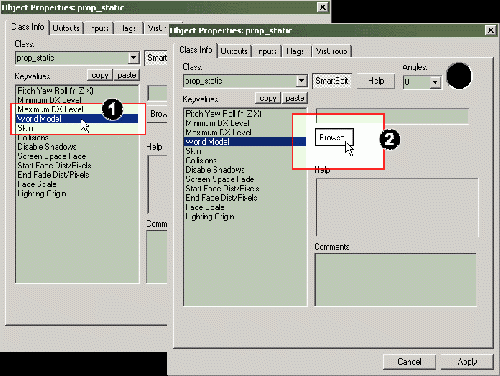
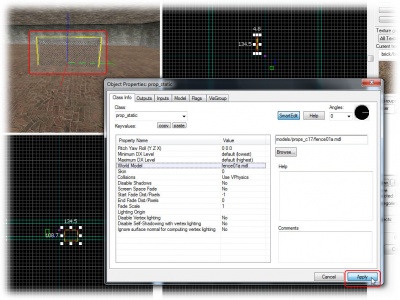
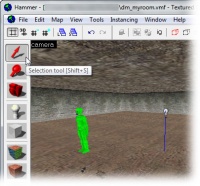
切换至选取工具并双击prop_static打开属性页。
- 在对象属性对话框中点击外部模型项。
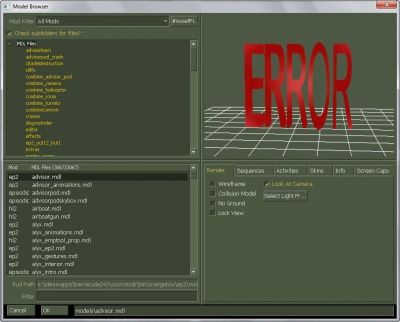
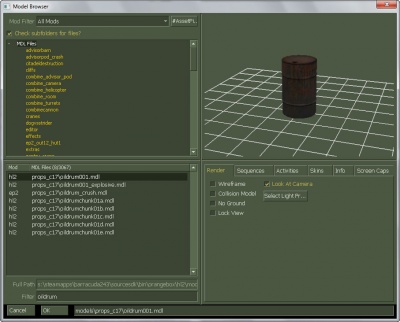
- 点击浏览...按钮并耐心等待模型浏览器中的列表准备完。(你只需等待一次;因为列表已经为未来的搜索创建了缓存。)
虽然模型浏览器的预览窗口中有大大的红色“ERROR”字样,但请不要担心。那只是因为我们现在还没选定要预览的模型。
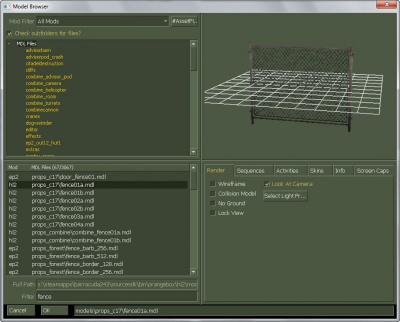
点击模型浏览器里的props_c17文件夹,列出其下的模型。
此文件夹下的模型非常多,但是我们不必滚动整个列表寻找目标,只需在列表下面的文本框中键入"fence"过滤出我们需要的内容,就像之前在纹理浏览器中做的那样。
点选模型文件 fence01a.mdl 。
预览窗口中将显示此模型的预览。如果你愿意,可以在窗口中拖拽鼠标随意地旋转模型。
等你查看完预览模型后,点击确认确定你的选择。
模型浏览器将关闭,而fence01a将成为你为prop_static实体所选定的模型。
点击应用按钮完成修改。
原先三维视图中的prop_static将转为显示你所选的防护围栏模型。
你也可以修改倾斜/偏转/滚动设置或者使用角度罗盘来改变防护围栏的方向。
我们现在添加有物理性的道具模型。
切换到实体工具。
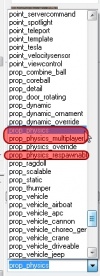
选择什么类型的prop_physics实体取决与你要为什么游戏制作地图。
- 如果你要为半条命2:单人游戏制作地图,请选prop_physics实体。
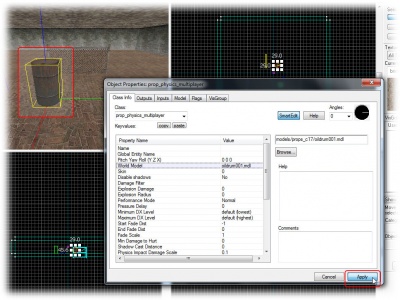
- 如果你要为半条命2:死亡模式制作地图,请选prop_physics_multiplayer实体。
从对象工具栏的实体列表中选择一种合适的实体。
将物理道具实体放到房间地面上。
为了显示物理道具的属性,如果你关闭了对象属性对话框那么请再次打开。 否则对话框将自动转为显示它的属性。
Again click the Browse... button in the World Model field in the Object Properties dialog to load up the model browser.
- Instead of "
fence", search for "oildrum". - Pick the
oildrum001.mdl. - Close the browser with OK.
Click the Apply button to confirm your changes, and the physics prop will change to the barrel model you selected.
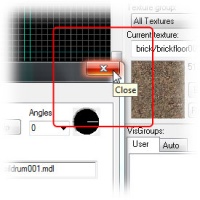
Close the Object Properties dialog.
Moving objects
You may have noticed that the fence model is stuck half-way into the floor. We are going to move it up now.
Entities are moved just like brushes are:
Switch to the Selection Tool and click on the fence to select it.
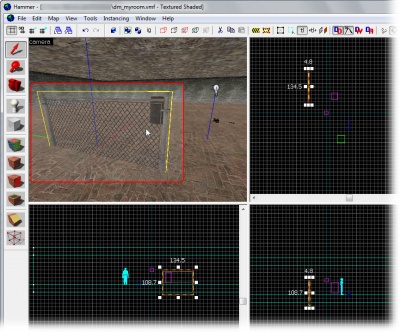
Then select the fence model by clicking on it in the 3D view.
A box will appear around the model in all the views, showing that it has been selected.
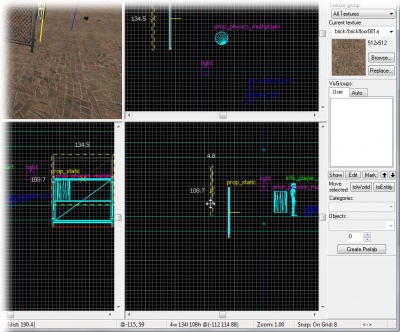
To move something along the z axis (up or down), you’ll need to move it in one of the lower views (named front (y/z) or side (x/z)).
Click inside the red bounding box in one of these 2D views, and then drag the fence upward until it’s closer to the floor.
You may find that you can’t quite line up the bottom of the model with the floor because the current size of the grid prevents it. It won’t matter that much if the fence sticks somewhat into the floor, but if you want it exactly aligned you will need to decrease the grid size:
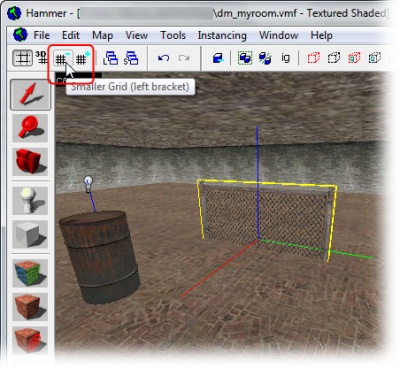
- Click the Smaller Grid button in the grid toolbar in the upper left corner of the Hammer window.
- Zoom in a bit on where the fence meets the floor, so that you can see better.
- Adjust the height of the fence.
- Repeat steps 1-3 until you're satisfied. (For a perfect fit, you will need to decrease the grid size to 2.)
You are finally done with the blueprints for this map.
