Porting maps without decompilation
You can help by
January 2024
It contains the advice or opinions of one or more of the Valve Developer Community's contributors.
This page is not an encyclopedia article, nor is it one of the Valve Developer Community's policies or guidelines, as it has not been thoroughly vetted by the community.
Some essays represent widespread norms; others only represent minority viewpoints.
This article is about porting maps to ![]() Half-Life from other
Half-Life from other ![]() GoldSrc games (
GoldSrc games (![]() Counter-Strike,
Counter-Strike, ![]() Team Fortress Classic,
Team Fortress Classic, ![]() Day of Defeat and others). The process of porting will not be boring and monotonous. Porting one map approximately takes from 10 minutes to one hour.
Day of Defeat and others). The process of porting will not be boring and monotonous. Porting one map approximately takes from 10 minutes to one hour.
Required tools:
- RipEnt - CMD application from Zoner's Halflife Tools (ZHLT) compiler set.
 Half-Life game with configured AmxModX and "Weapon Factory" plugin, for convenient and fast scattering of items on the map.
- EntConverter
Introduction
The process of porting is creating ![]() Half-Life items on the map - weapons, spawn points, and removing items from another game. All information about the objects on the map is stored in text form.
We just need to export this information to a text file, edit it and import it back into the map.
Creating objects on the map we will be in the game itself, it is very convenient to fly around the map and in suitable places to insert weapons. We will do it with the help of AMX plugin from GordonFreeman'a -- Weapon Factory.
Rename the file liblist.gam to liblist_backup.gam, it is located in the directory valve.
Now download the archive below and copy all the contents into the valve directory, on all suggestions about substitutions click "Yes".
The porting process itself I will demonstrate on the map for Counter-Strike -- fy_kano, the author of which is Burner.
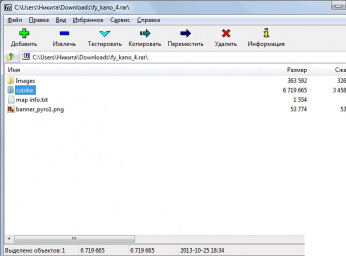
Go into the archive, see there the directory cstrike, go into it and unpack all the contents into the directory valve, it is located in the directory with the Half-Life game.
Half-Life items on the map - weapons, spawn points, and removing items from another game. All information about the objects on the map is stored in text form.
We just need to export this information to a text file, edit it and import it back into the map.
Creating objects on the map we will be in the game itself, it is very convenient to fly around the map and in suitable places to insert weapons. We will do it with the help of AMX plugin from GordonFreeman'a -- Weapon Factory.
Rename the file liblist.gam to liblist_backup.gam, it is located in the directory valve.
Now download the archive below and copy all the contents into the valve directory, on all suggestions about substitutions click "Yes".
The porting process itself I will demonstrate on the map for Counter-Strike -- fy_kano, the author of which is Burner.
Go into the archive, see there the directory cstrike, go into it and unpack all the contents into the directory valve, it is located in the directory with the Half-Life game.
Unpack the contents, but not the cstrike directory itself.
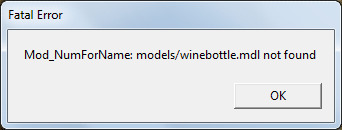
At the first launch of the map in Half-Life game I got the error "Mod_NumForName: models/winebottle.mdl not found".
Such errors occur when a resource (model, sound, sprite) was not found. There are two ways to solve this problem:
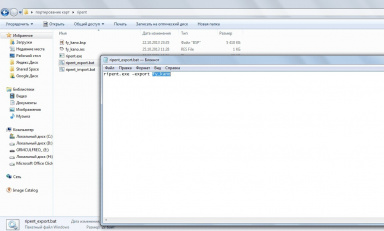
Let's consider the second way, because we will have to export information about objects anyway. For this we will use the RipEnt. There are two bat files in the archive I gave, you need to open them and correct the map name to your own, save and run ripent_export.bat
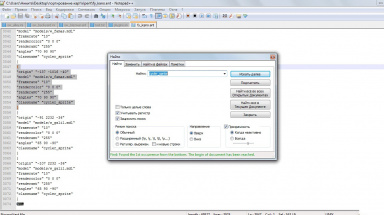
After launching, we will have a new ent file with the name of our map. We open this file and delete unnecessary objects, each object starts with an opening curly brace "{" and ends with "}", between the braces are various directives with properties. The "classname" directive is the name of the object, we will only work with a few: cycler_sprite env_sprite info_player_deathmatch info_player_start game_player_equip ambient_generic
On the map fy_kano we removed all cycler_sprite, game_player_equip, and left one info_player_deathmatch and info_player_start, the rest of the spavens will be placed throughout the map. I also moved some standard files from cstrike to valve. After editing ent file, it must be imported back, for this purpose in the archive there is ripent_import.bat. Import the properties of objects, throw the map in the valve/maps folder and try to run it in the game.
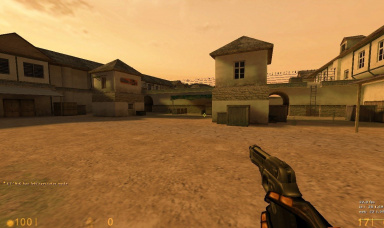
After launching, you may notice the absence of various weapons and items.
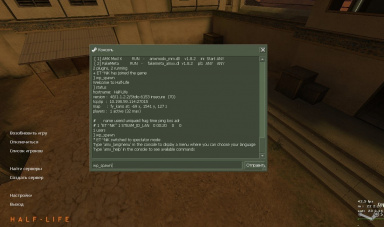
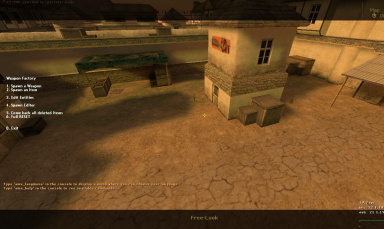
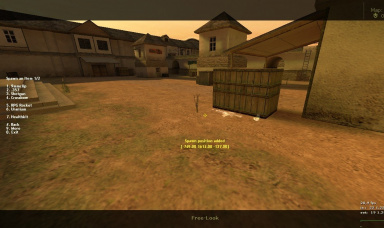
Now let's use the Weapon Factory plugin. Type "wp_spawn" in the console and see the menu that appears on the left.
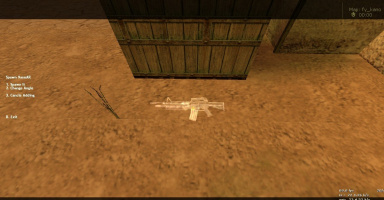
Choose what weapon or item we want to spawn. You can specify the rotation angle of our item. Until the map reloads, all added items will have a holographic effect.
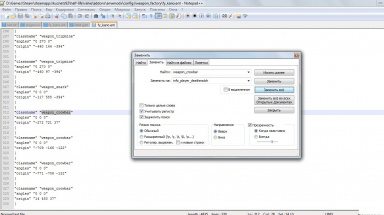
In addition to weapons and ammunition, do not forget to set up a place to spawn players. In the plugin "Weapon Factory" object info_player_deathmatch does not exist, or rather it is there, but it does not work. I usually use the mount as a spawn point, in the text file entity then you can fix weapon_crowbar to info_player_deathmatch.
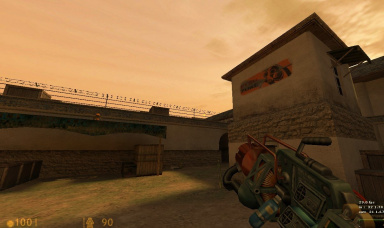
After we have placed all the items and spawn points, we reload the map ("restart" in the console) and see that our map is full of items. But the porting is not finished, all these items are stored in the database of the plugin "Weapon Factory", and we need to implement all the items in the map itself.
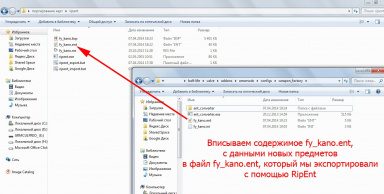
Now we need to convert "Weapon Factory" data into data that can be safely imported into the map. Go to the valve\addons\amxmodx\configs\weapon_factory directory, there should be an ini file with the name of our map, in my case fy_kano.ini. For conversion let's use my EntConverter, copy ent_converter.exe file to the directory with ini files valve\addons\amxmodx\configs\weapon_factory and run it. After that an ent-file with the name of our map should appear, in my case it's fy_kano.ent, all the contents of this file should be added to the ent-file that we exported with RipEnt.
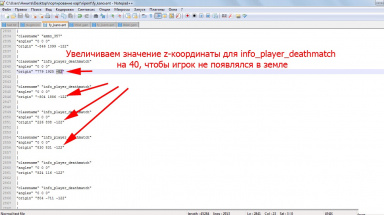
We need to replace weapon_crowbar with info_player_deathmatch. In some cases players can appear in the ground, so we need to increase z-coordinate (height) of the object, don't forget that numbers can be negative.
After saving the final ent-file, it must be imported into the map, to do this, run the file "ripent_import.bat". The map is successfully ported from Counter-Strike to Half-Life. You can check if everything works. Before that, don't forget to delete liblist.gam and rename liblist_backup.gam back to liblist.gam, This way we will disable AmxModx and plugin "Weapon Factory", if you do not do this, then all the items we created will be duplicated. In a similar way you can port absolutely all GoldSource maps. Besides porting, you can add some items to existing Half-Life maps, fix some map problems, etc.
External links
