Zh/Source 2/Docs/Level Design/Visibility
为了地图编译能有高效的“vis”解决方案,确保你的地图有正确的几何体是非常重要的。《半衰期:爱莉克斯》的VIS解决方案通过内部/外部算法尝试在执行可见性计算时确定哪些是在地图“内部”。实际上,里面的任何东西都会被渲染,外面的任何东西都会被丢弃。
注意:预先计算的可见性提高了渲染地图的性能,但增加了地图编译时间。如果要禁用整个地图的预计算可见性,可以将“地图属性(Map Properties)”对话框中的“预计算可见性(Precomputed Visibility)”属性设置为“禁用(Disabled)”。
内部与外部
visbuilder将尝试自动确定地图内外的空间。其用于执行此操作的主要因素是几何体的正面和背面的可见性。一般来说,拥有直接视野足够多的几何体正面和视野相当有限的几何体背面的空间将标记在内部。当visbuilder运行时,任何通过外部空间的视线都将被消除。这是为了弥补在地图构建方面没有任何限制。地图中通常会包含一些不封闭的几何体或以某种方式重叠的几何体。在处理这些情况时,不应该因为某些有效的几何体穿过了这些表面,就强迫系统保存这些穿过部分的可见性信息。当这个算法失败时,最常见的原因是要计算的几何体出现意外漏洞。在查找其他问题之前检查要计算的几何体非常重要(在Hammer中使用vis preview)。通常你应该认为起源2的可见性是双向的。每个可见的空间也应该看起来像一个放置相机的有效空间。
基本用法
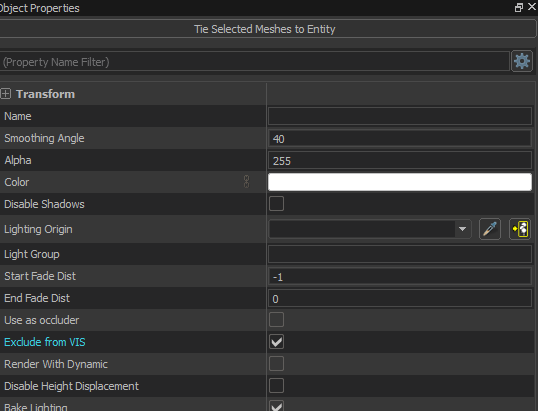
默认情况下,Hammer中内置的世界几何体将阻止可见性。可以在网格对象的对象属性中勾选“从VIS中排除(Exclude from VIS)”选项以禁用此选项。
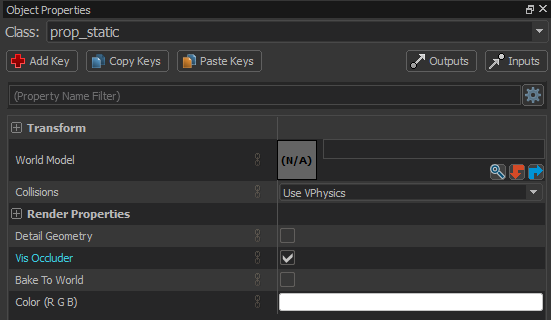
相反,默认情况下,每个实体类型都不会阻止可见性计算,包括“prop_”类型。这包括prop_static模型,它们通常太小而无法阻止任何合理的可视性,因此被完全跳过。任何你希望包含在vis解决方案中的prop_static几何体必须被标记为“Vis遮挡器(Vis Occluder)”。
各种材质类型(主要是工具纹理)也可以修改其应用于的几何体的行为。
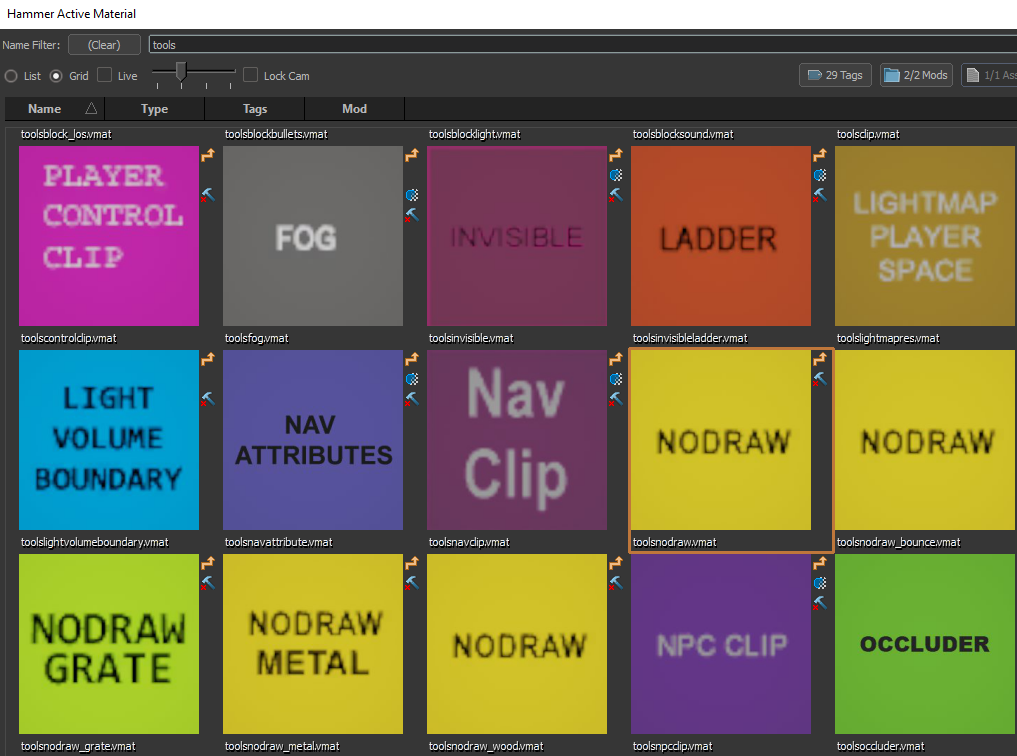
影响可见性的一些最常见的工具材质有:
- tools/visblocker - 使用此工具纹理的表面将删除任何击中该面的视线。这对于阻止由于地图上的漏洞而产生的不需要的(但真实的)视线非常有用。如果你看到地图中的某些漏洞让地图文件中其他不应该可见的部分可见,你可以使用visblocker来阻止这些视线。它不需要完全密封这个洞。
- tools/toolsskybox - 使用此工具纹理的表面将形成有效的视线。当对世界进行体素化时,体素(voxels)会在包含几何体时被细分。如果体素中唯一的几何体是toolsskybox,则体素化将以更粗略的分辨率停止。这提高了可见性编译器的性能。
- tools/toolsnodraw - 使用此工具纹理的表面将像普通可见表面一样工作。唯一的例外是内部/外部测试。在测试中,toolsnodraw将被有效地忽略。因此,如果一个体积中没有其他可见的几何体,那么这个体积可能会从PVS中消除。
Viewing vis in game
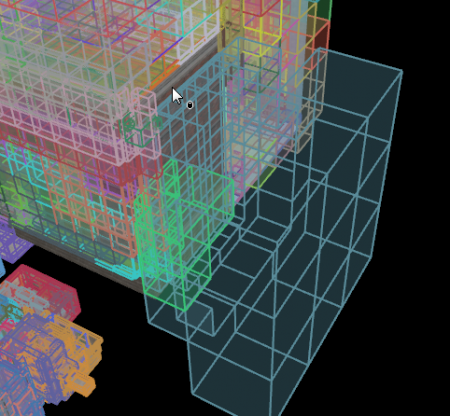
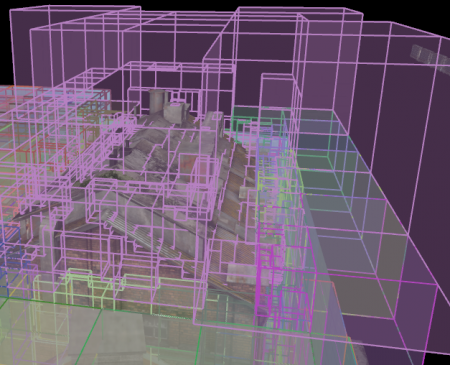
The engine can perform a recording of the camera position for visibility debugging. When the recording is played back, the PVS debug visualization will animate that recorded camera and update the visualization in real time. For example, you can use this to see what happens to your vis as you walk down a corridor. You can then fly out and examine the PVS from a different perspective.
The following console commands can be used:
| vis_enable 0/1 | Toggle the precomputed visibility system. vis_enable 1 is the default, vis_enable 0 disables the PVS. |
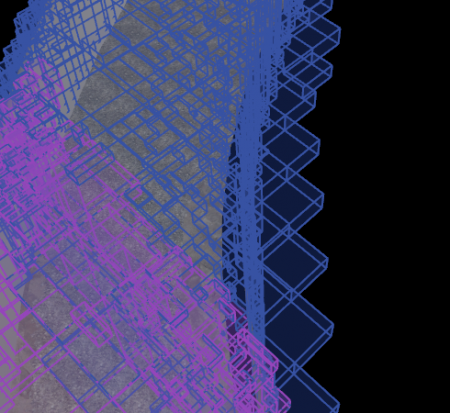
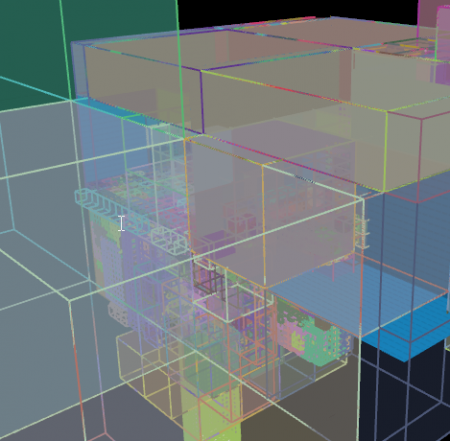
| vis_debug_show | This will show the PVS debug visualization. The camera position is rendered as a red sphere, the frustum is rendered in white and visible clusters are rendered as green wireframe outlines. You can independently move your camera and spectate the recorded PVS debug visualization. |
| vis_debug_record_start | Starts recording the camera frustum for playback. |
| vis_debug_record_stop | Stops recording the camera. |
| vis_debug_find_los | This will find any lines of sight between the current position of the recorded camera (the cluster containing the recorded camera is draw in red) and the position of the actual camera (that cluster is drawn in blue). The lines of sight connecting these two cluster volumes will be drawn in yellow. This tells you why the PVS thinks the recorded camera position can see another position. |
| vis_debug_tracelos | Use this to fix things that should be visible from the current camera position, but aren't. It will trace a grid of rays covering the current screen and update the vis to include any new lines of sight found. These lines of sight are recorded in your los.bin file for future map compiles. |
| vis_debug_lock | Toggle locking vis LOS origin to current camera position on/off. |
| vis_debug_currentcluster | Prints the current cluster number to the console. |
| vis_debug_dumpvisibleclusters | Prints the list of visible clusters to the console. |
| vis_debug_drawcluster | Add cluster # to visualization, (-1) to clear. |
Viewing vis in Hammer
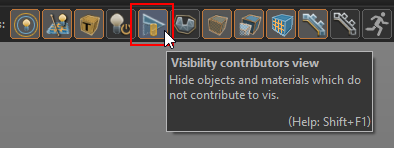
Use Visibility contributors view to toggle any geometry that does not contribute to vis. This mode hides any geometry that will not block vis and make it easier to spot errors in your levels. For further examples, load up the released maps from the game that shipped with the tools.
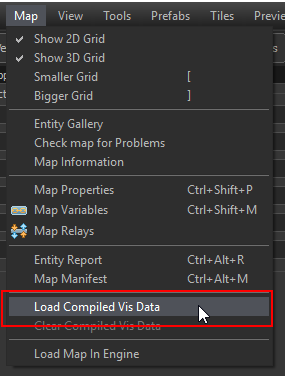
See Load Compiled Vis Data to load vis cluster data in Hammer.
Best practices/common issues
The rest of this article will focus on some of the more common issues and also best practices.
Avoid holes in vis contributing geometry at the level boundary
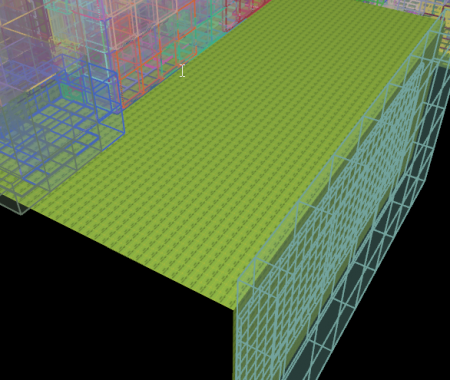
Although its not completely necessary, vis will produce the best results if there is a sealed shell of vis contributing geometry around the level that cleanly defines the boundary of the level. Holes in this geometry may cause vis to enclose extra empty space around the hole. Typically the Toolsskybox material is used to define the boundary of the level where it would otherwise be open to the skybox.
Do not use SkyVisBlocker
The material skyvisblocker is deprecated and should not be used. You must use toolsskybox texture to enclose parts of the level which are considered "open" to the the skybox, and visblocker should be used to block lines of sight without otherwise effecting the vis results. As an optimization, the skybox will not render in scenes that do not use toolsskybox.
Use Solid Block Light carefully
The "Solid Block Light" material, or toolssolidblocklight is a solid but invisible surface that also blocks light. Effectively this is functionally the same as toolsnodraw but also blocks light. For example, a location where a roof over a building should block sunlight from casting light into the interior but a player can also throw grenades onto the roof.
It should not be used in empty space where no vis clusters should be generated. The toolsblocklight material can be used to block light (cast shadows) without adding vis clusters.
Avoid outward facing geometry at level bounds
Geometry making up the outer shell of the level should always be facing inwards. If parts of the outer shell are facing outwards it will not only have similar effects as a hole, but may also generate additional undesired lines of sight and cause vis to further fill empty space.
Avoid vis contributors extending through the level bounds
Geometry which contributes to vis shouldn't poke through the outer shell of the level. Similar to outward facing geometry this can result in undesired lines of sight and cause vis to fill empty space.
Avoid placing objects outside the level
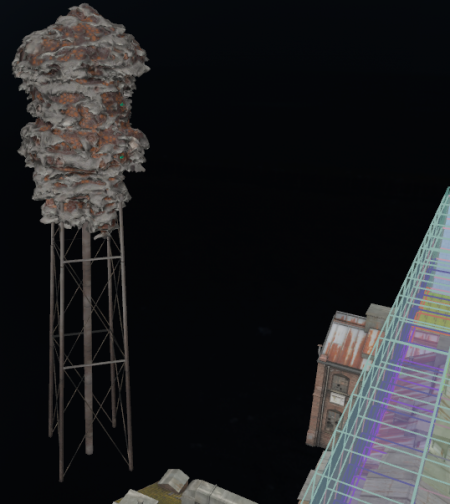
If you have created a sealed level boundary, ideally all geometry which is not part of the 3D skybox should be within the shell of the level even it it does not contribute to vis. Objects that are outside the shell will be culled by vis in an undesirable manner with part or all of the object being removed.
