Adding Prop Models
Prop models are geometry files created in a modeling program such as Softimage|XSI. You can place these prop models in Hammer, like adding props to a movie set.
There are basically three types of props:
- Static props will always be stationary in the map.
- Dynamic props are props that can be animated.
- Physics props are props that can be tossed about (obeying physics like gravity).
We will start by adding a static prop.
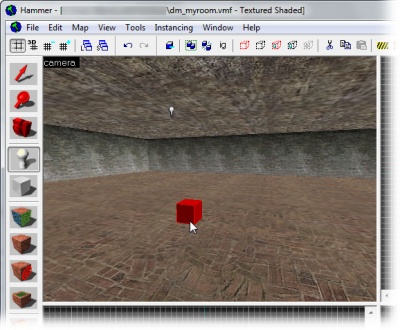
All props are entities, and handled as such, so switch to the Entity Tool again.
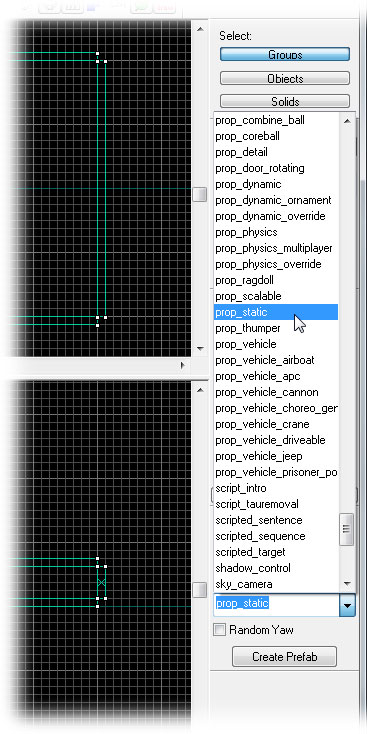
Then pick prop_static from the entity list in the Objects Toolbar.
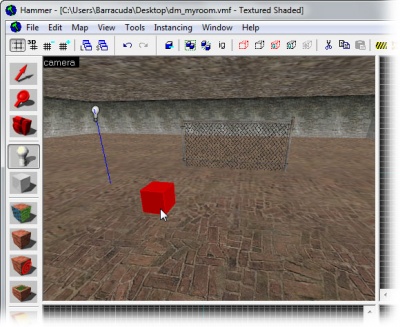
Place the prop_static in the map by clicking on the floor brush in the 3D View.
Double-click it to bring up its properties.
We will now pick a model for this entity.
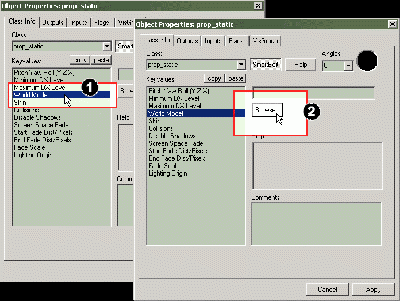
- Click the World Model field in the Object Properties dialog.
- Click the Browse button to open the model browser.
Double-click the props_c17 folder in the model browser to open the sub-directory.
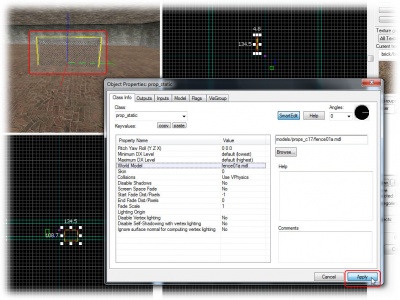
Double-click the model fence01a.jpg to select it, as shown here.
The model browser will close and the fence01a will be selected as the model for the prop_static entity.
Notice how the fence model now appears in the 3D View.
Click the Apply button to commit the changes and see the results in the 3D View.
Now we'll add a prop model with physics properties.
Switch to the Entity Tool.
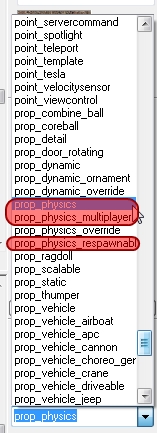
Choose prop_physics_multiplayer from the entity list in the Object Toolbar.
Place the prop_physics_multiplayer entity into the room by clicking on the floor in the 3D View.
Now open the Object Properties dialog by choosing Properties from the Edit Menu, if it's not already open.
The Object Properties dialog will now show the parameters of the prop_physics_multiplayer entity.
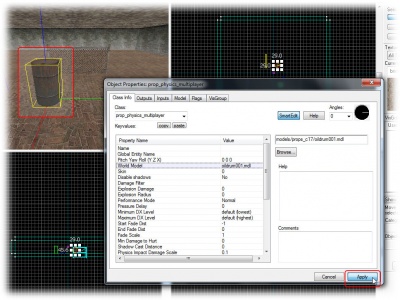
Click the Browse button in the World Model field in the Object Properties dialog to bring up the model browser.
Scroll down in the browser and double-click the oildrum001.jpg in the props_c17 model directory, as shown here.
Click the Apply button to confirm your changes.
Notice how the barrel model model now appears in the 3D View next to the fence.
Close the Object Properties dialog.
Moving Objects with the Grid
You may have noticed that the fence model is stuck part-way into the floor. We need to move it up.
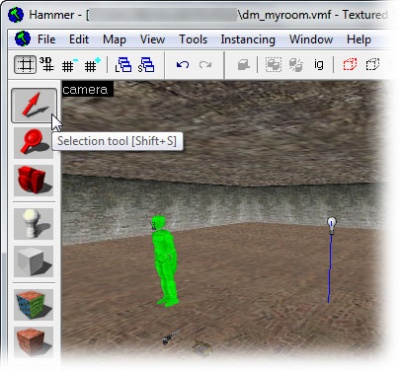
First, switch to the Selection Tool so we can move the object.
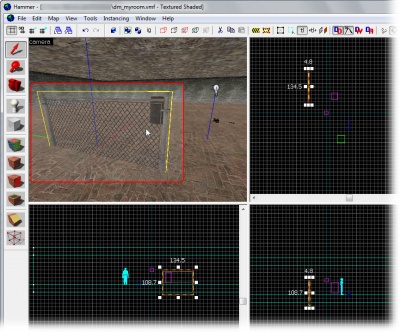
Now select the fence model by clicking on it in the 3D View.
A yellow box will appear around the model in the 3D View, showing that you've selected it.
Next, we'll move the fence model in the 2D Side View, since it's easy to see how it meets the floor.
To move the fence, click anywhere side the red bounding box in the 2D View, except in the very center of the box. Then drag the mouse cursor to the new location to move it.
When you drag it, make sure you don't accidentally grab one the 4 boxes in the center of the entity. These control the distance fading of the object, and we don't want to change that.
If you accidentally alter the fade distance controls, just choose Undo from the Edit menu to revert the change.
You may find that you can't quite line up the bottom of the model with the floor. The current size of the grid prevents it. Get it close as you can, and we'll fix that next.
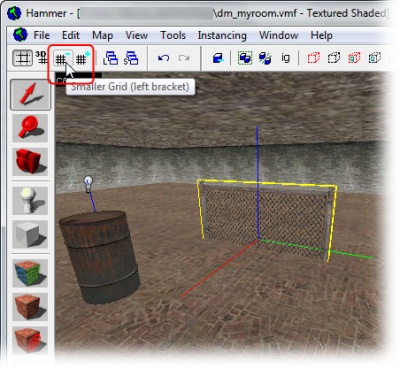
For finer control, click the Smaller Grid button in the upper left corner of the Hammer window.
The size of the grid controls how objects are lined up to one another.
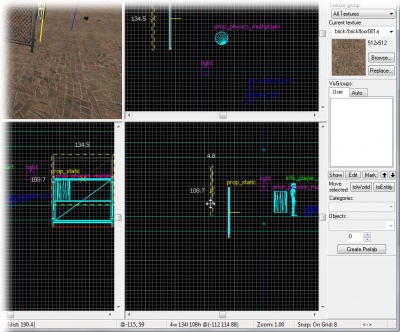
With a smaller grid, now try moving the fence again. You can see that it's now possible to line it up with the bottom of the floor, as shown.
If you find that you still can't line up the fence with the floor, click the Smaller Grid button again.
Note: It's okay if the prop_static entity sticks into the floor a little bit.
Now onto Saving and Compiling!
