Fr/Adding Prop Models: Difference between revisions
Anarkia777 (talk | contribs) No edit summary |
Anarkia777 (talk | contribs) No edit summary |
||
| Line 6: | Line 6: | ||
* ''Static'' qui sont fixe. | * ''Static'' qui sont fixe. | ||
* ''Dynamic'' qui peuvent être animés ou bougé. | * ''Dynamic'' qui peuvent être animés ou bougé. | ||
* ''Physics'' qui peuvent être bougé et obeissent au lois de la | * ''Physics'' qui peuvent être bougé et obeissent au lois de la phsyiques. | ||
Vous verrez dans ce tuto comment placé deux types de ces entités. | Vous verrez dans ce tuto comment placé deux types de ces entités. | ||
| Line 59: | Line 59: | ||
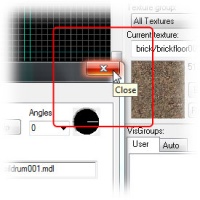
[[Image:hammer_closeprop.jpg |thumb|right|200px| Close the '''Object Properties''' dialog.]] | [[Image:hammer_closeprop.jpg |thumb|right|200px| Close the '''Object Properties''' dialog.]] | ||
<br clear="both"> | <br clear="both"> | ||
Revision as of 07:44, 8 November 2008
Les 'Props' sont des modèles 3D créer à partir d'un programme de modélisation telle XSI Mod Tool ou 3DS Max.
Il y a 3 types de props :
- Static qui sont fixe.
- Dynamic qui peuvent être animés ou bougé.
- Physics qui peuvent être bougé et obeissent au lois de la phsyiques.
Vous verrez dans ce tuto comment placé deux types de ces entités.
Prop static
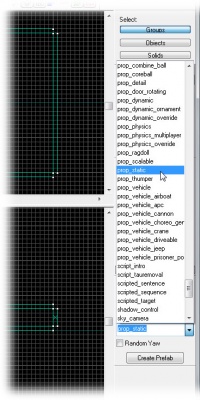
Nous allons commencé par ajouter un prop static.
Tous les props sont des entitées, et traité comme telle, vous pourrez donc les gerez avec le menu Entity Tool.
Ensuite choissisez prop_static de la liste entitée.
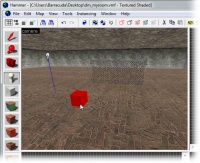
Placez le prop_static dans la map sur le sol dans la vue 3D.
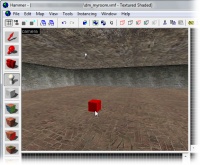
Vous aurez pour résultat une petite boite rouge, car vous n'avez pas encore choisie votre modèles, juste le type de modèles par le choix de l'entitée prop_static.
Nous allons maintenant choisir le modèle.
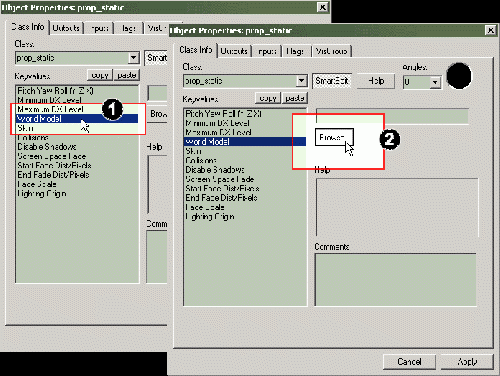
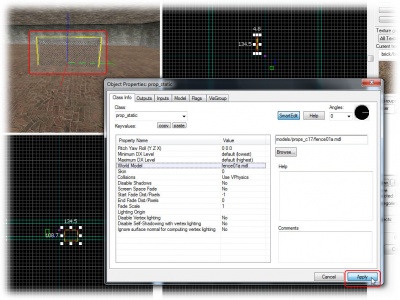
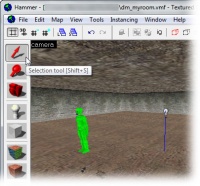
Prenez l'outil Selection et double-cliquez sur l'entité.
- Cliquez sur World Model
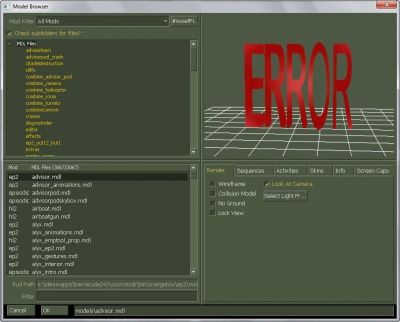
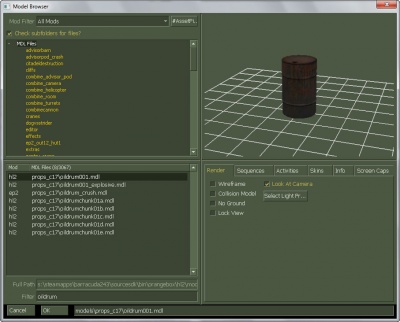
- Puis sur Browse..., le Model Browser ou explorateur de modèles va s'afficher.
Ne vous inquietez pas si vous voyez le message “ERROR”, c'est juste que vous n'avez selectionnez aucun modèles.
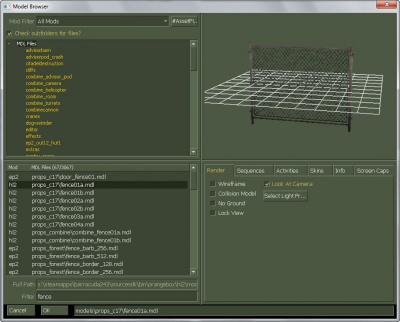
Cliquez sur le dossier props_c17 pour lister les modèles à l'interieur.
Il y a beaucoup de modèles comme pour les textures, nous nous servirons des filtres. Pour notre cloture tapez "fence" dans le champ filtre.
Puis choisissez le modèle fence01a.mdl, vous aurez un apercu dans la vue en 3D. Puis faite Ok pour l'ajouter à votre entité prop_static.
Faite Apply. Votre entité doit avoir pris l'apparence de votre modèle.
Prop physics
Nous allons maintenant ajouter un modèles avec des propriété physiques.
Selectionné Entity Tool.
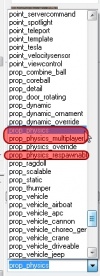
Le type de l'entité prop_physics depend du jeux pour lequel la map est destiné.
- Si elle est pour Half-Life 2: Single Player, choisissez l'entitée prop_physics entity.
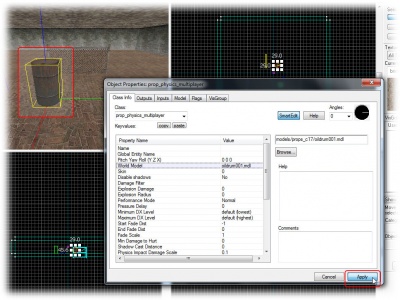
- Si elle est pour Half-Life 2: Deathmatch ou u nautre jeux multi, choisissez l'entitée prop_physics_multiplayer.
Choisissez votre entité, placez la sur le sol et allez dans l'explorateur de modèles.
Pour un tonneau, tapez "oildrum" dans le chmap filtre, et choisissez le modèle oildrum001.mdl, puis confimer.
Click the Apply button to confirm your changes, and the physics prop will change to the barrel model you selected.
Moving objects
You may have noticed that the fence model is stuck half-way into the floor. We are going to move it up now.
Entities are moved just like brushes are:
Switch to the Selection Tool and click on the fence to select it.
Then select the fence model by clicking on it in the 3D view.
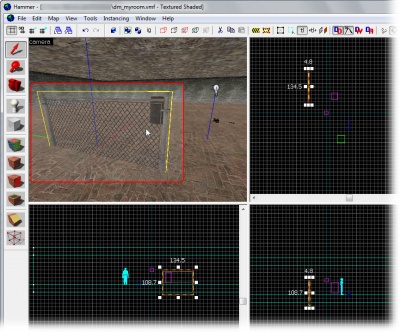
A box will appear around the model in all the views, showing that it has been selected.
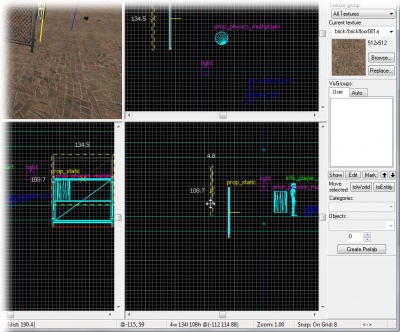
To move something along the z axis (up or down), you’ll need to move it in one of the lower views (named front (y/z) or side (x/z)).
Click inside the red bounding box in one of these 2D views, and then drag the fence upward until it’s closer to the floor.
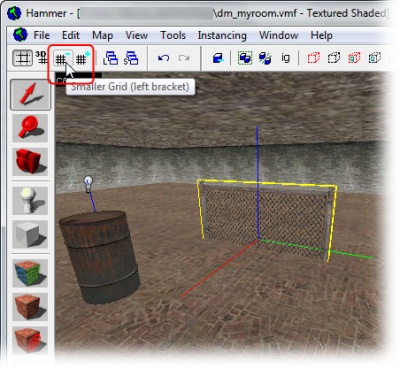
You may find that you can’t quite line up the bottom of the model with the floor because the current size of the grid prevents it. It won’t matter that much if the fence sticks somewhat into the floor, but if you want it exactly aligned you will need to decrease the grid size:
- Click the Smaller Grid button in the grid toolbar in the upper left corner of the Hammer window.
- Zoom in a bit on where the fence meets the floor, so that you can see better.
- Adjust the height of the fence.
- Repeat steps 1-3 until you're satisfied. (For a perfect fit, you will need to decrease the grid size to 2.)
You are finally done with the blueprints for this map.
