Creating a wall light: Difference between revisions
Rockn-Roll (talk | contribs) m (→Step 1: spelling...it said "wel" and meant to be "we") |
mNo edit summary |
||
| (13 intermediate revisions by 8 users not shown) | |||
| Line 1: | Line 1: | ||
[[ | {{Portal topicon}}{{Source topicon}} | ||
{{Lang|title=Recessed Lights}} | |||
{{Subpage|[[Portal Level Creation]]}} | |||
[[Category:Portal]] [[Category:Level Design]] [[Category:Tutorials]] | |||
In this tutorial you | [[File:Lighttutorial11.jpg|right|thumb|350px|The final effect.]] | ||
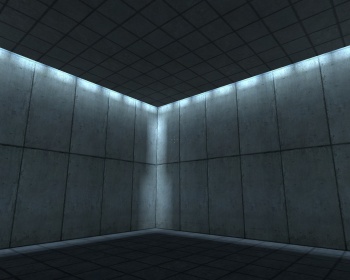
In this tutorial you'll learn how to make a wall light that is seen in the {{portal|4}} test chambers. | |||
== Steps == | == Steps == | ||
{{clr}} | |||
=== Step 1 === | === Step 1 === | ||
Create a room for the light to be in | Create a room for the light to be in. For the sake of this tutorial, we will use a 384×384×256 room with walls 16 units thick. Ensure the roof is touching the walls only by its edges.{{clr}} | ||
=== Step 2 === | === Step 2 === | ||
[[ | [[File:Lighttutorial1.jpg|right|thumb|Step 2]] | ||
Texture the edges of the roof with the same texture you used for your roof. | Texture the edges of the roof with the same texture you used for your roof.{{clr}} | ||
=== Step 3 === | === Step 3 === | ||
[[ | [[File:Lighttutorial2.jpg|right|thumb|Step 3]] | ||
Shrink the roof by | Shrink the roof by 4 on each end. In this case, from 384×384 to 376×376.{{clr}} | ||
=== Step 4 === | === Step 4 === | ||
[[ | [[File:Lighttutorial3.jpg|right|thumb|Step 4]] | ||
Create a | Create a 4×16 block with the invisible texture and put it right beside your newly shrunk roof. They should fit so there are no leaks.{{clr}} | ||
=== Step 5 === | === Step 5 === | ||
[[ | [[File:Lighttutorial4.jpg|right|thumb|Step 5]] | ||
Copy the invisible blocks and re-texture them | Copy the invisible blocks and re-texture them with Nodraw. Move them higher above the invisible blocks so you can easily perform step 6.{{clr}} | ||
=== Step 6 === | === Step 6 === | ||
[[ | [[File:Lighttutorial5.jpg|right|thumb|Step 6]] | ||
Texture the bottom of the | Texture the bottom of the 4×16 Nodraw blocks with <tt>light_recessedcool002</tt>. Rotate the recessed texture with the face edit tool so it is parallel with the block, with the lighter side of the gradient facing the inside of the room.{{tip|Change the <tt>light_recessedcool002</tt> texture's [[lightmap]] resolution to 8 to create a more constant glow. Also, you may choose to set the texture scale higher, so the light does not have the breaks in it.}}{{clr}} | ||
=== Step 7 === | === Step 7 === | ||
[[ | [[File:Lighttutorial6.jpg|right|thumb|Step 7]] | ||
Move the | Move the Nodraw blocks to sit on top of the invisible blocks.{{clr}} | ||
=== Step 8 === | === Step 8 === | ||
[[ | [[File:Lighttutorial7.jpg|right|thumb|Step 8]] | ||
Select all the top walls and pull them up so they enclose the invisible blocks. | Select all the top walls and pull them up so they enclose the invisible blocks.{{clr}} | ||
=== Step 9 === | |||
=== Step 9 | [[File:Lighttutorial8.jpg|right|thumb|Step 9]] | ||
[[ | |||
Add an overlay with decals/overlay_light_gradient, and change the | Add an [[info overlay|overlay]] with the texture <tt>decals/overlay_light_gradient</tt>, and change the VStart/VEnd to .99 instead of 1.{{clr}} | ||
=== Step 10 === | === Step 10 === | ||
[[ | [[File:Lighttutorial9.jpg|right|thumb|Step 10]] | ||
Resize to fit, and move inside of the hole. | Resize to fit, and move inside of the hole.{{clr}} | ||
=== Step 11 === | === Step 11 === | ||
[[ | [[File:Lighttutorial10.jpg|right|thumb|Step 11]] | ||
Repeat for every wall | Repeat for every wall.{{clr}} | ||
=== Step 12 === | === Step 12 === | ||
Compile your map | Compile your map and ensure there are no [[leaks]]. | ||
== See also == | == See also == | ||
* [[Portal Level Creation]] | * [[Portal Level Creation]] | ||
Latest revision as of 07:14, 8 February 2024
In this tutorial you'll learn how to make a wall light that is seen in the ![]() Portal test chambers.
Portal test chambers.
Steps
Step 1
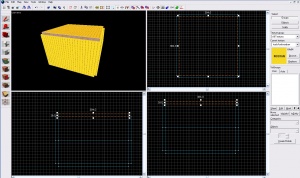
Create a room for the light to be in. For the sake of this tutorial, we will use a 384×384×256 room with walls 16 units thick. Ensure the roof is touching the walls only by its edges.
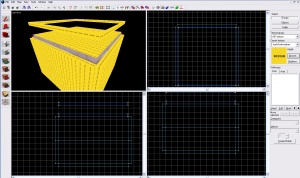
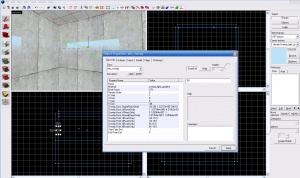
Step 2
Texture the edges of the roof with the same texture you used for your roof.
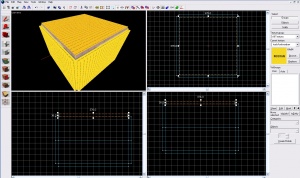
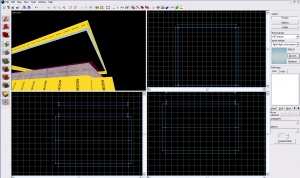
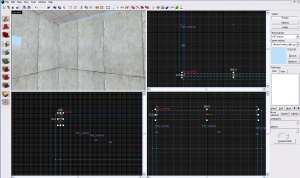
Step 3
Shrink the roof by 4 on each end. In this case, from 384×384 to 376×376.
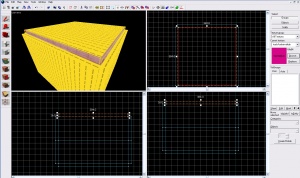
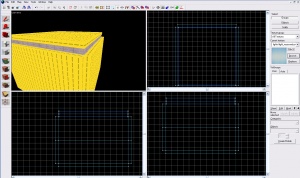
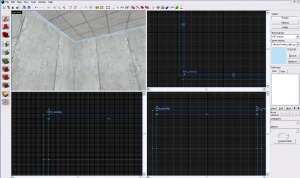
Step 4
Create a 4×16 block with the invisible texture and put it right beside your newly shrunk roof. They should fit so there are no leaks.
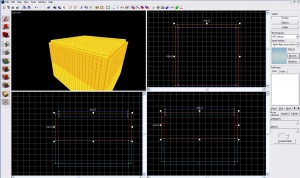
Step 5
Copy the invisible blocks and re-texture them with Nodraw. Move them higher above the invisible blocks so you can easily perform step 6.
Step 6
Texture the bottom of the 4×16 Nodraw blocks with light_recessedcool002. Rotate the recessed texture with the face edit tool so it is parallel with the block, with the lighter side of the gradient facing the inside of the room.
Step 7
Move the Nodraw blocks to sit on top of the invisible blocks.
Step 8
Select all the top walls and pull them up so they enclose the invisible blocks.
Step 9
Add an overlay with the texture decals/overlay_light_gradient, and change the VStart/VEnd to .99 instead of 1.
Step 10
Resize to fit, and move inside of the hole.
Step 11
Repeat for every wall.
Step 12
Compile your map and ensure there are no leaks.
