New Lights Editor
New Lights Editor is a based on console commands in-game light/godrays editor, available in ![]() Black Mesa. This editor can configure on the fly most properties of new lights and godrays with instant results in game; you can also add new ones to see how they look at your level. Initially, it was planned to implement the editor via VGUI, but because VGUI is not easy to work with, Kim made
Black Mesa. This editor can configure on the fly most properties of new lights and godrays with instant results in game; you can also add new ones to see how they look at your level. Initially, it was planned to implement the editor via VGUI, but because VGUI is not easy to work with, Kim made lightscript.cfg, which can be executed once to bind various console commands to keys on the keyboard to make the process much easier.
Usage
Before New Lights Editor usage, make a copy of your config.cfg file (for example config_copy.cfg), because New Light Editor rewrites some bindings. With a copy of the file, you will be able to restore all your binds quickly.
To activate New Lights Editor, at first, open the console (usually this is ` bind), than enter in the console exec lightscript (it is also recommended to enter sv_cheats 1, this to have full access to the commands). After this, you will be automatically moved in developer 1, with this, some bindings will rewratted, and you'll see the message in the console.
The message.

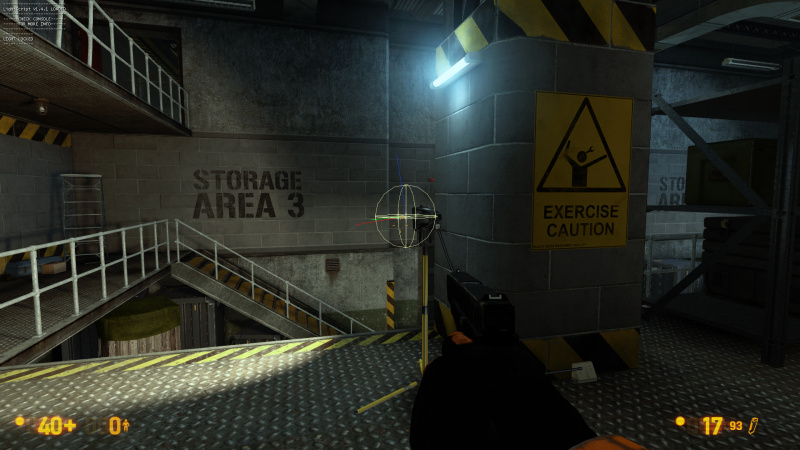
So, the New Lights Editor editor is now activated and you may already noticed orange box around entity that is under your crosshair.
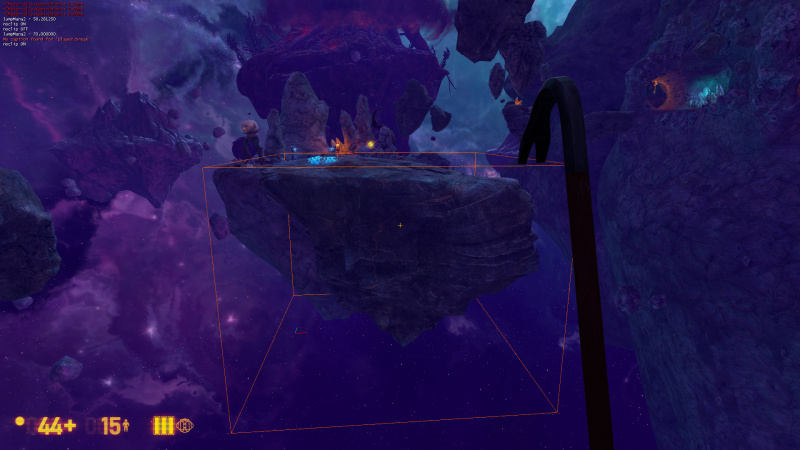
The orange box.

This is bounding box, usually uses by game engine to tell when model can be seen by player to draw or not draw it (for performance). You also can see the lines which shows direction of entity, they are always located in origin.
In this case, both things shows you entity that you are targeting, so, technically you can select and edit any entity, but most commands will not produce any results. The only two entities you should interact with is newLight_Point and newLight_Spot (might work newLight_Dir as well, but you can't select it).
To edit your new light source, move your crosshair at it. You'll note this white box and lines which shows direction of it, bounding box as well.
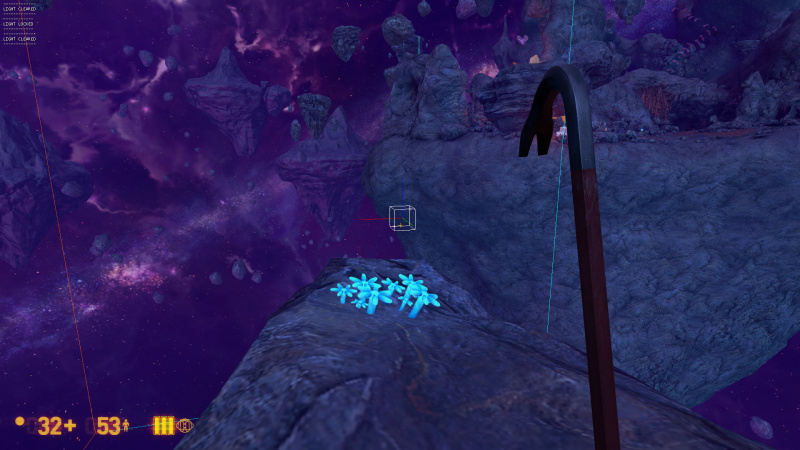
This is how it looks like with point light.

This is how it looks like with spot light.


Press ↵ Enter to select it (to deselect it, press ↵ Enter again). Now you can see sphere instead of white box. In case of point light, the lines will be disabled (you don't really need them at all), in case of spot light, they will stay. The color of sphere will match color of selected light source.
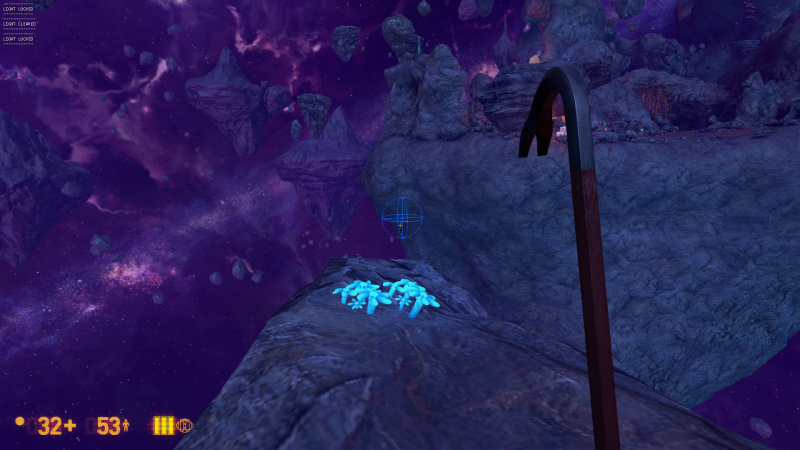
This is how it looks like with point light.
This is how it looks like with spot light.


Now you can change light properties. In totalm you can change 18 different properties. There are 9 buttons in total, one button for every two property, you switch between them by pressing on it.
To select one of the properties you want to change, press one of these buttons: F1 to F9 or 1 to 9 on numpad. See below for what each does. To get full list of binds - press * on numpad.

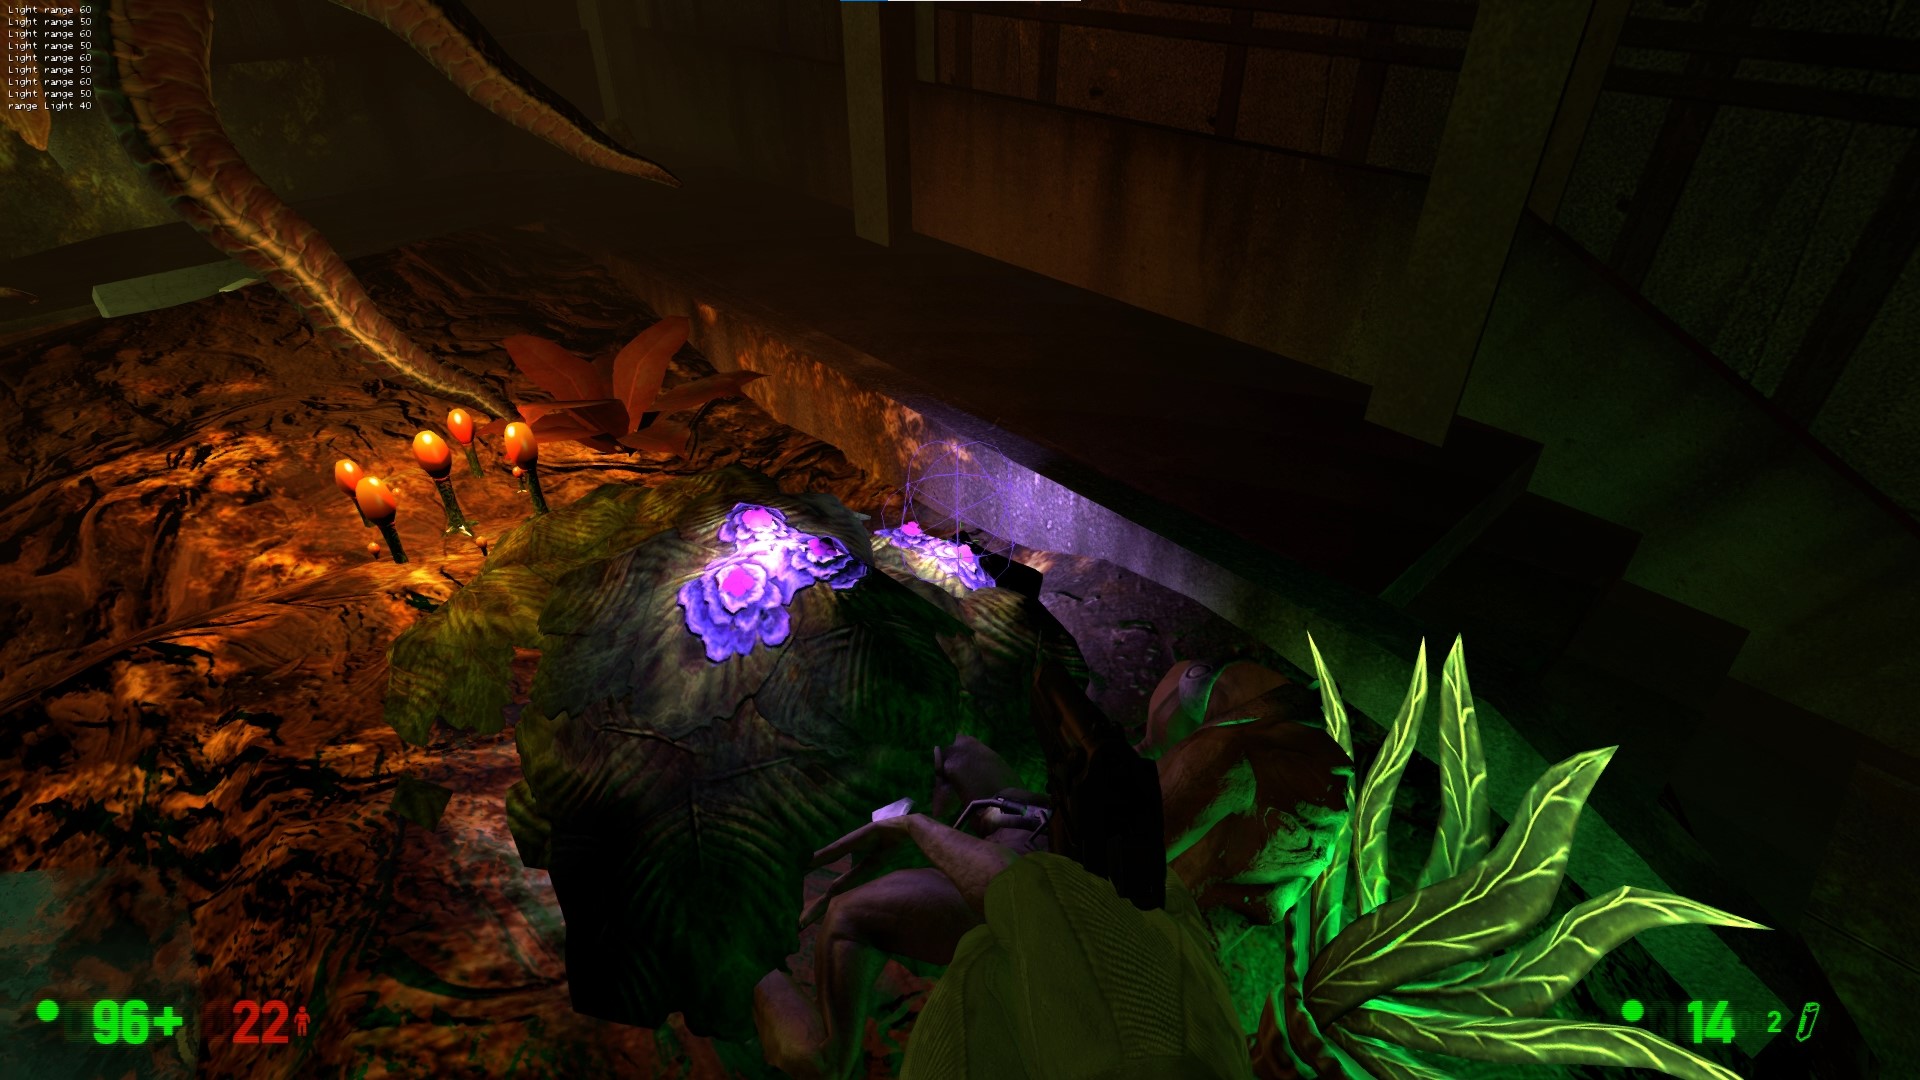
This message appear when you select
Intensityproperty.

After property selection, you can increase or decrease property value. Use mouse wheel up to increase, or + on numpad. Use mouse wheel down to decrease, or - on numpad. The resulting value will be displayed in the console.
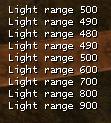
This message appear when you change
Rangevalue.

Once you have decided on the values, manually write them in Hammer. If you have lost some value, you can get full information about selected light source, press , or / on numpad.
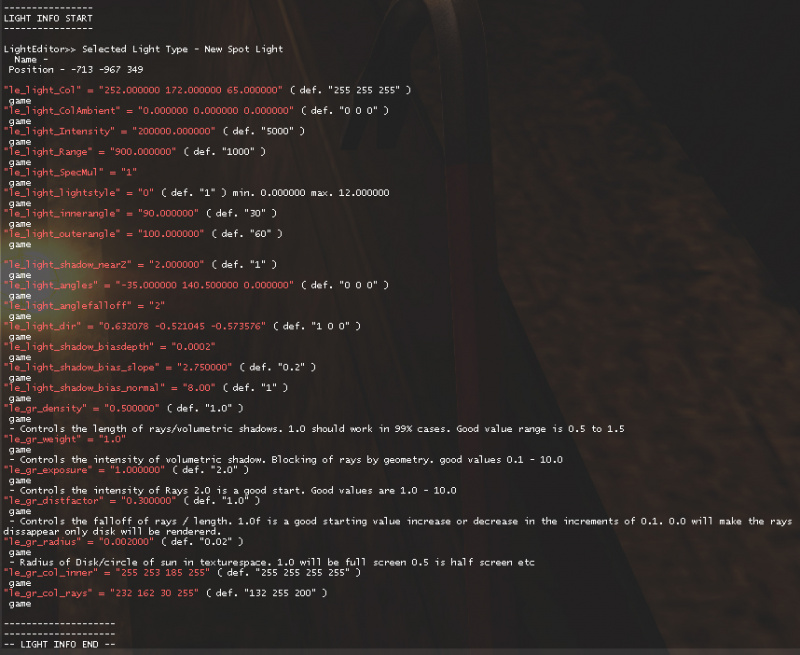
Example with the spot light in
bm_c2a4c.

In addition to editing an existing lights, you can also add new ones. Press Insert (or 0 on numpad), then press ![]() . This will cause white light source with no shadows to appear under your crosshair.
. This will cause white light source with no shadows to appear under your crosshair.
lightscript.cfg you can create only point light. Attempt to create spot light will cause message in the console Unknown command: newl_s.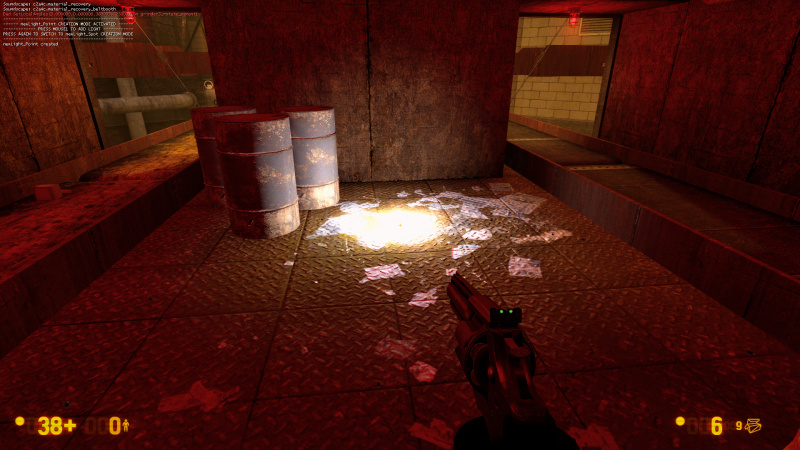
Example.

To delete light source, press Delete, or . on numpad.
To disable New Lights Editor, enter in the console exec lightscript.
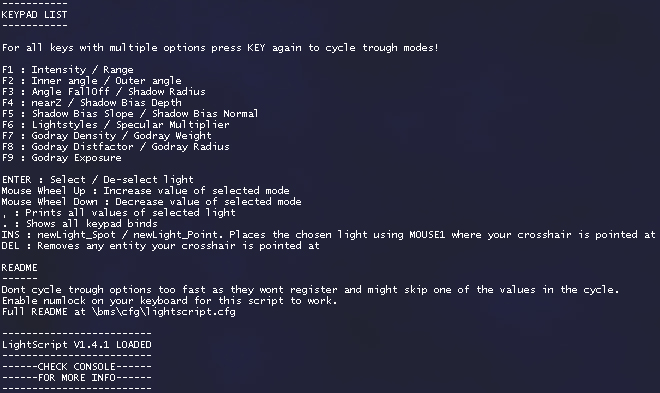
Keypad List
This is full list of bind/commands.
- F1 or 1 on numpad - Intensity / Range.
- F2 or 2 on numpad - Inner Angle /Outer Angle.
- F3 or 3 on numpad - Angle FallOff / Shadow Radius.
- F4 or 4 on numpad - NearZ / Shadow Bias Depth.
- F5 or 5 on numpad - Shadow Bias Slope / Normal Bias.
- F6 or 6 on numpad - Light Styles / Specular Multiplier.
- F7 or 7 on numpad - Godray Density / Godray Weight.
- F8 or 8 on numpad - Godray Distfactor / Godray Radius.
- F9 or 9 on numpad - Godray Exposure.
- ↵ Enter - select/deselect light.
- Mause Wheel Up or + on numpad - increase value of selected property.
- Mause Wheel Down or - on numpad - decrease value of selected property.
- , or / on numpad - shows all values of selected light.
- * on numpad - shows all keypad binds.
- Delete or . on numpad - removes any entity your crosshair is pointed at.
- Insert or 0 on numpad - inserts newLight_Spot/newLight_Point.
lightscript.cfg. - place light source where your crosshair is pointed.
Unused Commands
Some commands are unsed. You still can use them via console when your light source is selected.
le_light_Col- sets light color value (RGB).le_light_ColAmbient- sets shadow color value (RGB).le_light_Pos- sets light source position in world (XYZ).le_gr_col_inner- sets godrays inner color (RGB).le_gr_col_outer- sets godrays outer color (RGB).le_gr_col_rays- sets godrays rays color (RGB).le_gr_godray_type- sets godrays type (0 - normal, 1 - fancy).le_gr_worldspace_enable- sets world space render state (0 - disabled, 1 - enabled).le_gr_ell_FR_constA- sets size of disk from fancy godrays (float).le_gr_ell_FR_constB- sets distortion scale of disk from fancy godrays (float).le_gr_ell_rot_pattern- sets amount of fancy rays in frame (float).le_gr_ell_rotspeed- sets rotating speed of fancy rays (float).le_gr_ell_RRF_constA- sets inner size of fancy godrays (float).le_gr_ell_RRF_constB- sets inner distortion size of fancy godrays (float).le_gr_ell_SR_constA- sets size of disk hole for fancy godrays (float).le_gr_ell_SR_constB- sets distortion scale of disk hole for fancy godrays (float).
See also
- Xog Editor - similar editor, but for xog.
- newLight_Point - new point light.
- newLight_Spot - new spot light.
- newLight_Dir - godrays in sky.
- NewLights_settings - entity that changes properties of lighting.
- godrays_settings - entity that changes properties of godrays.