Mesh Entities
A mesh entity is a mesh that's been turned into an entity. These are commonly used to make things like trigger regions.
Mesh Entity Tutorial
This tutorial assumes you've already created a map, if not, follow the tile editor introduction to set up a map.
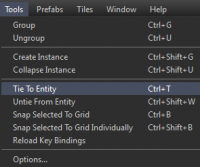
To make a mesh entity, create a block using the Block Tool and then go to Tools > Tie To Entity, or use Ctrl+T. This will convert the mesh into an entity. The default entity will be trigger_multiple.
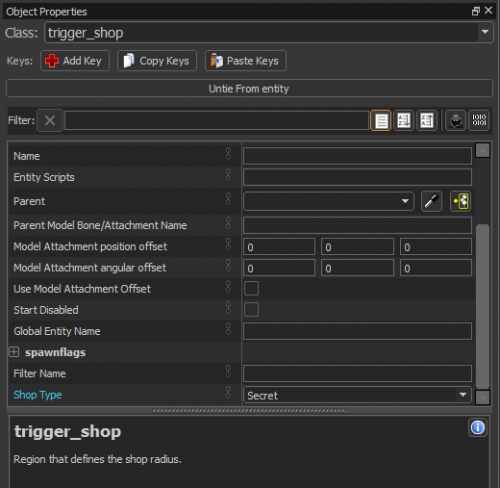
With the new mesh entity selected, the Object Properties pane now shows an entity class has been assigned to it. It will default to whichever entity class is set to default in your options, but you can change the class type at any time.
Change it to a secret shop region. To this, change the entity class to trigger_shop and hit ↵ Enter to confirm the entity class change. Next scroll to the bottom of the entity's property fields and change its Shop Type to "Secret" using the drop-down menu.
Since your mesh is a trigger, you should apply a trigger material to it, because you want the mesh to be invisible and not collide with anything. In the Active Material pane, click Browse and type "trigger" in the filter field at the top. The material you're looking for is called toolstrigger. Double-click to make it your active material, then apply it to your selected mesh with ⇧ Shift+T.
Switch to Translate mode with T and drag your trigger_shop mesh to the location that your player spawns in -- if you haven't manually added an info_playerstart_goodguys entity, the playerstart location will simply be the location of your basic_entities prefab (which contains playerstart entities for both the Radiant and Dire). Build your map with F9 and then run it in-game. When you select a hero and spawn in, you'll be in the radius of the invisible secret shop trigger you created. Pressing the shop key will allow you to buy secret shop items.

