Compile and Run
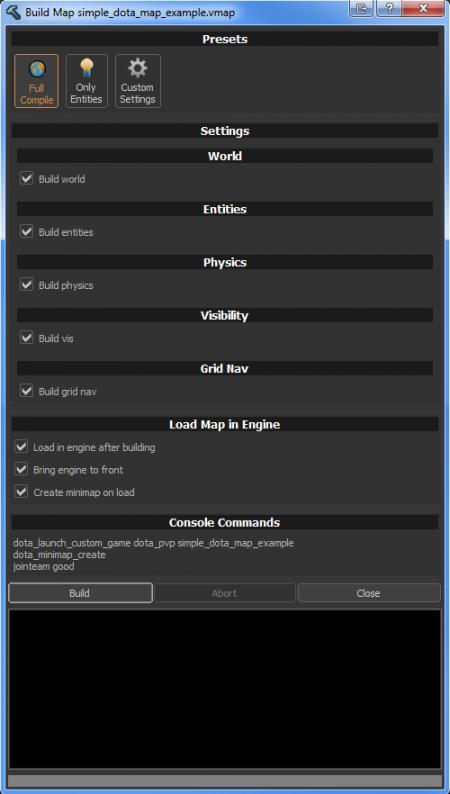
It's time to compile and play your map. Press F9 or go to File -> Build Map to open the Build Map window. A window similar to the right should appear with a variety of options.
If you wish to have your map launch automatically when it's done being built, check the "Load in engine after building" and "Bring engine to front" check boxes. Also, since this is the first version of your map, check the "Create minimap on load" check box so that it auto-creates a minimap image for you. Click Build to begin compiling your map.
Once the map is compiled it can be run in game. If you've checked "Load in engine after building" this will automatically load the map in game. If not, there's some steps on how to do this:
- Open the console by pressing ` commonly located above the Tab ⇆ key.
- Type "
dota_launch_custom_game my_addon_name my_map_name" substituting your own addon name and map name where appropriate - Press ↵ Enter
Once in-game, you'll need to re-open the console and enter the command "jointeam good" since your addon isn't yet set up to assign you a team.
You've completed your first simple map and, with that, completed the introduction to Hammer and its Tile Editor. You can return to the Level Design section to browse the rest of the Hammer documentation and tutorials. Additional information and advanced Tile Editor concepts can be found in the Tile Editor documentation.
content/dota_addons/your_addon_name/maps/your_map_name.vmap and packages it into a .vpk file contained in game/dota_addons/your_addon_name/maps/your_map_name.vpk
