View Navigation
To get a proper 3D perspective of your work, you will need to be able to control setting the 3D camera view.
This can be done in two ways: You can either use the keyboard to navigate through your map, or you can rig up cameras.
Keyboard navigation will let you fly freely through the map while your mouse pointer is over the 3D view. You will not collide with anything while doing this. Just make sure not to stray too far from your work, or you might not find your way back to it again.
The controls are simple: The W, A, S, and D keys works like the default in-game steering, moving your position up, left, down and right, while the arrow keys will steer the direction you're facing. You can also press the Z key to toggle using the arrows or the mouse for steering this direction.
As you haven't created any brushes yet, you can use the origin mark of the map (the meeting red, blue and green lines that you start at) for something to move around.
Creating a Camera
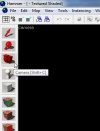
To set up a camera, select the red camera from the list of icons on the left side of the Hammer window by clicking on it.
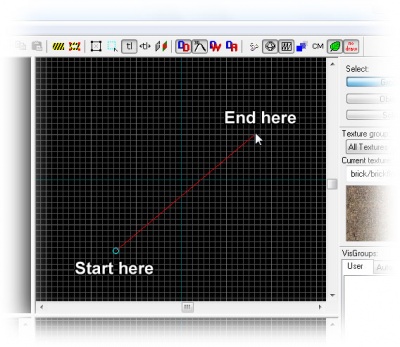
Click and drag your mouse in a 2D view to create the camera, as shown to the right. The 3D view will change to the new camera, and the 2D windows will display your camera as a blue circle with a line leading from it.
You can change the position of the camera by dragging the blue circle around with the mouse in the 2D views, and where it will point by dragging the other end of the line around. The 3D view will update as the camera changes.
Magnify
You can use Magnify to zoom in and zoom out of the 2D viewports. First select the Magnify icon from the icon bar. Now left-click in a 2D viewport to increase the magnification, and right-click to zoom back out.
If your mouse is equipped with a mouse wheel, you can use it instead to change the zoom level in all of the viewports: Forward will zoom in and backwards will zoom out.


