Applying Textures
Now, we'll change the brick walls of our room into something more appropriate.
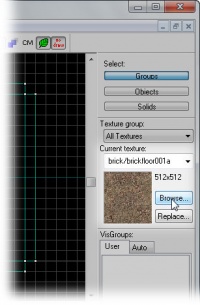
In order to find the texture we want, click the Browse... button in the Texture Bar on the right side of the Hammer window.
This will open the Texture Browser.
The Texture Browser lets you view and select textures to apply to objects in your map.
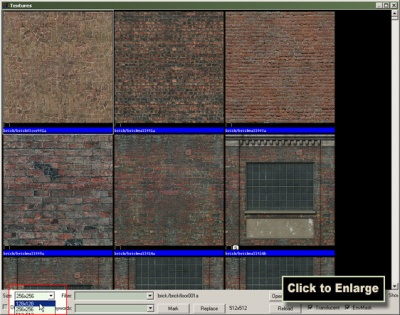
Currently you might see only a few large textures, which makes things a bit tedious to browse, so we'll need to change that:
In the lower left corner of the Texture Browser window there is a drop-down list bar called Size:. If it doesn't say 128x128 already, pick that option.
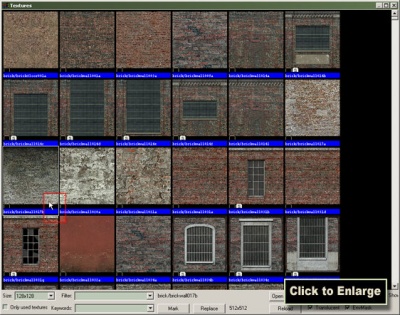
This will reduce the size of the texture samples, so that we can see more at once.
Find the texture under-labeled brick/brickwall017b and double-click it. (It might be in another position than the position in the image, depending on your screen resolution.) This will choose the texture for use, and close the Texture Browser. The texture that you just chose is shown in the Texture Bar.
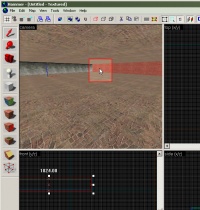
Left-click one of the wall brushes inside the room to select it. (It's easier to select a brush in the 3D view.)
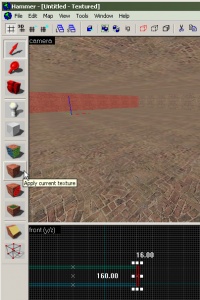
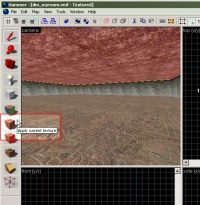
To apply the texture we picked in the Texture Browser to this brush, click the Apply Current Texture icon from the left panel.
Rotate the camera in the 3D view with the methods you learned earlier, so that it faces another wall brush that hasn't been textured yet.
Select it and apply the current texture to it in the same manner: Left-click the brush in one of the views to select it, and then press Apply Current Texture to apply the texture to the brush.
Continue applying this texture to the other two walls, so that all the four walls look the same.
Finally we will texture the ceiling so it looks more like a ceiling.
Click the Browse... button once again to bring up the Texture Browser.
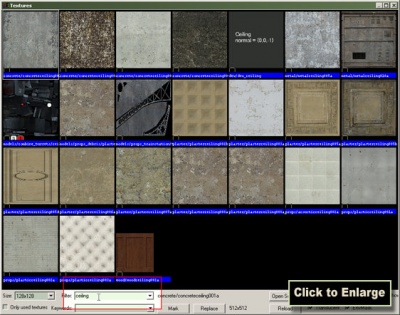
If you look at the sliding bar to the right, you can see that that is an awful lot of textures to browse through to find just one ceiling texture, but don't worry: Most ceiling textures are called "ceiling", and there is a filter option to filter out what doesn't contain that word. You'll find the filter text box beneath the list of textures in this browser, named "Filter:". Type in "ceiling" there, as shown in the image, to just list the textures with names containing the word "ceiling" in the browser.
Double click the texture called "concrete\concreteceiling02a", as shown in this image. The texture will be selected and the browser will close.
Now, click the ceiling brush in the 3D View to select it, and click the Apply Current Texture icon to assign the texture to the ceiling.
Now onto Adding Entities!
