Door creation
Creating a brush-based door.
Basics
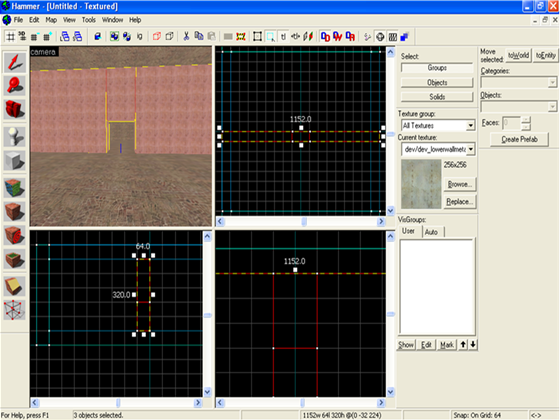
To create a brush-based door, create a gap in the wall as a doorspace. See dimensions for sizing. To make the gap, split the wall in half and place a small brush over the top of the doorspace. Make sure that there is floor underneath the doorspace, otherwise there will be a leak.
Creating a brush for the door
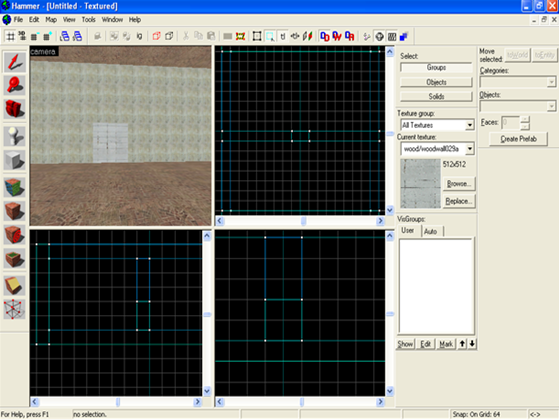
To start making the door, fill the doorspace with a brush. The brush should be a different texture from the wall (wood wall textures are good).
Turning the brush into the door
To turn the brush into a door, right click on it while it is selected in one of the 2D views. Then select 'Tie to Entity' and from the entity list select either func_door_rotating for normal doors or func_door for up/down sliding doors. If the door is to slide, select func_door and scroll down the options until you reach 'Move Direction (Pitch Yaw Roll)' and select either up or down from the small box next to the select options bar. For rotating doors, you'll probably want to adjust the rotation point either by moving the blue ball (in the 3d view) using the 2d view, or by adjusting the 'Origin'.
Once this is done, to open the door (in-game) walk into it. To make it into a 'use' door, double click on it in 3d view, select the 'flags' tab on the properties window. Select 'use opens' and de-select 'touch opens'.
Making a button for your door
Name your door something like door1. To make a button for the door, create a small brush (can be any shape you want), and tie it (via Tie to Entity) to func_button. Name your button as well (i.e. door1_button). Then, once you have selected 'Apply', select 'Outputs' and 'Add Output'. The output should be:
Then press 'Apply' again, to make the button.
When you test the map, walk up to the button and press 'Use'. The door should then open.

