Heightmap: Difference between revisions
Jump to navigation
Jump to search
mNo edit summary |
SirYodaJedi (talk | contribs) No edit summary |
||
| (2 intermediate revisions by 2 users not shown) | |||
| Line 4: | Line 4: | ||
Older game engines use these textures for a shader method known as [[bump mapping]], as they are the predecessors to the [[Normal Maps|normal maps]] that the Source engine use for this method. | Older game engines use these textures for a shader method known as [[bump mapping]], as they are the predecessors to the [[Normal Maps|normal maps]] that the Source engine use for this method. | ||
In modern versions of Source, | In modern versions of Source, heightmaps are still used for [[parallax mapping]] in supported games and the creation of [[normal map]]s and [[$ssbump|self-shadowing bump maps]]. | ||
Latest revision as of 07:01, 10 April 2025
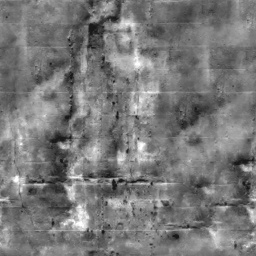
A heightmap is a grayscale texture where the brightness of each pixel represents its height (relative to its surface).
Older game engines use these textures for a shader method known as bump mapping, as they are the predecessors to the normal maps that the Source engine use for this method.
In modern versions of Source, heightmaps are still used for parallax mapping in supported games and the creation of normal maps and self-shadowing bump maps.
Steps to creating a heightmap
- Create a copy of a texture in grayscale and edit it if you wish. White corresponds to the pixels closest to you and black corresponds to pixels farthest from you.
- Save the image as a targa (.tga) with
_heightat the end of the filename. - Convert the targa image to a Valve Texture File (.vtf).
- Put it in the same directory as your texture.
See also
- Parallax mapping
- Heightmap - The Wikipedia article.
- Height2Normal a Source SDK tool for converting a heightmap to a normalmap
