List of Portal 2 Movies: Difference between revisions
Jump to navigation
Jump to search
 Warning:(in
  ) Support for
mNo edit summary |
|||
| (20 intermediate revisions by 9 users not shown) | |||
| Line 1: | Line 1: | ||
{{ | {{lang|List of Portal 2 Movies|title=List of ''Portal 2'' Movies}}{{p2 topicon}} | ||
{{back | Portal 2}} | |||
}} | {{portal2}} This is a list of all available Bink videos of {{portal2|3}}. See {{ent|vgui_movie_display}} for implementation and tips. | ||
{{portal2}} This is a list of all available Bink videos of | {{warning|{{in|{{p2ce}}}} Support for {{code|.bik}} videos have been dropped completely. All prepackaged videos have been replaced with {{code|.webm}} videos, so to get these videos to play, replace the {{code|.bik}} extension with {{code|.webm}}.}} | ||
== Elevator Panels == | |||
{| class=standard-table | style="width:100%;" | |||
!width="175px"|File name | |||
== Elevator | !Description | ||
{| class= | !width="300px"|Image | ||
! File name | |||
|- | |- | ||
| animalking.bik | | animalking.bik | ||
| The animal-king invades the UN. | |||
| [[File:animalking.jpg|center|thumb]] | |||
|- | |- | ||
| aperture_appear_horiz.bik | | aperture_appear_horiz.bik | ||
| rowspan="2" | A waving person walking on a strip, then falling slowly. | |||
| [[File:aperture_appear_horiz.jpg|center|thumb]] | |||
|- | |- | ||
| aperture_appear_vert.bik | | aperture_appear_vert.bik | ||
| [[File:aperture_appear_vert.jpg|center|thumb|120px]] | |||
|- | |- | ||
| bluescreen.bik | | bluescreen.bik | ||
| Molten core bluescreen. | |||
| [[File:bluescreen.jpg|center|thumb]] | |||
|- | |- | ||
| exercises_horiz.bik | | exercises_horiz.bik | ||
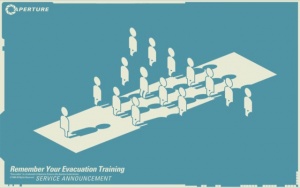
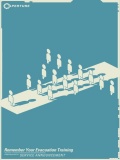
| rowspan="2"| Evacuation training reminder with marching people. | |||
| [[File:exercises_horiz.jpg|center|thumb]] | |||
|- | |- | ||
| exercises_vert.bik | | exercises_vert.bik | ||
| [[File:exercises_vert.jpg|center|thumb|120px]] | |||
|- | |- | ||
| faithplate.bik | | faithplate.bik | ||
| [[Aerial Faith Plate]] demonstration. | |||
| [[File:faithplate.jpg|center|thumb]] | |||
|- | |- | ||
| fizzler.bik | | fizzler.bik | ||
| [[Emancipation Grid]] demonstration. | |||
| [[File:fizzler.jpg|center|thumb]] | |||
|- | |- | ||
| hard_light.bik | | hard_light.bik | ||
| [[Hard Light Surface]] demonstration. | |||
| [[File:hard_light.jpg|center|thumb]] | |||
|- | |- | ||
| laser_danger_horiz.bik | | laser_danger_horiz.bik | ||
| rowspan="2" | Demonstration of the fatal effects of a laser beam. | |||
| [[File:laser_danger_horiz.jpg|center|thumb]] | |||
|- | |- | ||
| laser_danger_vert.bik | | laser_danger_vert.bik | ||
| [[File:laser_danger_vert.jpg|center|thumb|120px]] | |||
|- | |- | ||
| laser_portal.bik | | laser_portal.bik | ||
| [[Thermal Discouragement Beam]] demonstration. | |||
| [[File:laser_portal.jpg|center|thumb]] | |||
|- | |- | ||
| plc_blue_horiz.bik | | plc_blue_horiz.bik | ||
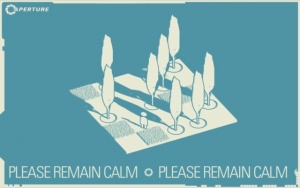
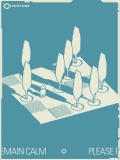
| rowspan="2" | Reminder to remain calm. | |||
| [[File:plc_blue_horiz.jpg|center|thumb]] | |||
|- | |- | ||
| plc_blue_vert.bik | | plc_blue_vert.bik | ||
| [[File:plc_blue_vert.jpg|center|thumb|120px]] | |||
|- | |- | ||
| turret_colours_type.bik | | turret_colours_type.bik | ||
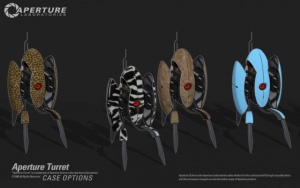
| Turret case options. | |||
| [[File:turret_colours_type.jpg|center|thumb]] | |||
|- | |- | ||
| turret_dropin.bik | | turret_dropin.bik | ||
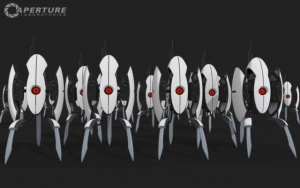
| Some turrets descending and deploying. | |||
| [[File:turret_dropin.jpg|center|thumb]] | |||
|- | |- | ||
| turret_exploded_grey.bik | | turret_exploded_grey.bik | ||
| Insides of a turret. | |||
| [[File:turret_exploded_grey.jpg|center|thumb]] | |||
|} | |} | ||
== Single-player story == | == Single-player story == | ||
{| class= | {| class=standard-table | style="width:100%;" | ||
! File name | !width="175px"|File name | ||
!Description | |||
!width="300px"|Image | |||
|- | |- | ||
| sp_30_a4_finale5.bik | | sp_30_a4_finale5.bik | ||
| Elevator ride before credits, opera and field included. | |||
| [[File:sp_30_a4_finale5.jpg|center|thumb]] | |||
|- | |- | ||
| sp_a5_credits.bik | | sp_a5_credits.bik | ||
| Space background. | |||
| [[File:sp_a5_credits.jpg|center|thumb]] | |||
|- | |- | ||
| sp_credits_bg.bik | | sp_credits_bg.bik | ||
| Background used for the credits song, song and credits text not included, intended for looping. | |||
| [[File:sp_credits_bg.jpg|center|thumb]] | |||
|- | |- | ||
| sp_ending_callback.bik | | | sp_ending_callback.bik | ||
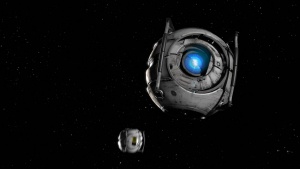
| [[Wheatley]] feeling sorry in space, coming from the credits. | |||
| [[File:sp_ending_callback.jpg|center|thumb]] | |||
|} | |} | ||
== Co-op | == Co-op Story == | ||
{| class= | {| class=standard-table | style="width:100%;" | ||
! File name | !width="175px"|File name | ||
!Description | |||
!width="300px"|Image | |||
|- | |- | ||
| coop_black_screen.bik | |height="170px"| coop_black_screen.bik | ||
| Empty black screen. | |||
|style="background-color:rgb(50,50,50);"| | |||
|- | |- | ||
| coop_bluebot_load.bik | | coop_bluebot_load.bik | ||
| Animated schematics of Atlas, used for the coop loading screen. | |||
| [[File:coop_bluebot_load.jpg|center|thumb]] | |||
|- | |- | ||
| coop_bots_load.bik | | coop_bots_load.bik | ||
| Bot walking cycle, used for the coop loading screen. | |||
| [[File:coop_bots_load.jpg|center|thumb]] | |||
|- | |- | ||
| coop_bots_load_wave.bik | | coop_bots_load_wave.bik | ||
| Bot waving demonstration, used for the coop loading screen. | |||
| [[File:coop_bots_load_wave.jpg|center|thumb]] | |||
|- | |- | ||
| coop_bts_blueprints.bik | | coop_bts_blueprints.bik | ||
| Laserdisc content for course 2. | |||
| [[File:coop_bts_blueprints.jpg|center|thumb]] | |||
|- | |- | ||
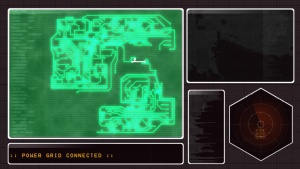
| coop_bts_powergrid_01.bik | | coop_bts_powergrid_01.bik | ||
| Laserdisc content for course 4. | |||
| [[File:coop_bts_powergrid_01.jpg|center|thumb]] | |||
|- | |- | ||
| coop_bts_powergrid_02.bik | | coop_bts_powergrid_02.bik | ||
| Laserdisc content for course 4. | |||
| [[File:coop_bts_powergrid_02.jpg|center|thumb]] | |||
|- | |- | ||
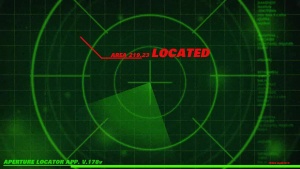
| coop_bts_radar.bik | | | coop_bts_radar.bik | ||
| Unused laserdisc content. | |||
| [[File:coop_bts_radar.jpg|center|thumb]] | |||
|- | |- | ||
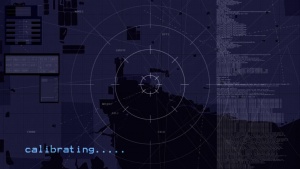
| coop_bts_radar_1.bik | | coop_bts_radar_1.bik | ||
| Laserdisc content for course 1. | |||
| [[File:coop_bts_radar_1.jpg|center|thumb]] | |||
|- | |- | ||
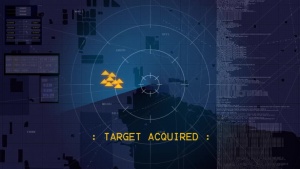
| coop_bts_radar_2.bik | | coop_bts_radar_2.bik | ||
| Laserdisc content for course 1. | |||
| [[File:coop_bts_radar_2.jpg|center|thumb]] | |||
|- | |- | ||
| coop_bts_security.bik | | | coop_bts_security.bik | ||
| Unused laserdisc content. | |||
| [[File:coop_bts_security.jpg|center|thumb]] | |||
|- | |- | ||
| coop_bts_security_01.bik | | coop_bts_security_01.bik | ||
| Laserdisc content for course 3. | |||
| [[File:coop_bts_security_01.jpg|center|thumb]] | |||
|- | |- | ||
| coop_bts_security_02.bik | | coop_bts_security_02.bik | ||
| Laserdisc content for course 3. | |||
| [[File:coop_bts_security_02.jpg|center|thumb]] | |||
|- | |- | ||
| coop_intro.bik | | coop_intro.bik | ||
| Co-op intro video. | |||
| [[File:coop_intro.jpg|center|thumb]] | |||
|- | |- | ||
| coop_orangebot_load.bik | | coop_orangebot_load.bik | ||
| Animated schematics of P-body, used for the coop loading screen. | |||
| [[File:coop_orangebot_load.jpg|center|thumb]] | |||
|- | |- | ||
| coop_outro.bik | | coop_outro.bik | ||
| Co-op outro video. Credits excluded. | |||
| [[File:coop_outro.jpg|center|thumb]] | |||
|- | |- | ||
| insert_disk.bik | | insert_disk.bik | ||
| "INSERT DISC" message of the laserdisc player. | |||
| [[File:insert_disk.jpg|center|thumb]] | |||
|- | |- | ||
|} | |} | ||
== Miscellaneous == | == Miscellaneous == | ||
{| class=standard-table | style="width:100%;" | |||
{| class= | !width="175px"|File name | ||
! File name | !Description | ||
!width="300px"|Image | |||
|- | |- | ||
| aperture_logo.bik | | aperture_logo.bik | ||
| Aperture Laboratories logo on a tan background. | |||
| [[File:aperture_logo.jpg|center|thumb]] | |||
|- | |- | ||
| attract01.bik | | | attract01.bik | ||
| Cooperative Testing Initiative promotional video. | |||
| [[File:attract01.jpg|center|thumb]] | |||
|- | |- | ||
| attract02.bik | | attract02.bik | ||
| Single player promotional video. | |||
| [[File:attract02.png|center|thumb]] | |||
|- | |- | ||
| attract_boots.bik | | | attract_boots.bik | ||
| Longfall boots promotional video. | |||
| [[File:attract_boots.jpg|center|thumb]] | |||
|- | |- | ||
| attract_bot_trust.bik | | attract_bot_trust.bik | ||
| Bot trust promotional video. | |||
| [[File:attract_bot_trust.jpg|center|thumb]] | |||
|- | |- | ||
| attract_panels.bik | | attract_panels.bik | ||
| Panels promotional video. | |||
| [[File:attract_panels.jpg|center|thumb]] | |||
|- | |- | ||
| attract_turrets.bik | | attract_turrets.bik | ||
| Turrets promotional video. | |||
| [[File:attract_turrets.png|center|thumb]] | |||
|- | |- | ||
| e1912_end.bik | | e1912_end.bik | ||
| Super 8 title card. | |||
| [[File:e1912_end.png|center|thumb]] | |||
|- | |- | ||
| valve.bik | | valve.bik | ||
| rowspan="3" | "Open your mind" logo and legal notices, slightly different for each platform. | |||
| rowspan="3" | [[File:valve_intro.jpg|center|thumb]] | |||
|- | |- | ||
| valve_ps3_legals.bik | | valve_ps3_legals.bik | ||
| Line 136: | Line 220: | ||
| valve_xbox_legals.bik | | valve_xbox_legals.bik | ||
|- | |- | ||
| valve_portal2_fp.bik | | |height="170px"| valve_portal2_fp.bik | ||
| '''Not a video file.''' Contents purely consist of a [[wikipedia:SHA-256|SHA-256]] fingerprinting hash that would have been used to trace potential leaks of internal Portal 2 development builds. | |||
|style="background-color:rgb(50,50,50);"| | |||
|} | |} | ||
== DLC 1 == | == DLC 1 == | ||
{| class= | {| class=standard-table | style="width:100%;" | ||
! File name | !width="175px"|File name | ||
!Description | |||
!width="300px"|Image | |||
|- | |- | ||
| dlc1_endmovie.bik | | dlc1_endmovie.bik | ||
| Ending movie for the Art Therapy campaign. | |||
| [[File:dlc1_endmovie.png|center|thumb]] | |||
|} | |} | ||
== DLC 2 == | == DLC 2 == | ||
{| class="standard-table" | {| class=standard-table | style="width:100%;" | ||
! File name || | !width="175px"|File name | ||
!Description | |||
!width="300px"|Image | |||
|- | |||
| community_bg1.bik | |||
| Menu background. | |||
| [[File:community_bg1.png|center|thumb]] | |||
|- | |||
| intro_movie.bik | |||
| Perpetual testing initiative promotional video (special cut that links to the menu). | |||
| [[File:intro_movie.png|center|thumb]] | |||
|- | |||
|height="170px"| valve.bik | |||
| Like the normal valve.bik movie, but with the man turning towards the camera. | |||
|style="background-color:rgb(50,50,50);"| | |||
|} | |||
==Main menu backgrounds== | |||
{| class=standard-table | style="width:100%;" | |||
!width="175px"|File name | |||
!Description | |||
!width="300px"|Image | |||
|- | |||
| menu_act01.bik | |||
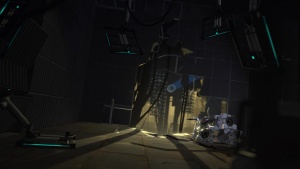
| GLaDOS lying in decay, used for the main menu background during Act 1. Based on sp_a1_wakeup, Chapter 1 (The Courtesy Call). | |||
| [[File:menu_act01.jpg|center|thumb]] | |||
|- | |||
| menu_act02.bik | |||
| A manufacturing line, used for the main menu background during Act 2. Based on sp_a2_bts3, from Chapter 5 (The Escape): Turret Manufacturing. | |||
| [[File:menu_act02.jpg|center|thumb]] | |||
|- | |- | ||
| | | menu_act03.bik | ||
| Ruins outside the condemned testing area, used for the main menu background during Act 3. Based on sp_a3_01, from Chapter 6 (The Fall): The Pit. | |||
| [[File:menu_act03.jpg|center|thumb]] | |||
|- | |- | ||
| | | menu_act04.bik | ||
| View from a destroyed test chamber, including a [[prop_monster_box|Frankenturret]], used for the main menu background during Act 4. Based on sp_a4_finale3, from Chapter 9 (The Part Where...): Morton's Fork | |||
| [[File:menu_act04.jpg|center|thumb]] | |||
|- | |- | ||
| | | menu_act05.bik | ||
| [[Wheatley]] and space core in space, used for the main menu background during "Act 5" (only appears immediately after beating the game, directly after "sp_ending_callback" finishes playing). | |||
| [[File:menu_act05.jpg|center|thumb]] | |||
|} | |} | ||
[[Category:Portal 2]] | [[Category:Portal 2]] | ||
Latest revision as of 11:54, 29 April 2024
![]() This is a list of all available Bink videos of Portal 2. See vgui_movie_display for implementation and tips.
This is a list of all available Bink videos of Portal 2. See vgui_movie_display for implementation and tips.
.bik videos have been dropped completely. All prepackaged videos have been replaced with .webm videos, so to get these videos to play, replace the .bik extension with .webm.Elevator Panels
| File name | Description | Image |
|---|---|---|
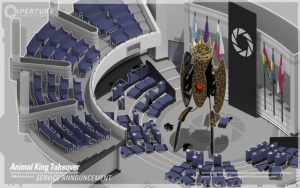
| animalking.bik | The animal-king invades the UN. | |
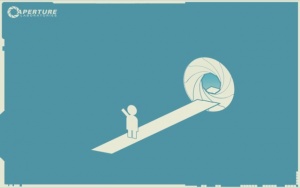
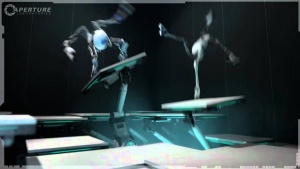
| aperture_appear_horiz.bik | A waving person walking on a strip, then falling slowly. | |
| aperture_appear_vert.bik | ||
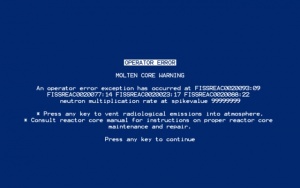
| bluescreen.bik | Molten core bluescreen. | |
| exercises_horiz.bik | Evacuation training reminder with marching people. | |
| exercises_vert.bik | ||
| faithplate.bik | Aerial Faith Plate demonstration. | |
| fizzler.bik | Emancipation Grid demonstration. | |
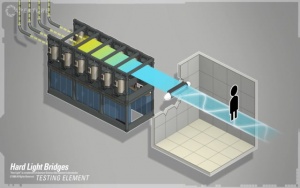
| hard_light.bik | Hard Light Surface demonstration. | |
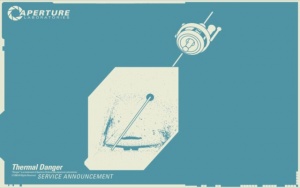
| laser_danger_horiz.bik | Demonstration of the fatal effects of a laser beam. | |
| laser_danger_vert.bik | ||
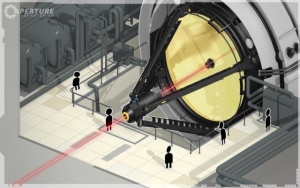
| laser_portal.bik | Thermal Discouragement Beam demonstration. | |
| plc_blue_horiz.bik | Reminder to remain calm. | |
| plc_blue_vert.bik | ||
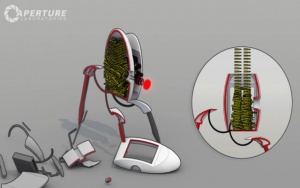
| turret_colours_type.bik | Turret case options. | |
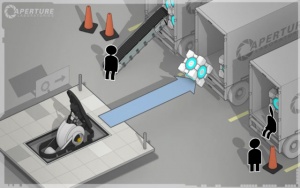
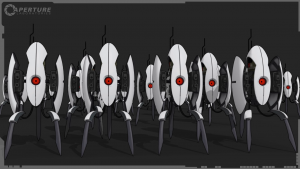
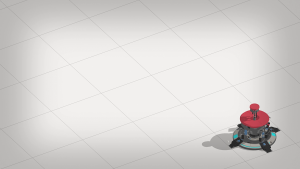
| turret_dropin.bik | Some turrets descending and deploying. | |
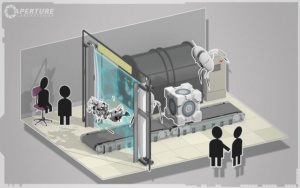
| turret_exploded_grey.bik | Insides of a turret. |
Single-player story
| File name | Description | Image |
|---|---|---|
| sp_30_a4_finale5.bik | Elevator ride before credits, opera and field included. | |
| sp_a5_credits.bik | Space background. | |
| sp_credits_bg.bik | Background used for the credits song, song and credits text not included, intended for looping. | |
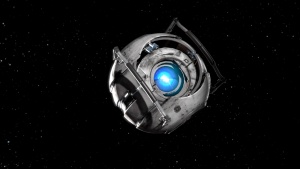
| sp_ending_callback.bik | Wheatley feeling sorry in space, coming from the credits. |
Co-op Story
| File name | Description | Image |
|---|---|---|
| coop_black_screen.bik | Empty black screen. | |
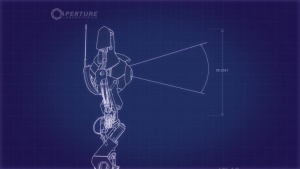
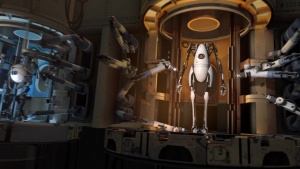
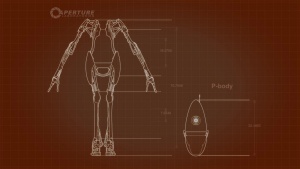
| coop_bluebot_load.bik | Animated schematics of Atlas, used for the coop loading screen. | |
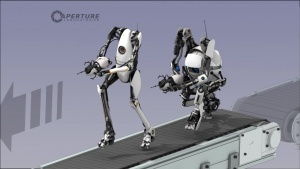
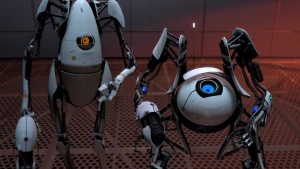
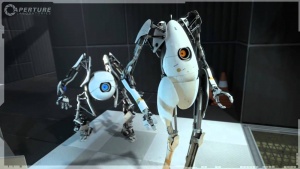
| coop_bots_load.bik | Bot walking cycle, used for the coop loading screen. | |
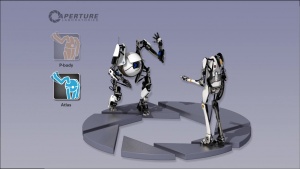
| coop_bots_load_wave.bik | Bot waving demonstration, used for the coop loading screen. | |
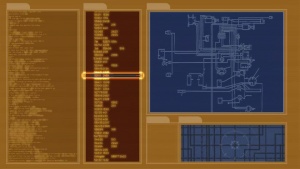
| coop_bts_blueprints.bik | Laserdisc content for course 2. | |
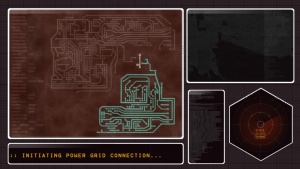
| coop_bts_powergrid_01.bik | Laserdisc content for course 4. | |
| coop_bts_powergrid_02.bik | Laserdisc content for course 4. | |
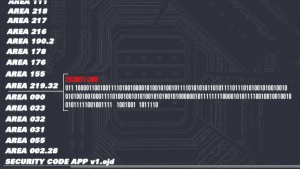
| coop_bts_radar.bik | Unused laserdisc content. | |
| coop_bts_radar_1.bik | Laserdisc content for course 1. | |
| coop_bts_radar_2.bik | Laserdisc content for course 1. | |
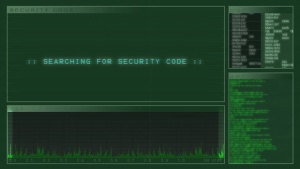
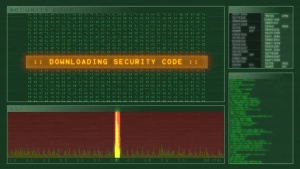
| coop_bts_security.bik | Unused laserdisc content. | |
| coop_bts_security_01.bik | Laserdisc content for course 3. | |
| coop_bts_security_02.bik | Laserdisc content for course 3. | |
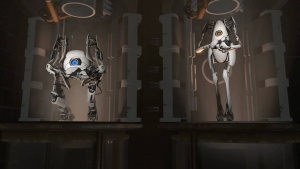
| coop_intro.bik | Co-op intro video. | |
| coop_orangebot_load.bik | Animated schematics of P-body, used for the coop loading screen. | |
| coop_outro.bik | Co-op outro video. Credits excluded. | |
| insert_disk.bik | "INSERT DISC" message of the laserdisc player. |
Miscellaneous
| File name | Description | Image |
|---|---|---|
| aperture_logo.bik | Aperture Laboratories logo on a tan background. | |
| attract01.bik | Cooperative Testing Initiative promotional video. | |
| attract02.bik | Single player promotional video. | |
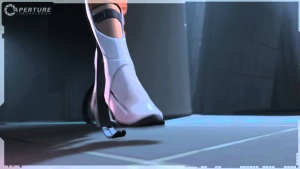
| attract_boots.bik | Longfall boots promotional video. | |
| attract_bot_trust.bik | Bot trust promotional video. | |
| attract_panels.bik | Panels promotional video. | |
| attract_turrets.bik | Turrets promotional video. | |
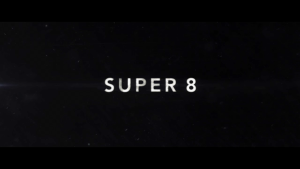
| e1912_end.bik | Super 8 title card. | |
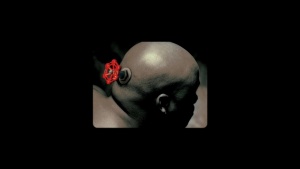
| valve.bik | "Open your mind" logo and legal notices, slightly different for each platform. | |
| valve_ps3_legals.bik | ||
| valve_xbox_legals.bik | ||
| valve_portal2_fp.bik | Not a video file. Contents purely consist of a SHA-256 fingerprinting hash that would have been used to trace potential leaks of internal Portal 2 development builds. |
DLC 1
| File name | Description | Image |
|---|---|---|
| dlc1_endmovie.bik | Ending movie for the Art Therapy campaign. |
DLC 2
| File name | Description | Image |
|---|---|---|
| community_bg1.bik | Menu background. | |
| intro_movie.bik | Perpetual testing initiative promotional video (special cut that links to the menu). | |
| valve.bik | Like the normal valve.bik movie, but with the man turning towards the camera. |
| File name | Description | Image |
|---|---|---|
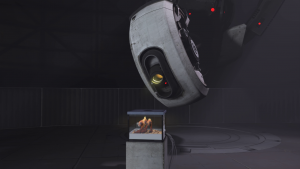
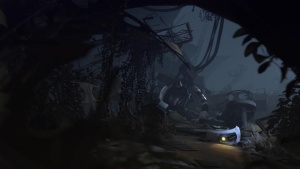
| menu_act01.bik | GLaDOS lying in decay, used for the main menu background during Act 1. Based on sp_a1_wakeup, Chapter 1 (The Courtesy Call). | |
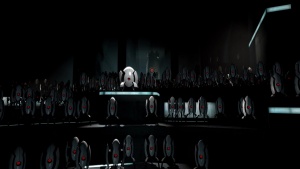
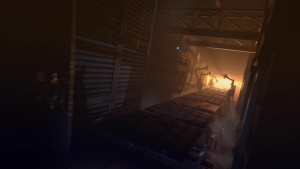
| menu_act02.bik | A manufacturing line, used for the main menu background during Act 2. Based on sp_a2_bts3, from Chapter 5 (The Escape): Turret Manufacturing. | |
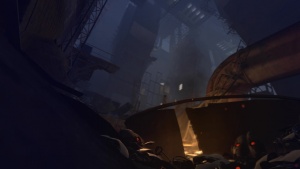
| menu_act03.bik | Ruins outside the condemned testing area, used for the main menu background during Act 3. Based on sp_a3_01, from Chapter 6 (The Fall): The Pit. | |
| menu_act04.bik | View from a destroyed test chamber, including a Frankenturret, used for the main menu background during Act 4. Based on sp_a4_finale3, from Chapter 9 (The Part Where...): Morton's Fork | |
| menu_act05.bik | Wheatley and space core in space, used for the main menu background during "Act 5" (only appears immediately after beating the game, directly after "sp_ending_callback" finishes playing). |
