Zh/Half-Life: Alyx Workshop Tools/Modeling/Viewing Models
2024年1月
You can help by
January 2024
This tutorial shows how to open a model in ModelDoc and use it to inspect various parts of the model. It is a good place to start to familiarize yourself with the basics of the ModelDoc Editor's UI.
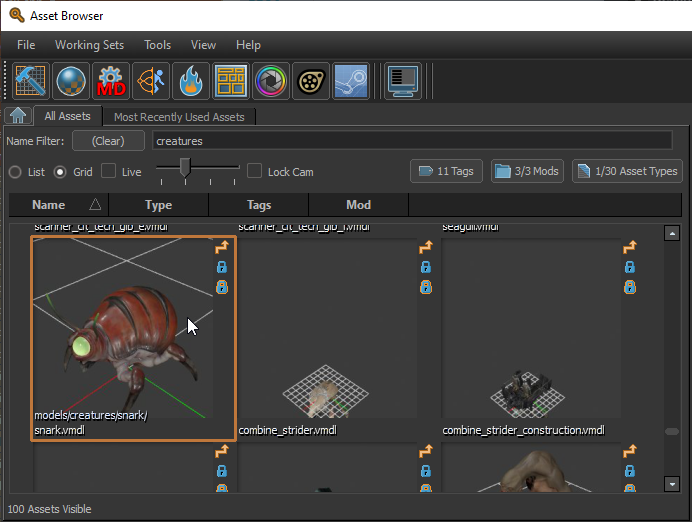
Open a model from asset browser
- Find a model in the asset browser and double click on it to open the ModelDoc Editor.
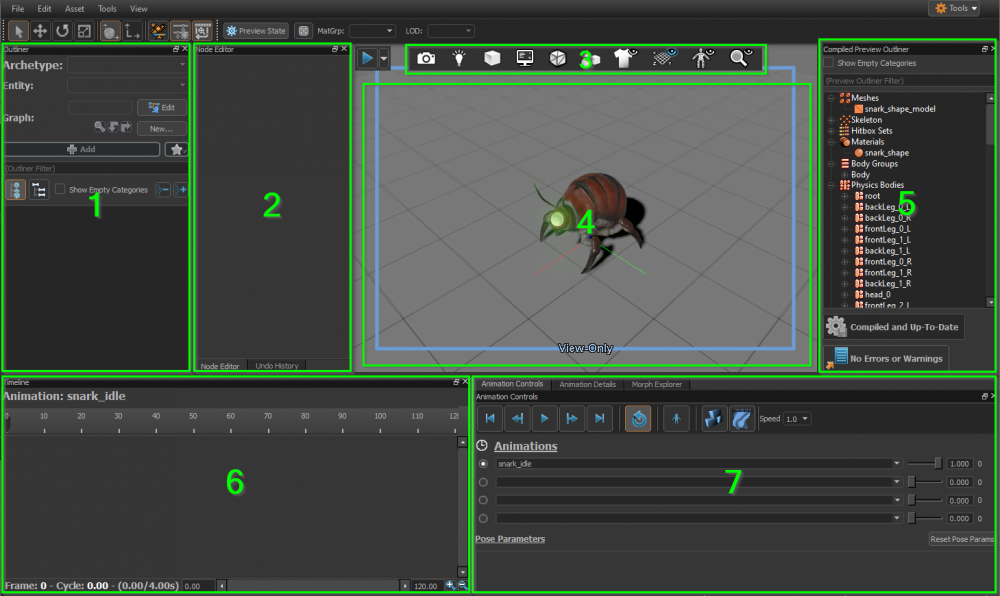
This will open the selected model in the ModelDoc Editor. The model itself will be displayed in the viewport, but there are several other sections of the ui that provide additional controls.
Note that some of these are only used for editing, and won't be used in this tutorial.
(1) Document Outliner
The Document Outliner shows the contents of the source document. In this case it is empty because we have opened a document for which we only have the compiled version of the model, but we do not have the source for the model, so we can view but not edit the model. Other tutorials will demonstrate usage of the Document Outliner.
(2) Node Editor
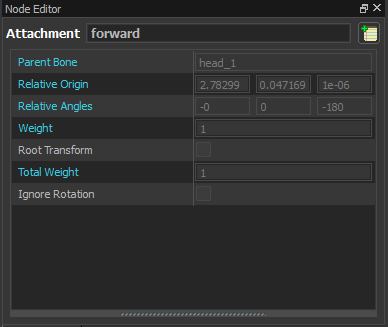
The Node editor displays the properties of the currently selected node or nodes. Nodes can be selected in either the Document Outliner or the Preview Outliner. When a node is selected in the preview outliner the properties displayed by the Node Editor will be read only. Edits can only be made by selecting a node in the Document Outliner.
(3) Viewport Toolbar
The viewport toolbar is used to configure the viewport. It can be used to change the camera, lighting, and other aspects of the view. Several of the features will be demonstrated below.
(4) 3D Viewport
The 3D viewport generally displays the compiled model. However, the display can be changed using the Viewport Toolbar. Additionally, selecting nodes in either the Document Outliner or the Preview Outliner can change what is being displayed in the viewport.
(5) Preview Outliner
The Preview Outliner displays a tree of nodes representing the contents the compiled model that will actually loaded by the game. Selecting individual nodes in the tree will show information about the selected node in the node editor and for some types of nodes will cause the associated object to be drawn in the viewport.
(6) Timeline
The timeline can be used to scrub through the time range of the currently selected animation. Selecting some nodes in the Document Outliner which have animation related data will cause the timeline to display addition information.
(7) Animation Controls
The animation controls can be used to select, play and pause the animation, as well as doing more advanced previews of animation such blending between animations. Additionally physics and cloth preview are accessed through the animation controls.
Move the viewport
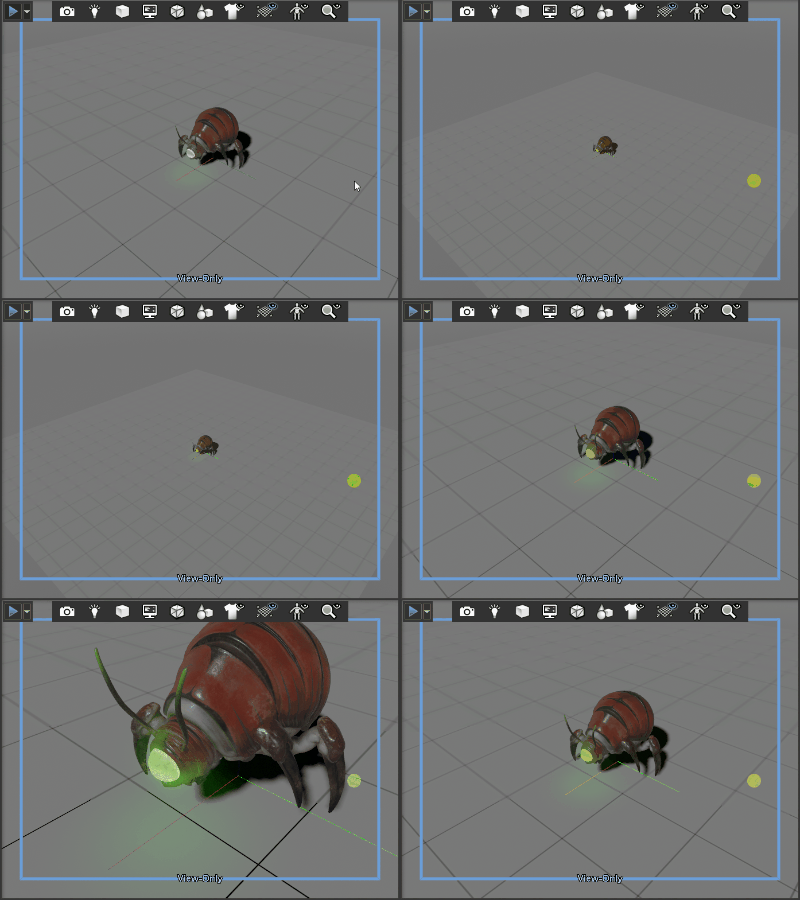
There are two primary sets of controls for manipulating the viewport, the first set is similar to what is found in many modeling programs: hold the ALT key and a mouse button, while doing so moving the mouse manipulates the viewport.
- Press Alt + Left Mouse Button and move the mouse to rotate around the model.
- Press Alt + Middle Mouse Button and move the mouse to pan the view.
Press Alt + Right Mouse Button and move the mouse to zoom the view.
The second set of controls are 'WASD' controls, similar to what is frequently used in game. Holding the Right Mouse Button and moving the mouse can be used to rotate the camera to look around, and the W, S, A, D keys can be used to move the camera forward, backwards, left or right respectively.
Reset the view
If at any point you have moved the view to an undesirable position you can always re-center the view on the model.
Press Shift + A to re-center the view on the model.
Rotate the model
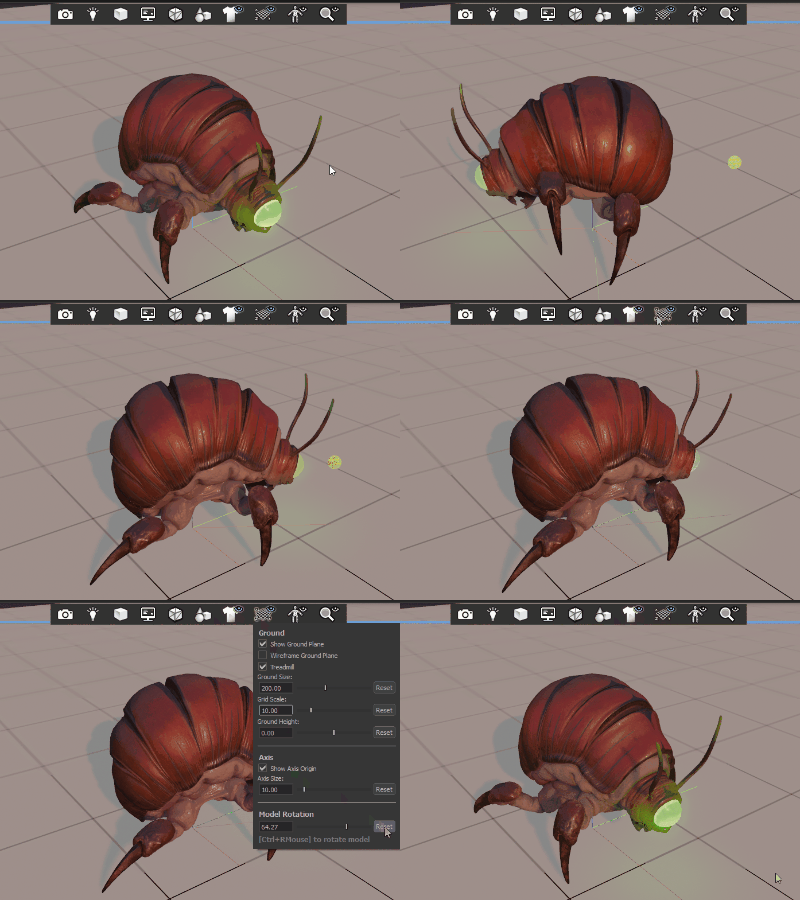
Sometime it is useful to rotate the model rather than the view, such as when looking at how the model interacts with lighting.
Press Ctrl + Right Mouse Button and move the mouse left and right to rotate the model.
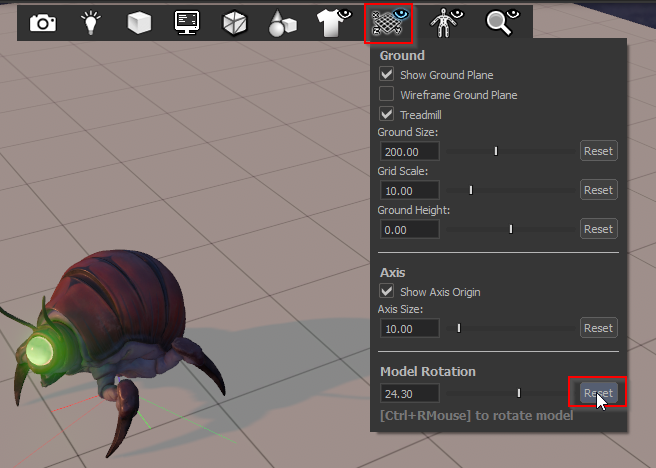
Note that you can reset the rotation to default by clicking on the Ground Settings icon on the Viewport Toolbar and selecting Reset under Model Rotation
Change the lighting mode
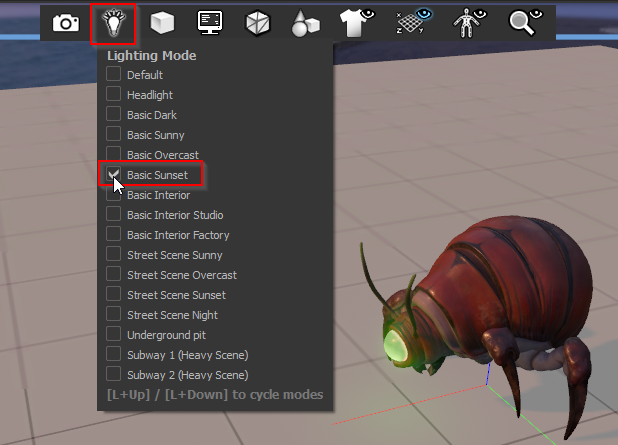
From the Viewport Toolbar, click on the light icon and then select one of the lighting modes.
Enable a visualization mode
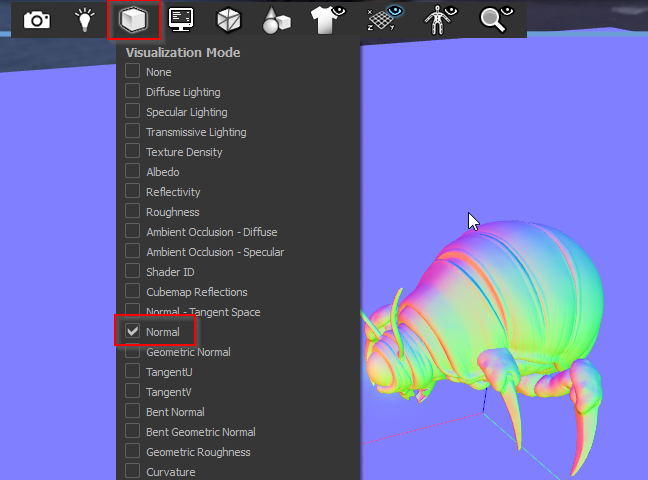
From the Viewport Toolbar, click on the shaded box icon and then select one of the visualization modes.
Like lighting modes, visualization modes are game specific. Visualization modes are useful for debugging why the final appearance of a model might not be correct. They let you isolate different parts of the rendering and lighting process to see if there are any issues in a particular step.
Enable wireframe
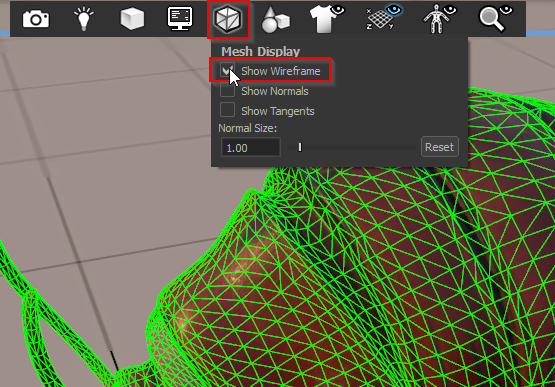
From the Viewport Toolbar, Click on the Wireframe cube then select Show Wireframe.
This will enable a wireframe overlay of the mesh. Note that from this menu you can show other mesh details, including normals and tangents.
Adjust the ground plane
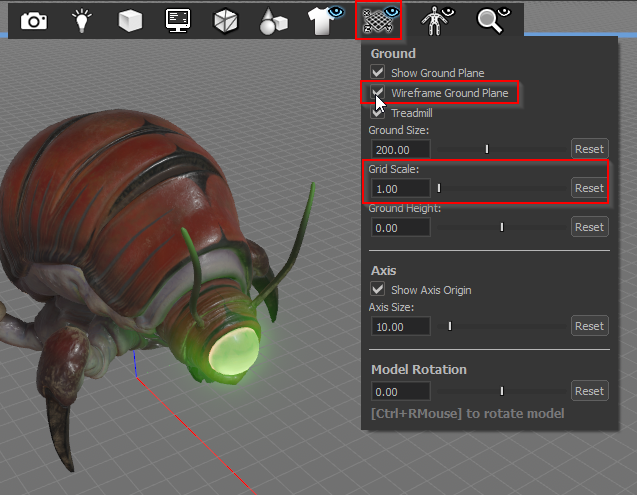
For viewing some models the ground plane may be too small, in the wrong location, or just in the way. Several aspects of the ground plane can be controlled from the Ground section of the Viewport Toolbar.
Select the Ground Plane button on the toolbar, then click on the Wireframe Ground Plane to switch the ground plane to wireframe and use the Grid Scale slider to adjust the spacing of the grid.
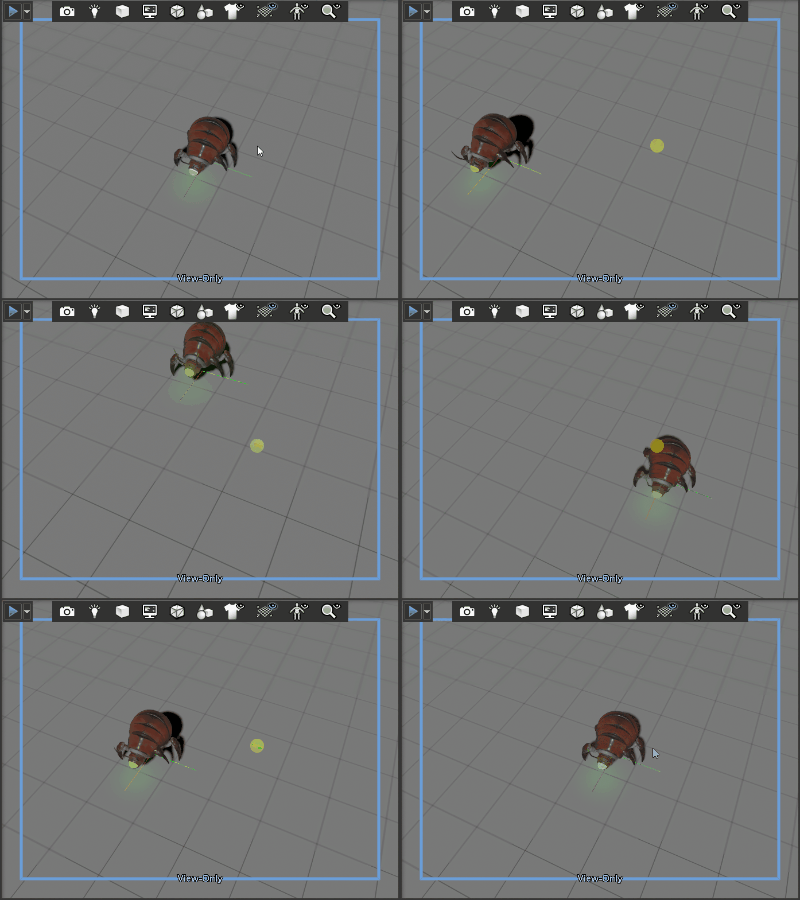
Play an animation
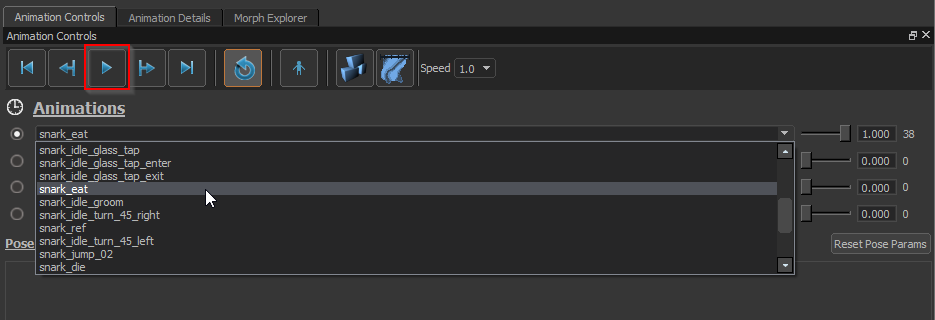
From the Animation Controls tab, select an animation from the first drop down under Animations then press the play button to start the animation.
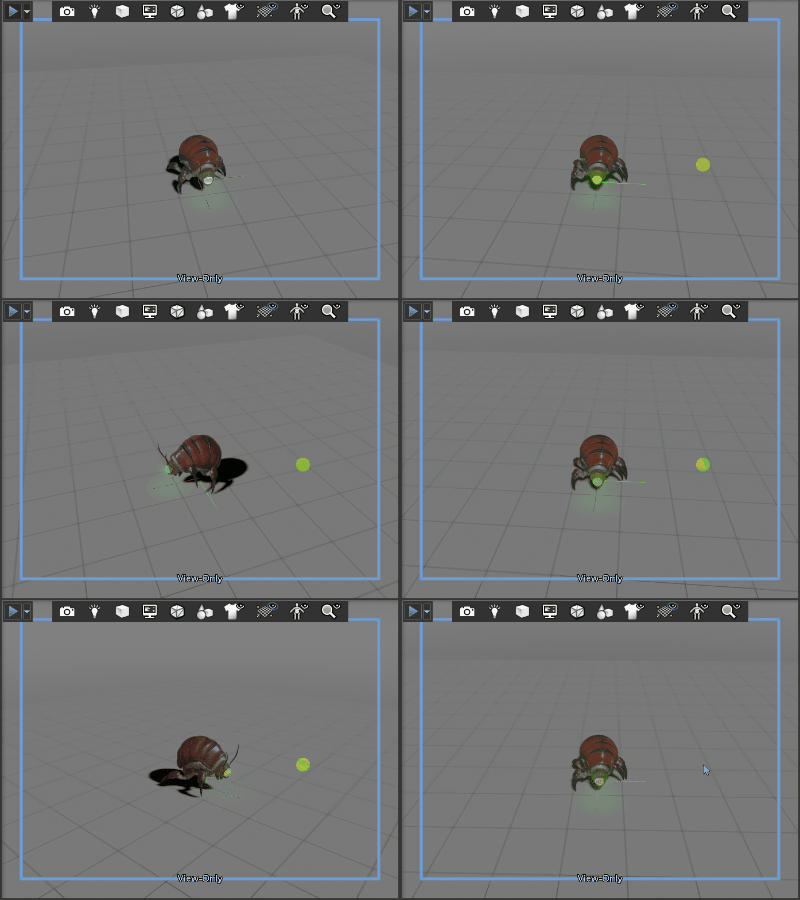
Run physics simulation on the model
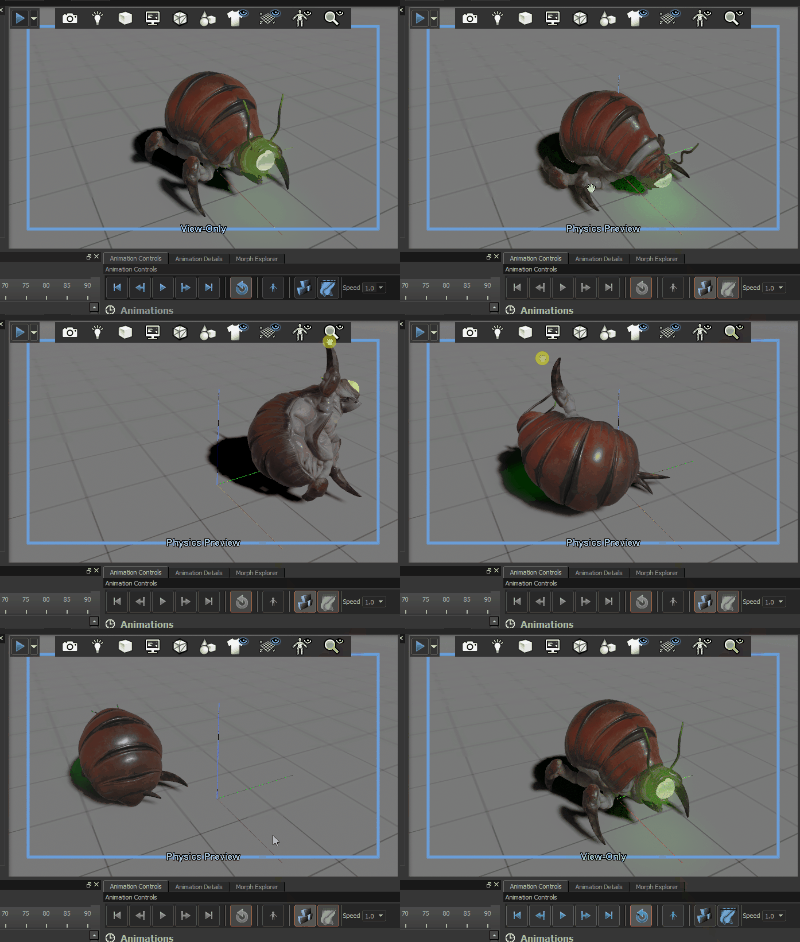
If the model you are previewing has physics setup on it, you can test the physics by enabling the physics simulation mode. This will stop any animation that is playing and and instead run the physics simulation on the model.
Press the physics simulation button in the Animation Controls then use the Left Mouse Button to click on the mode and drag it around in the viewport.
Inspect model components using the Preview Outliner
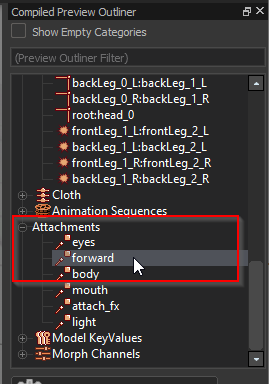
The Preview Outliner can be used to inspect the various components that make up the model. Selecting an individual node within the tree will cause the associated object to be displayed in the viewport and will display the properties in the node editor.
Find the Attachments group and select one of the attachment points underneath it.
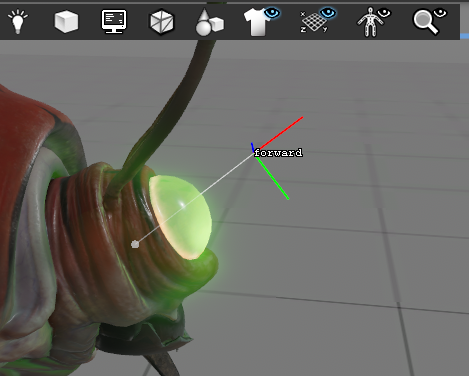
This will cause the attachment to be displayed in the viewport.
And the properties of the attachment will be displayed in the node editor.
