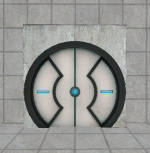
User:Rockn-Roll/Portal Door Frame Using the Clipping Tool
Goal
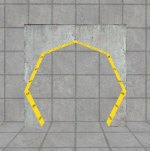
The goal is to use the Hammer Clipping Tool to cut a cylindrical shape out from a block to use as a Portal Door frame for the door created in the Creating a button and door Portal tutorial.
Overview
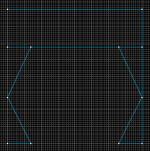
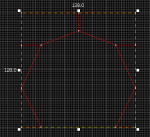
The most difficult shape to implement in a map is a large hole in a wall. Carving does not leave the remaining sections in convenient symetrical shapes, so the Clipping Tool needs to be used. The ideal method is to create the shape that will be cut out of the wall and keep it displayed alongside the section that is going to be clipped. In this tutorial a sample Portal door frame has been provided with the Source SDK in the TestChmb_a_05 map. Beginners are encouraged to have the door frame from the sample displayed in Hammer alongside the new one being created in the tutorial in order to better understand why cuts are being made.
The Procedure
Create the block brush
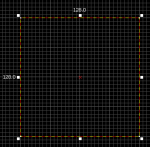
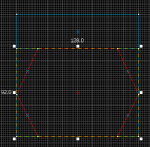
1. Create a 128Lx8Wx128H block brush with texture nodraw.
2. Set Snap On Grid: 4 units and zoom to 2.30.
Split it into upper and lower sections
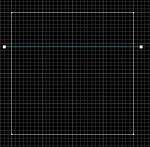
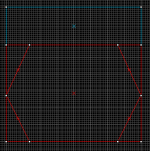
3. Select the Clipping Tool and draw a horizontal line from side to side 36 units from the top.
4. Click the Clipping Tool button two more times until both the upper and lower sections are white then press ↵ Enter.
5. Select the Hammer Selection Tool then click the Ungroup selected groups button ![]() from the top Hammer Map Tools Toolbar.
from the top Hammer Map Tools Toolbar.
6. Next, click in some empty space to unselect the brushes.
Inscribe the lower section
7. Now select just the lower section.
8. Set Snap On Grid: 2 units.
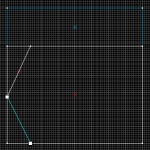
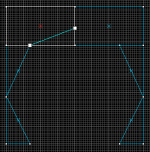
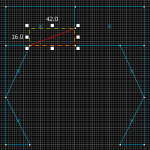
9. Select the Clipping Tool again and draw a line starting from the top of the lower section 22 units from the left down to the left edge at 44 units from the bottom then press ↵ Enter.
10. Now draw a line starting from the bottom of the lower section 22 units from the left up to the left edge at 44 units from the bottom then press ↵ Enter.
11. Repeat steps 9 and 10 for the right side.
12. Select the Selection Tool then click the Ungroup selected groups button ![]() .
.
13. Next, click in some empty space to unselect the brushes.
14. Select the center section and press Delete.
Split then cut triangles from the top section
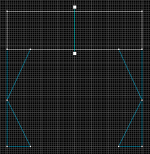
15. Select the top section and select the Clipping Tool again and draw a line from the top middle down to the bottom middle to cut the top section in half.
16. Select the Selection Tool then click the Ungroup selected groups button ![]() .
.
17. Next, click in some empty space to unselect the brushes.
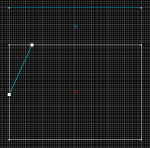
18. Now select the top left section and select the Clipping Tool again and draw a line from the bottom edge 22 units from the left over to the right edge 20 units from the top then press ↵ Enter.
19. Select the Selection Tool then click the Ungroup selected groups button ![]() .
.
20. Next, click in some empty space to unselect the brushes.
21. Now select the lower triangle and press Delete.
22. Repeat the preceding steps 18 through 21 for the top right section.
Group the pieces together and paint it
23. Finally, select all 6 sections while holding down Ctrl then click the Group selected objects button ![]() .
.
24. Select the frame in the 3D view and move it into place using the 2D views then texture it using the Face Edit Sheet dialog by clicking the Toggle Texture Application Tool...don't use the Apply Current Texture tool in order to avoid applying textures to faces which won't be visible, thus won't need to be rendered.
25. Select all sections of the frame while holding Ctrl down.
26. Select the desired texture in the Current texture dropdown combo box or click Browse and double click on the desired texture.
27. Select a Texture shift of X: 160 units using the Face Edit Sheet so that the texture will line up with the edges.
28. Click Apply.
