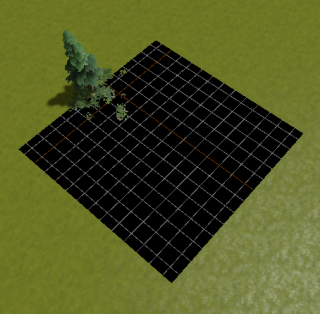
Tile Editor
В этом разделе описаны все параметры инструмента "Tile Editor". Если вы хотите узнать только основы, читайте Основы "Tile Editor": Ваша первая карта.
Интерфейс Tile Editor
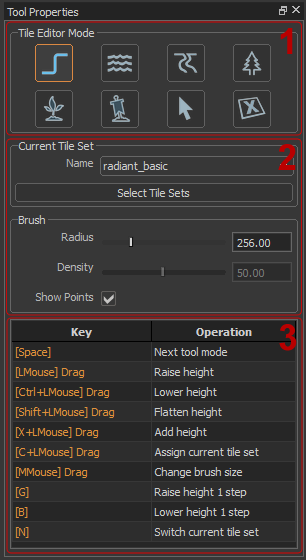
Интерфейс разделен на 3 основных раздела, как показано ниже:
- Плитка инструментов редактора. В этом разделе интерфейса является панель инструментов.
 Примечание:Каждый инструмент имеет горячую клавишу. Если подвести курсор к любому инструменту,то высветится клавиша(или сочетание клавиш) для быстрого вызова данного инструмента.
 - Параметры для текущего режима инструмента. Этот раздел интерфейса отображает параметры выбранного в данный момент инструмента редактора. Его содержание изменяется, чтобы отобразить настройки для каждого режима, хотя многие режимы имеют общие параметры.
- Текущие горячие клавиши. Отображает наиболее важные горячие клавиши для выбранного инструмента.
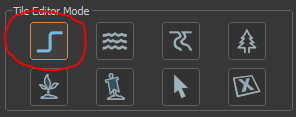
Редактор высоты ландшафта (Paint terrain)
Горячая клавиша: Q
Данный инструмент позволяет регулировать высоту ландшафта на карте. Он имеет несколько модификаций, которые описаны ниже.
Операции связанные с ландшафтом
- Зажимаем левую кнопку мыши
 и перетаскиваем по ландшафту. Изменит высоту на 1 уровень вверх(всего можно поднять 15 уровней высоты).
 - Зажав сочетание клавиш Ctrl+
 и перетаскиваем мышь по ландшафту. Изменит высоту на 1 уровень вниз(т. е. углубление)
 - Зажав сочетание клавиш ⇧ Shift+
 и перетаскиваем мышь по ландшафту. Продолжит ландшафт на текущем уровне высоты.
 - Сочетание клавиш X+
 добавит высоту ландшафта в пределах области кисти.
 - Сочетание клавиш C+
 изменит стиль ландшафта выбранный в параметре "Current Title Set". (Смотрите Выбор текущего набора ниже )
Команды инструмента "Paint terrain"
- G / B Поднять и опустить высоту в пределах радиуса кисти.
- F / V Меняет предыдущий и следующий вариант края ландшафта в пределах кисти (слегка выделено зеленым).
- N Меняет параметр "current tile set".
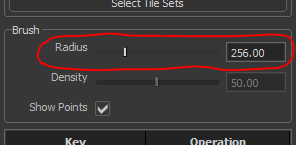
Изменение радиуса кисти
Зажав ![]() перетаскивая мышь вправо и влево, тем самым изменяете радиус кисти.
перетаскивая мышь вправо и влево, тем самым изменяете радиус кисти.
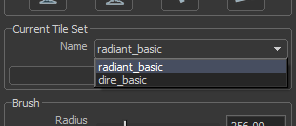
Выбор набора стиля ландшафта
Этот параметр является общим для все инструментов. Смотрите нижеУправление шаблонами карт.
Сравнение параметров "Поднять высоту" и "добавить высоту)
Большинство операций с ландшафтом одинаковые, но есть разница между параметрами Поднять высоту (![]() ) и Добавить высоту (X+
) и Добавить высоту (X+![]() ). Параметр Поднять высоту будет поднимать грунт в начале мазка на 1 уровень, затем будет поднимать высоту в других местах независимо от их первоначальной высоты . Но параметр Добавить высоту поднимает грунт на 1 уровень вместе с другим ландшафтом в области кисти.
). Параметр Поднять высоту будет поднимать грунт в начале мазка на 1 уровень, затем будет поднимать высоту в других местах независимо от их первоначальной высоты . Но параметр Добавить высоту поднимает грунт на 1 уровень вместе с другим ландшафтом в области кисти.
Параметр сетки(Grid)
Максимально поднять ландшафт можно на 15 уровней выше или ниже от первоначального.При достижении максимальной высоты или глубины ландшафта редактор автоматически не будет применять последующие слои. Каждый слой это 128 игровых единиц.
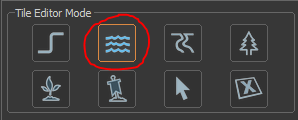
Инструмент Water Brush
Горячая клавиша: E
Инструмент для добавления воды на карту. Это такой же инструмент, как ландшафт. Вода - это просто визуальный эффект, который не сильно влияет на саму игру.
Операции инструмента
 Зажав ЛКМ вы добавите на слой ландшафта воду.
- Сочетание клавиш Ctrl+
 уберет воду в пределах кисти.
Вода на возвышенyостях
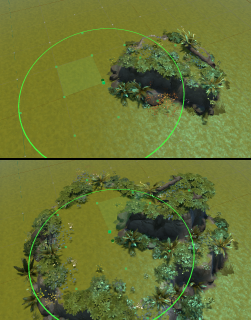
Воду можно создавать на возвышенностях (пример: озеро на горе и т.д.).
Вода и деревья
Напрямую деревья в воде нельзя создавать, они автоматически удалятся. А вот если начинать создавать деревья с ландшафта и перетаскивать кисть по воде, то деревья создадутся в воде.
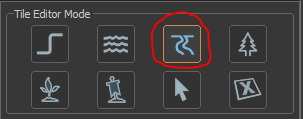
Инструмент Путь(Path)
Горячая клавиша: R
Инструмент Path в основном служит для двух целей
- Обозначить игроку местность, по которой он гарантированно пройдет без каких либо препятствий
- Создает подъемы или спуски(лестницы) для преодоления уровней ландшафта
Но не обязательно использовать Path, чтобы обозначить путь для игрока. Ведь герой может пройти и по простому ландшафту. Смотрите статью Навигационная сетка.
Операции инструмента
 Красит территорию(если на пути есть деревья, то удалит), добавляет лестницы(изменит ландшафт по мере необходимости).
- Сочетание клавиш Ctrl+
 Сотрет окрас пути, удалит лестницы(если на пути были деревья, то восстановит).
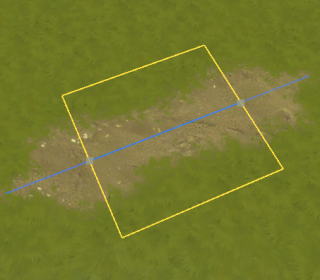
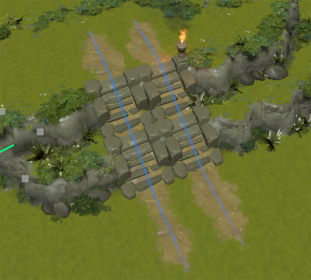
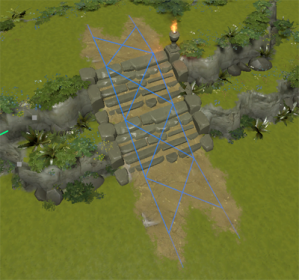
Примеры Path
Путь маркируется синей линией, при близком размещении двух путей они соединяются(для того, чтобы различать один широкий путь, от двух параллельных)
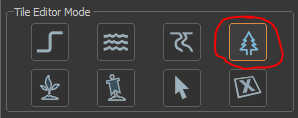
Инструмент Tree Brush
Горячая клавиша: T
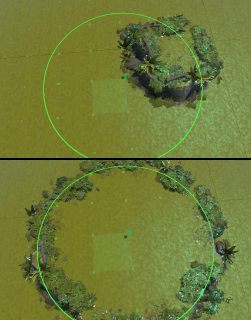
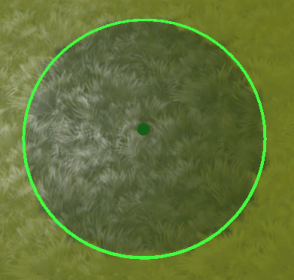
Инструмент Tree Brush позволяет добавить деревья в свободное место на карте. Под свободным местом в кисте обозначены зеленые точки, а красные указывают что тут нельзя поставить деревья.
Tree brush mouse operations
- Left click and drag
 : Paint the currently active tree type. Note that trees are added at the smallest size and will increase in size as the brush passes over them multiple times.
 - Control plus left click and drag Ctrl+
 : Erase the trees within the brush. All existing trees within the brush will be removed regardless of type or size.
 - Shift plus left click and drag ⇧ Shift+
 : Paint trees incrementally. This operation will only add tress at their smallest size or increase the height of existing trees by a single step.
 - Ctrl shift plus left click and drag Ctrl+⇧ Shift+
 : Erase trees incrementally. This operation will reduce the size of any existing trees by one step, or remove trees that are already at the smallest size.
 - G plus left click and drag G+
 : Increase the height of any existing trees by a single step. This operation will not add any new trees and will only increase the height of an existing tree once within a single brush stroke.
 - C plus left click and drag C+
 : Change the type of trees within the radius the brush to be the currently selected tree type. This operation will not add any new trees, it will simply replace existing trees with the new tree type.
Changing the tree brush density
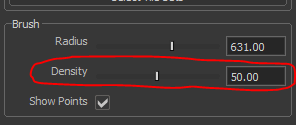
The density of trees placed by the brush can be modified by using the density slider in the interface or by holding control and using middle mouse drag ![]() . A lower density will result in fewer trees being added within the radius of the brush, while a higher density will result in more trees being added within the radius of the brush.
. A lower density will result in fewer trees being added within the radius of the brush, while a higher density will result in more trees being added within the radius of the brush.
Changing the tree type
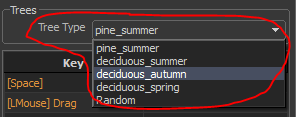
The type of trees placed by the tree brush can be picked from any of the tree types provided by the currently selected tile set. Simply select the tree type from the trees drop down in the settings interface for the tree brush.
Valid tree locations
Tree placement is restricted to a 64 unit grid. Only one tree may occupy each location and a location is only valid for tree placement if it is not on a slope. Additionally a tree may not be placed on a location which already has a tree on a neighboring location. These restrictions are due to the fact that trees are important to gameplay and affect both navigation and fog of war. By placing trees using the tile editor you are guaranteed that each is placed in a valid location.
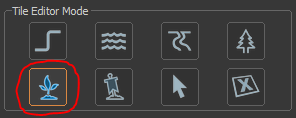
Plant Brush
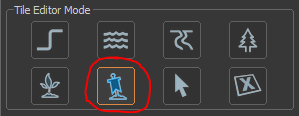
Tool hotkey: Y
The plant brush tool mode allows placing plants and other details in much the same way as the tree brush. Like trees plants are restricted to a 64 unit grid with only one plant allowed to occupy each location. Like trees plants cannot be placed on slopes, however unlike trees there are no neighbor restrictions on plants. Unlike trees plants are purely a visual detail and do not affect on gameplay.
Plant brush mouse operations
- Left click and drag
 : Paint plants within the radius of the brush.
 - Control click and drag Ctrl+
 : Remove the all plants within the radius of the brush.
Changing the tree brush density
Like trees, the density of plants placed by the brush can be modified by using the density slider in the interface or by holding control and using middle mouse drag ![]() . A lower density will result in fewer plants being added within the radius of the brush, while a higher density will result in more plants being added within the radius of the brush.
. A lower density will result in fewer plants being added within the radius of the brush, while a higher density will result in more plants being added within the radius of the brush.
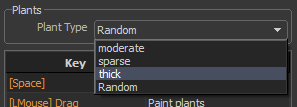
Changing the plant type
The type of plant which that is placed can be modified by selecting the plant type drop down from the settings interface for the plant brush. By default the plant type will be set to random, meaning that any of the available types can be placed within a single brush stroke. It can be changed to a specific type so that only plants of the selected type will be placed. Like the tree types, the active tile set determines what the available plant types are, but in general the standard tile sets simply provide sparse, moderate and thick plant types, which essentially control the size of the plants.
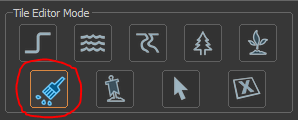
Blend Painting Brush
Tool hotkey: O
The blend painting brush performs modification of texture blending directly within the tile editor. This allows texture blends on tiles to be modified without having to first collapse the tiles.
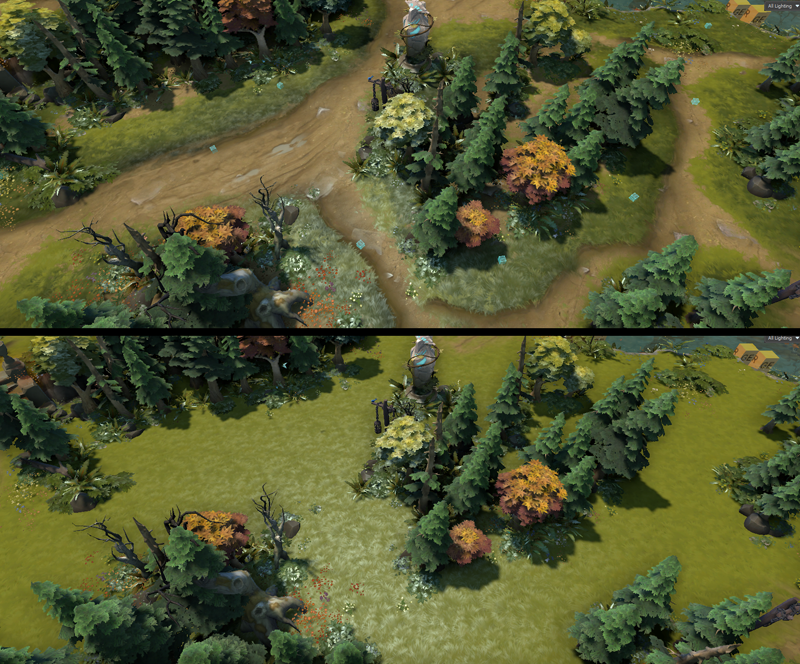
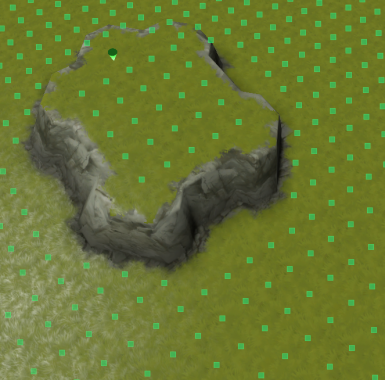
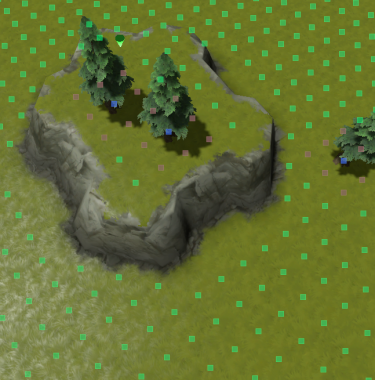
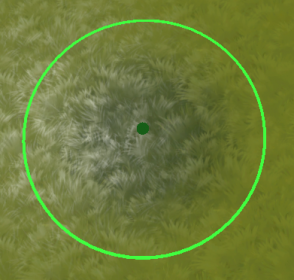
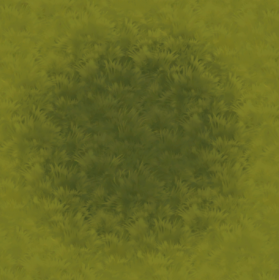
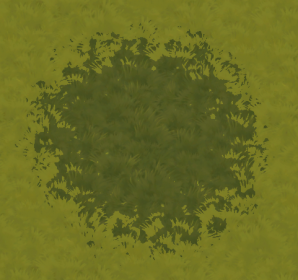
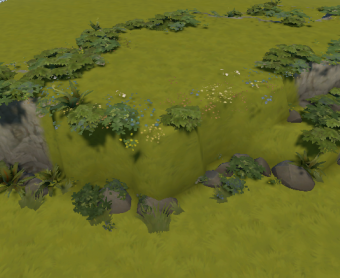
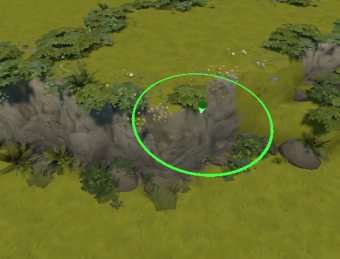
A section of the Dota 2 map with and without blend painting.
Painting blend layers
There are four blend layers which can be painted with the blend paint brush. The appearance of each layer is dependent on the tile set, but the layers are always ordered from 1 to 4 such that layer 1 is the bottom layer and layer 4 is the top layer.
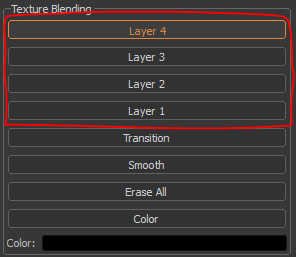
To paint a layer select the corresponding button from the UI.
Once a layer is selected, left click and drag ![]() to paint the selected layer within the radius of the brush.
to paint the selected layer within the radius of the brush.
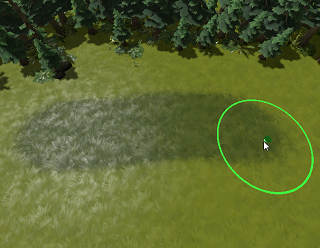
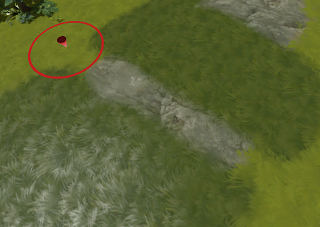
Hold control and left click and drag Ctrl+![]() to erase the current layer, revealing the layers below it.
to erase the current layer, revealing the layers below it.
Brush settings
The brush settings can be used to control exactly how the brush modifies the opacity of a layer.
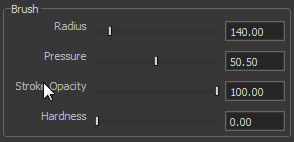
- Radius: The size of the brush. In addition to using the slider in the UI, this can be adjusted by performing a middle mouse drag.

- Pressure: Controls how quickly the brush modifies the opacity of a layer. This can be adjusted by holding control and performing a middle mouse drag. ctrl+

- Stroke Opacity: This is the maximum opacity change that can be applied in single brush stroke. Once the stroke opacity has been reached moving the brush over an area will not change the opacity of the layer further until the mouse button is released and pressed again.
- Hardness: This controls the falloff of brush. A hardness of 0 means the only the very center of the brush will be applied at full strength, while a hardness of 100 means the entire area of the brush will apply at full strength.
Painting layer transitions
Using the Transition mode, the transition between two layers can be modified to be either sharp or soft, although the exact result is dependent on each layer of the material.
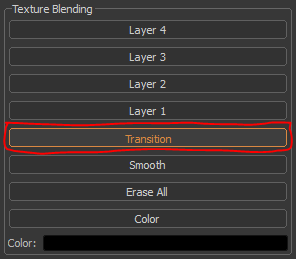
- Left click and drag
 to make the transition between two layers softer.
 - Hold control and left click and drag ctrl+
 to make a transition sharper.
- ⇧ Shift+
 Soften transition.
 - Ctrl+⇧ Shift+
 Sharpen transition.
Smoothing blends
Using the Smooth mode, blend painting authored using the brush for any layer can be smoothed to make blend more even and gradual.
This is different than making the transition soft in that it actually modifies the painted opacity of the layer instead of just modifying how the opacity is interpreted.
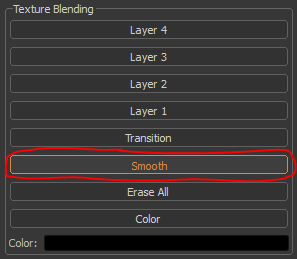
Left click and drag ![]() to smooth the blends within the radius of the brush.
to smooth the blends within the radius of the brush.
Erasing all blending
Using the Erase All mode, all blend painting can be completely erased to return the surface to its original unpainted state.
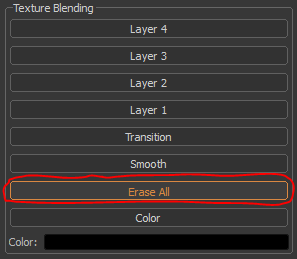
Left click and drag ![]() to erase all blends in the area within the brush.
to erase all blends in the area within the brush.
Painting color tint
Using the Color mode, a color tint can be applied on top of any existing blends. The color to be applied can be selected by clicking on the color swatch.
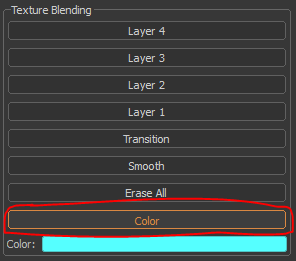
Left click and drag ![]() to paint the selected color tint.
to paint the selected color tint.
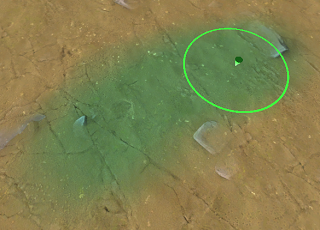
Material Sets and Transitions
Material sets are groups of materials that can replace the default materials on a tile. Each tile set may have a number of different material sets which allow the original materials to be be replaced without requiring a whole new tile set.
Applying Material Sets
To apply a material set first select the material set from the drop down in the ui.
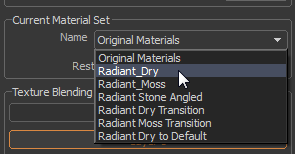
Once the material set is selected you can assign it to tiles using the blend paint brush modifier C+![]() This will cause the selected material set to be assigned to the tile within the radius of the brush.
This will cause the selected material set to be assigned to the tile within the radius of the brush.
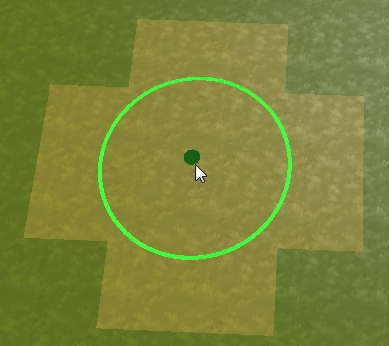
After a material set has been applied to tiles you can paint any of the four blend layers.
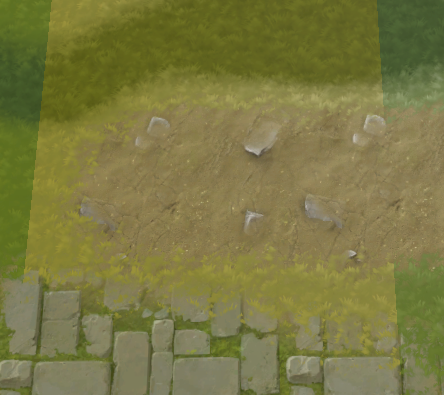
Transition Material Sets
Transition materials set are a special type of material set which may be used to blend between two other material sets.
To use a transition material set, first select it from the material set drop down:
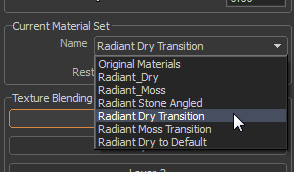
Just as with a normal material set, use the brush while holding the apply material set modifier C+![]() to apply the transition material set.
to apply the transition material set.
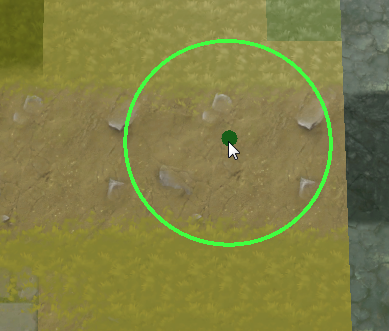
Transition materials only support blending layers 1 and 3 because they contain layers 1 and 3 from the two materials they transition between.
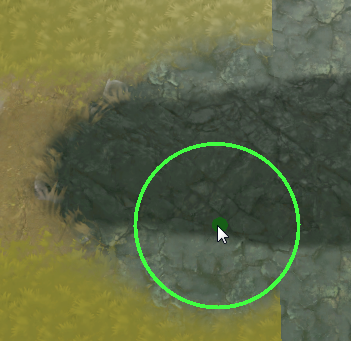
However, in addition to layers 1 and 3, transition material sets support the 'Material Transition' layer. This layer controls the blending between the two pairs of layers.
To paint the transition select the 'Material Transition' button from the ui.

Then simply use the brush to apply the transition by holding ![]() and dragging or holding Ctrl+
and dragging or holding Ctrl+![]() to erase the transition blend.
to erase the transition blend.
Object Placement
Tool hotkey: U
The object placement tool mode can be used to add individual detail objects to the map as well as individual trees and plants. In addition to placing detail objects the object placement tool can also be used to make small tweaks to existing objects such as rotating and re-positioning.
Object position grid
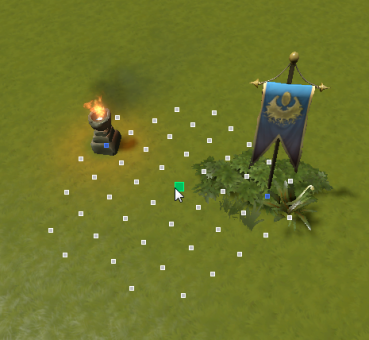
Unlike the brush tools which work on an area, the object placement tool works on a single object at a time. The object placement tool interacts with the object position grid, which is the grid of locations 64 units apart where objects can be placed. When the object placement tool is active it will show the object location grid points in an area around the cursor. The grid point nearest the cursor will be highlighted in green, this is the active grid point to which all operations and commands will apply.
Object placement mouse operations
- Left mouse click
 : Place an object of the currently selected type at the currently highlighted location.
 - Control plus left mouse click
 : Remove the object from the currently highlighted location.
 - Left click and drag
 : Click on a location with and object and drag it to a new location.
 - Shift plus left mouse click and drag⇧ Shift+
 : Click on an object and drag a clone of the object to a new location, leaving the original copy of the object where it was.
 - X plus left mouse dragX+
 : Rotate the object at the currently active grid location.
Placing objects
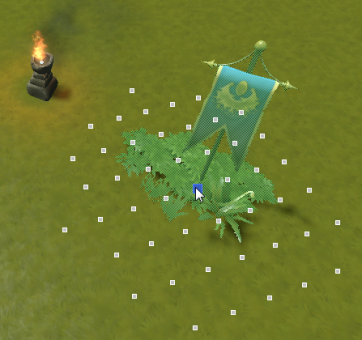
The primary function of the object placement tool is to place detail objects. This is accomplished by simply moving the mouse cursor over a free object location grid point (free points are white), and clicking on it with the left mouse button. This will place an instance of the currently selected object type on the active grid point.
Selecting the object type
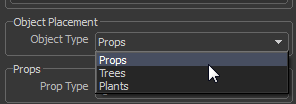
The object placement tool can place three types of objects: props, trees, and plants. To select which type of object that will be placed simply select the type from the object type dropdown in the tile editor interface.
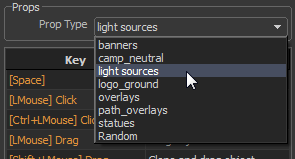
Once a general object type has been selected, a specific sub-type of that object can also be selected from the interface.
Each object sub-type may still have multiple variations, when placed one of these variations will be selected randomly.
Changing the variation of an object
The specific variation of any object can be modified by mousing over the object location and pressing F or V.
Moving and cloning objects
- To move an existing object, move the cursor over the grid point location where the object is placed (the object will hightlight in green), then left click and drag
 to move it to a new location.
 - To clone an object, move the cursor over the grid point location where the object is placed, then hold shift and left click drag ⇧ Shift+
 . This will clone the object and move the copy to a new location, leaving the original object in its initial position.
Rotating objects
To rotate an object, move the cursor over the grid point location where the object is placed, then hold x and left click and drag X+![]() or middle click and drag
or middle click and drag ![]() . This will rotate the object. The rotation will obey the rotation snap settings, these can be set using the snapping toolbar in the lower right hand corner of the Hammer window.
. This will rotate the object. The rotation will obey the rotation snap settings, these can be set using the snapping toolbar in the lower right hand corner of the Hammer window.
Removing objects
To remove an existing object simply hold control and left click Ctrl+![]() on the grid point corresponding to the object, or with the mouse cursor over the grid point for the object press Del.
on the grid point corresponding to the object, or with the mouse cursor over the grid point for the object press Del.
Editing trees and plants
In addition to editing props, the object placement tool can be used to edit trees and plants, even if they were placed with the tree or plant brush tool modes.
- To add a single tree or plant simply set the object type to trees or plants and then select the specific tree or plant type you want.
- Tree placement still follows the same rules as it does when placing trees using the tree brush. Placing trees directly next to each other is not allowed, and trees cannot be placed on paths.
- Plant placement using the object placement tool differs from placement using the brush in one respect. The plant brush will not place plants on a path but the object placement tool will allow plants placed on a path. This is done to allow the plant brush to be used around the edges of paths quickly with no chance of the plants completely hiding the path, however since plants don't block navigation, they can actually be placed on paths deliberately using the object placement tool.
Item selection
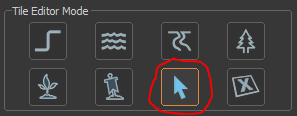
Tool mode hotkey: i
The item selection tool allows selection of both tiles and objects simultaneously. It then supports several operations that work on the selected set of items.
Selecting items
There are a few method of selecting items:
- Left click
 on an item under the cursor. This will select the individual item which is under the mouse cursor.
 - Left click and drag
 to select multiple items under the cursor. This will select the item under the cursor and will continue to select each of the items which the cursor passes over.
 - Middle click and drag
 to draw out a lasso, selecting all of the objects and tiles that are completely inside the shape.
 - Hold X and middle click and drag X+
 to draw a box and select everything inside of it.
 - Press esc to clear the selection.
Selection modifiers
All selection operations can be modified in the same way:
- Hold Ctrl to remove objects from the selection.
- Hold ⇧ Shift to add objects to the current selection instead of replacing the selection.
Selection filtering
By default the selection tool mode will select both tiles and objects. The selection filter in the selection tool mode settings interface can be used to disable selection of either, allowing only the other to be selected. This can be useful in making complex selections.
Selection commands
- Next Variation F: Pick the next variation of the selected tiles and objects.
- Next Variation V: Pick the previous variation of the selected tiles and objects.
- Random Variation C: Pick a random variation of each of the selected tiles and objects.
- Next Tile Set Ctrl+C: Swap the tile set of the currently selected objects and tiles to the next tile set in the active tile sets.
- Previous Tile Set Ctrl+⇧ Shift+D: Swap the tile set of the currently selected objects and tiles to the previous tile set in the active tile sets.
- Assign Current Tile Set ⇧ Shift+C: Assign the currently selected tile set to the selected tiles and objects.
- Raise Tiles G: Raise the currently selected tiles by one step.
- Lower Tiles B: Lower the currently selected tiles by one step.
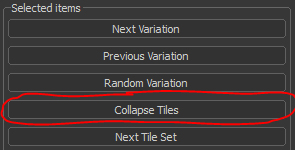
Collapse
Collapsing items creates an editable copy of the selected items which can be modified individually outside of the tile editor. This is useful if custom modifications are needed.
Detail components
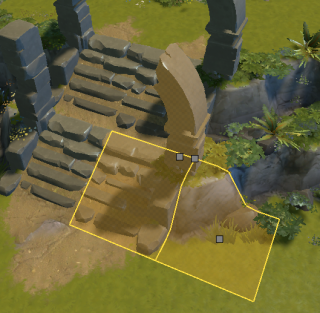
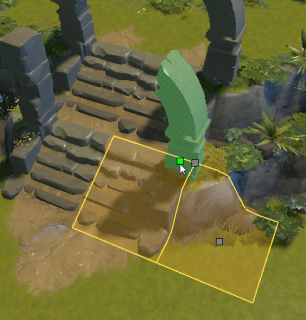
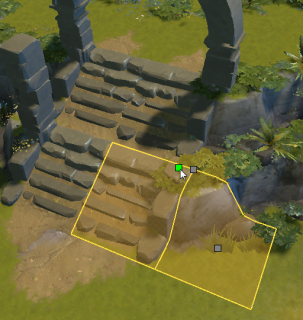
Tiles and objects are frequently composed of several detail components. When a tile or object is selected a gray box will drawn at the origin of each of its detail components. Moving the mouse cursor over one of these boxes will change the green selection highlight to be only on the specific detail component.
When a detail component is highlighted it may be modified with using the following operations:
- F Cycle to the next variation of the detail.
- V Cycle to the previous variation of the detail.
- C Pick a random variation of the detail.
- Del Clear the highlighted detail component. Note that the detail component selection box remains, allowing the detail to be brought back by pressing any of the above keys to cycle the variation.
Copy and paste
Any selection of tiles and objects can be copied and pasted while in the item selection tool mode.
- Make a selection of tiles and press Ctrl+C to copy them.
- Press Ctrl+V to paste the tiles at the location under the cursor.
- To preview the copied selection before pasting it press Ctrl+⇧ Shift+V. This will start a temporary preview mode which will display the selection on the clipboard and where it will be placed based on the current cursor location.
- To place an instance of the selection on the clipboard simply press the left mouse button

- To exit the paste preview mode press esc
- To place an instance of the selection on the clipboard simply press the left mouse button
Enable Disable
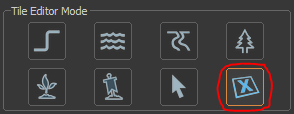
Tool mode hotkey: h
The enable disable tool mode allows tiles to be disabled or re-enabled. Disabling a tile is a way of hiding a tile in a non-destructive mangger. This can be useful when authoring custom geometry and embedding it in the tile grid.
Disabling tiles
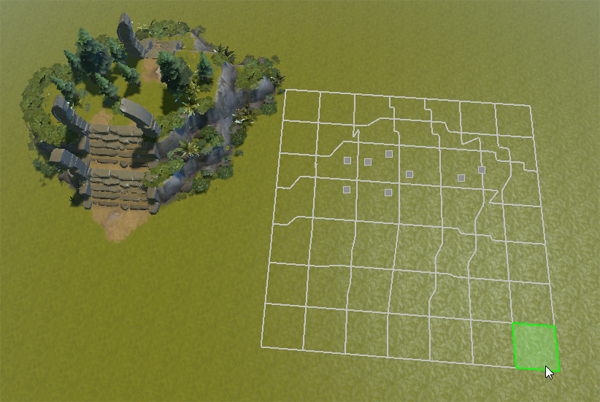
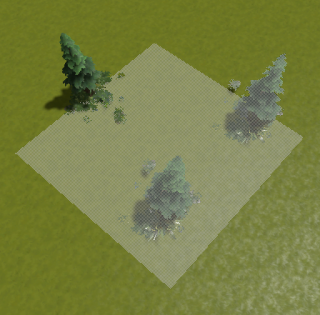
To disable a tile simply enter the enable disable tool mode and click on the tile. The tile will immediately gray out. When switching back to any of the other modes of the tile editor the disabled tile will be hidden.
Re-enabling tiles
Any disabled tile can by re-enabled by entering the enable disable tool mode. When in this mode all disabled tiles which are normally hidden will be visible but will draw grayed out. Clicking on any grayed out tile will re-enable it, causing it to draw normally.
Managing Tile Sets
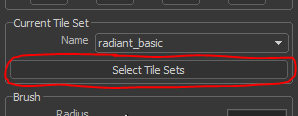
A tile grid may reference up to 4 different tile set maps. These are the tile sets which can be selected as the current tile set. To change, add or remove which tile sets are being used simply click the Select Tile Sets button in the tile editor interface.
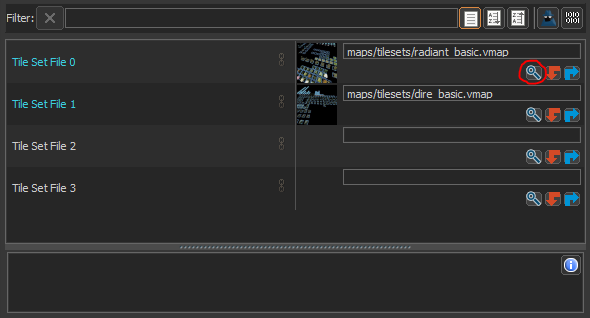
This will bring up the properties dialog for the tile grid, which lists the four tile set map files the tile grid is using. To change any of the tile sets click on the magnifying glass icon to bring up an asset browser which will allow you to pick a new tile set map. Picking a new tile set map to replace an existing map will automatically replace all of the tiles currently in use with the ones from the new map.
Next: New Tilesets
