Launching Custom Maps
January 2024
Introduction
This tutorial will teach you how to launch custom maps made for Half-Life: Alyx.
Enabling the developer console
We must enable the developer console. This lets you type in various commands that will allow you to enter your maps. More commands are available. See: Console Command List.
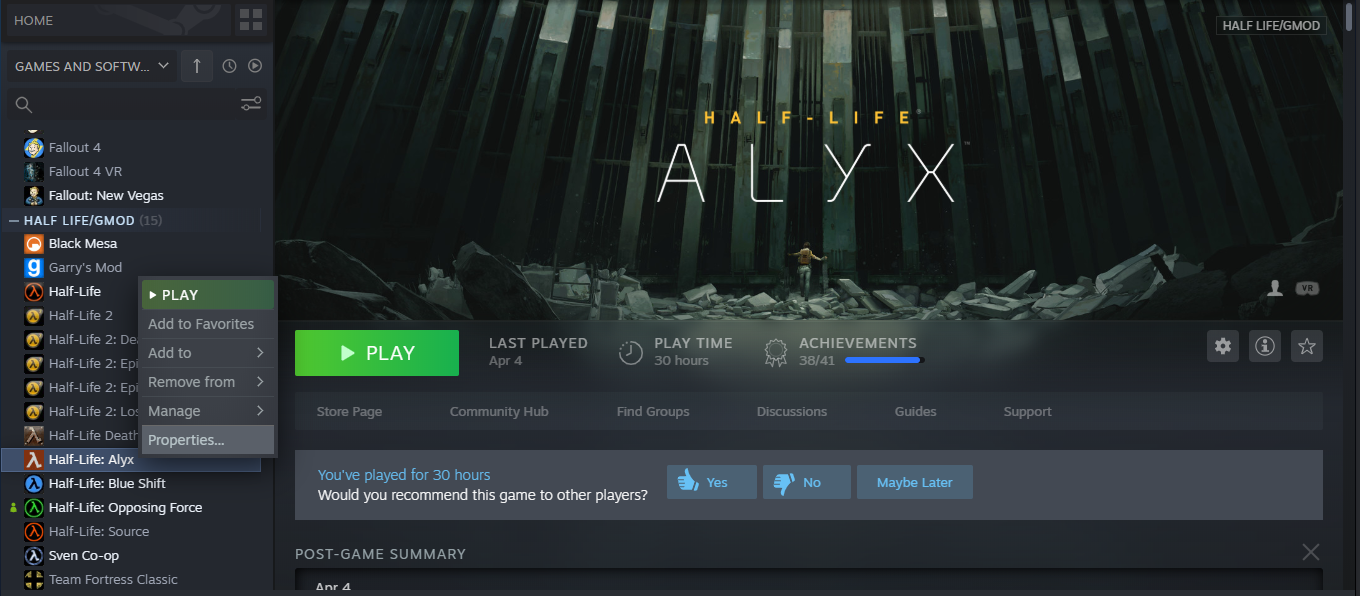
First, right click Half-Life: Alyx in your steam library, and select "properties" from the drop-down menu that appears.
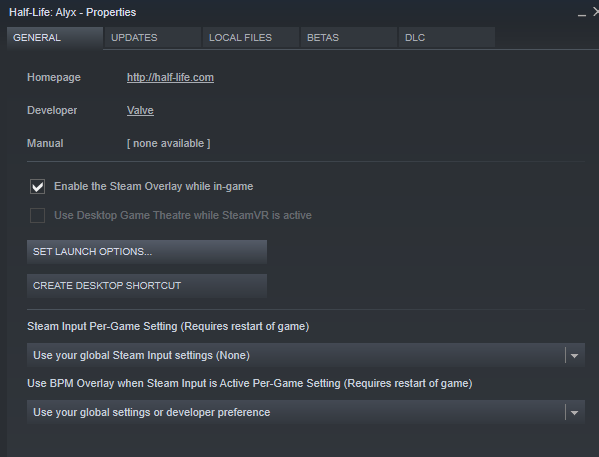
Next, select "Set Launch Options" on the properties menu that is created.
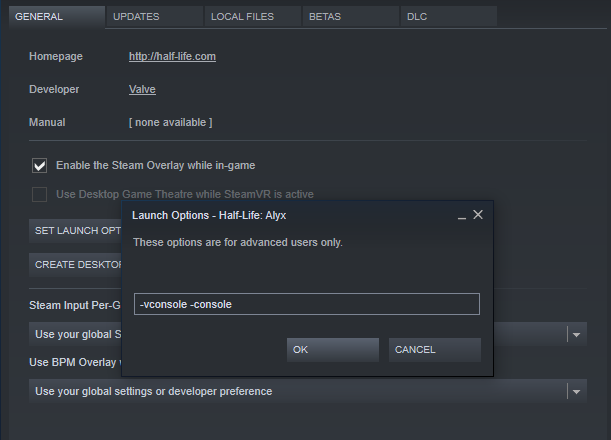
Finally, type "-console -vconsole" into the launch options, then hit "OK."
Installing your level
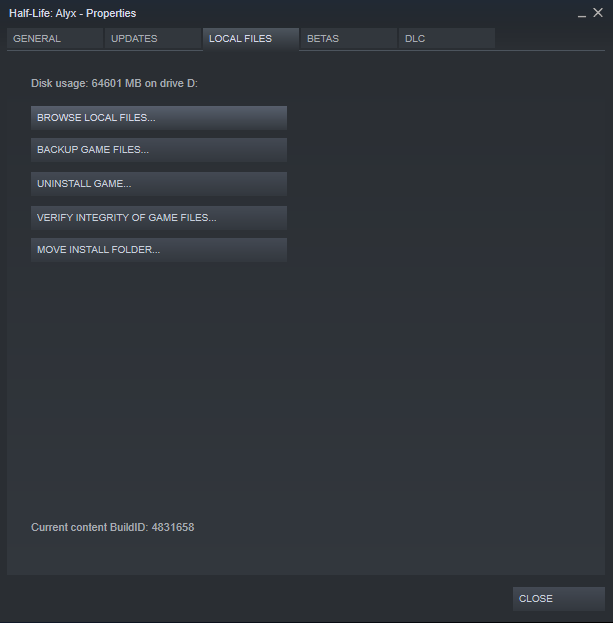
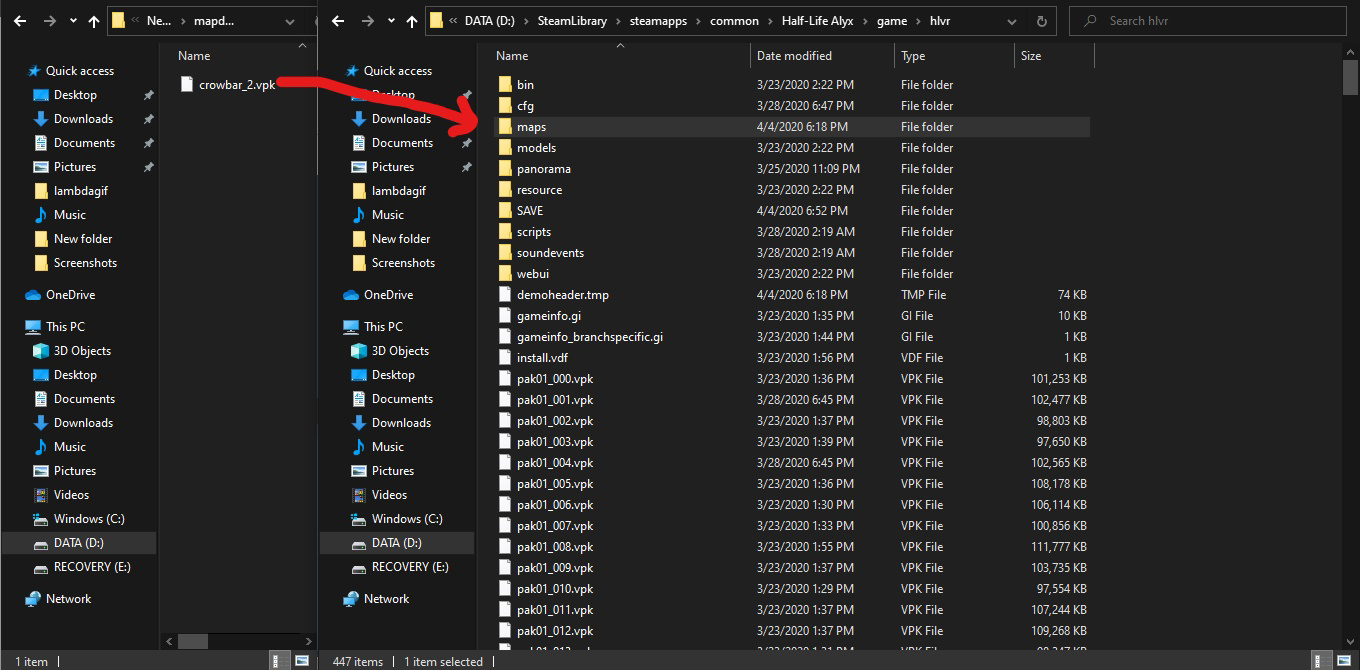
Now we are going to install the level you've downloaded into the game. Open the properties of Half-Life: Alyx again and go to Local Files, then select "Browse Local Files."
Now Navigate to \SteamLibrary\steamapps\common\Half-Life Alyx\game\hlvr and open a new file explorer window where you have your downloaded map file.
Drag the map file into the folder called "maps."
Launching the map
Finally, we'll launch the map.
First, launch Half-Life: Alyx to the main menu, then press the ~ key. (it's above TAB)
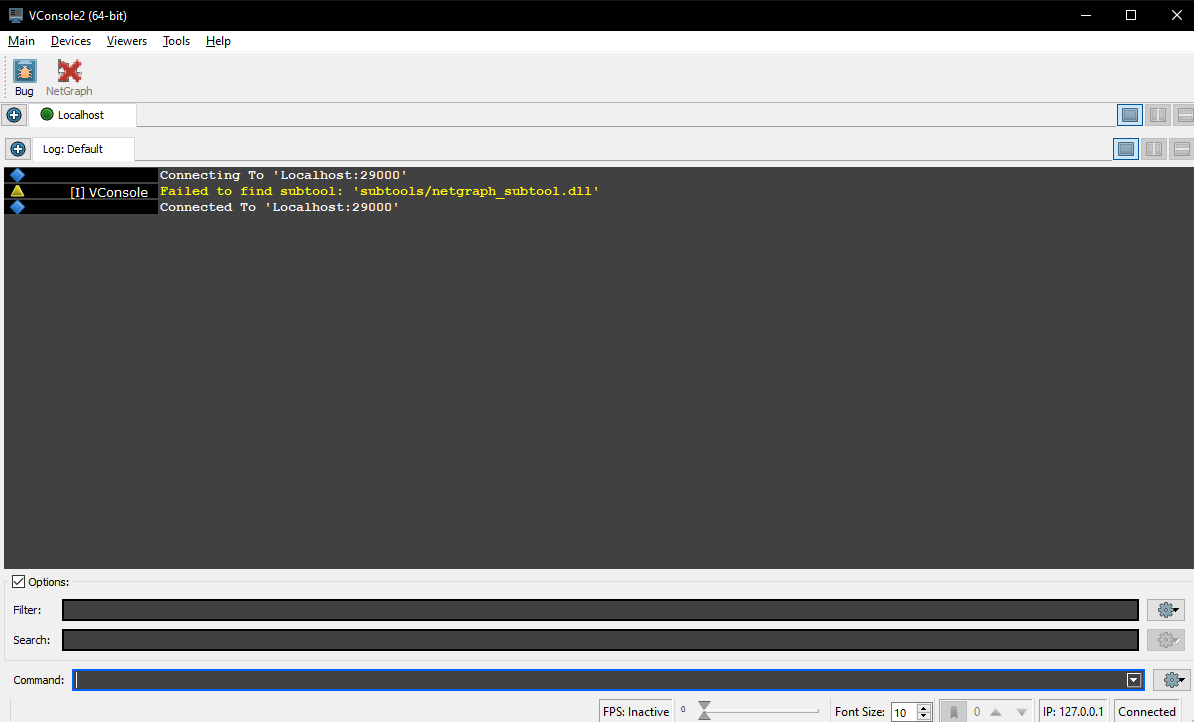
A window called VConsole2 will appear.
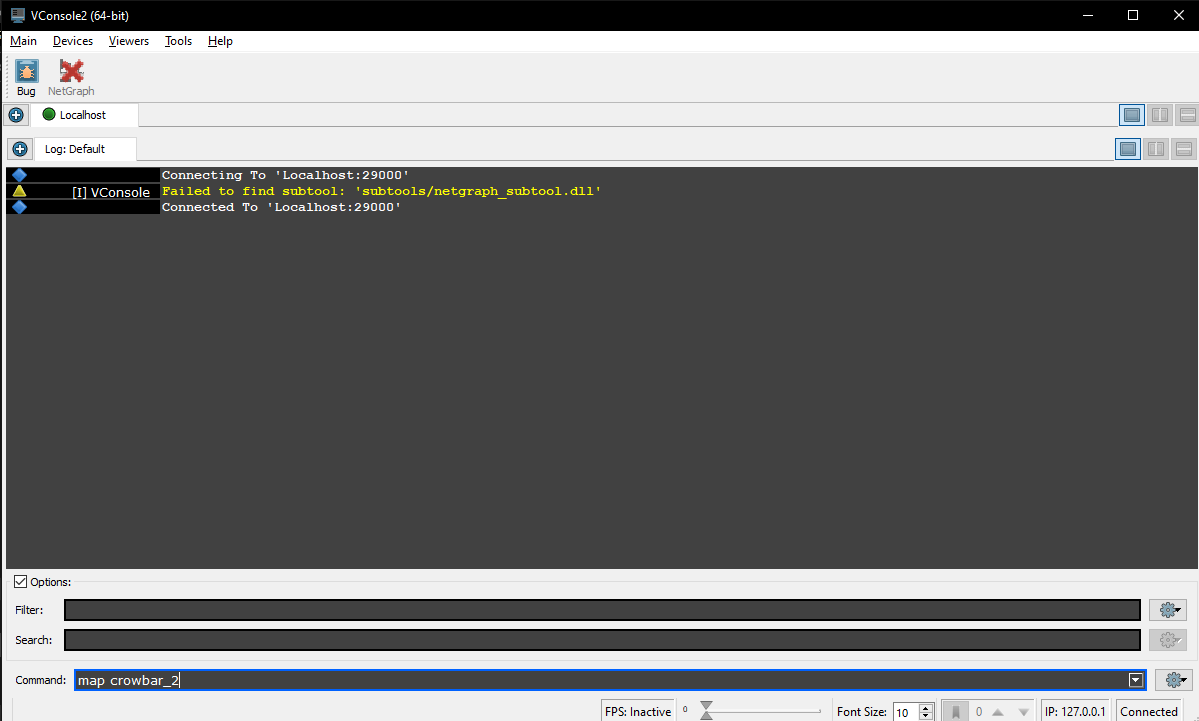
Type in the area labeled "Command" : map [map file name].
Your map will now start loading and you'll be on your way to gaming.
See Also
January 2024
