NewLight Dir: Difference between revisions
MyGamepedia (talk | contribs) No edit summary |
MyGamepedia (talk | contribs) No edit summary |
||
| Line 12: | Line 12: | ||
Determines distance from GodRays to player in [[skybox]].}} | Determines distance from GodRays to player in [[skybox]].}} | ||
{{expand|title=Examples| | {{expand|title=Examples| | ||
<br> | |||
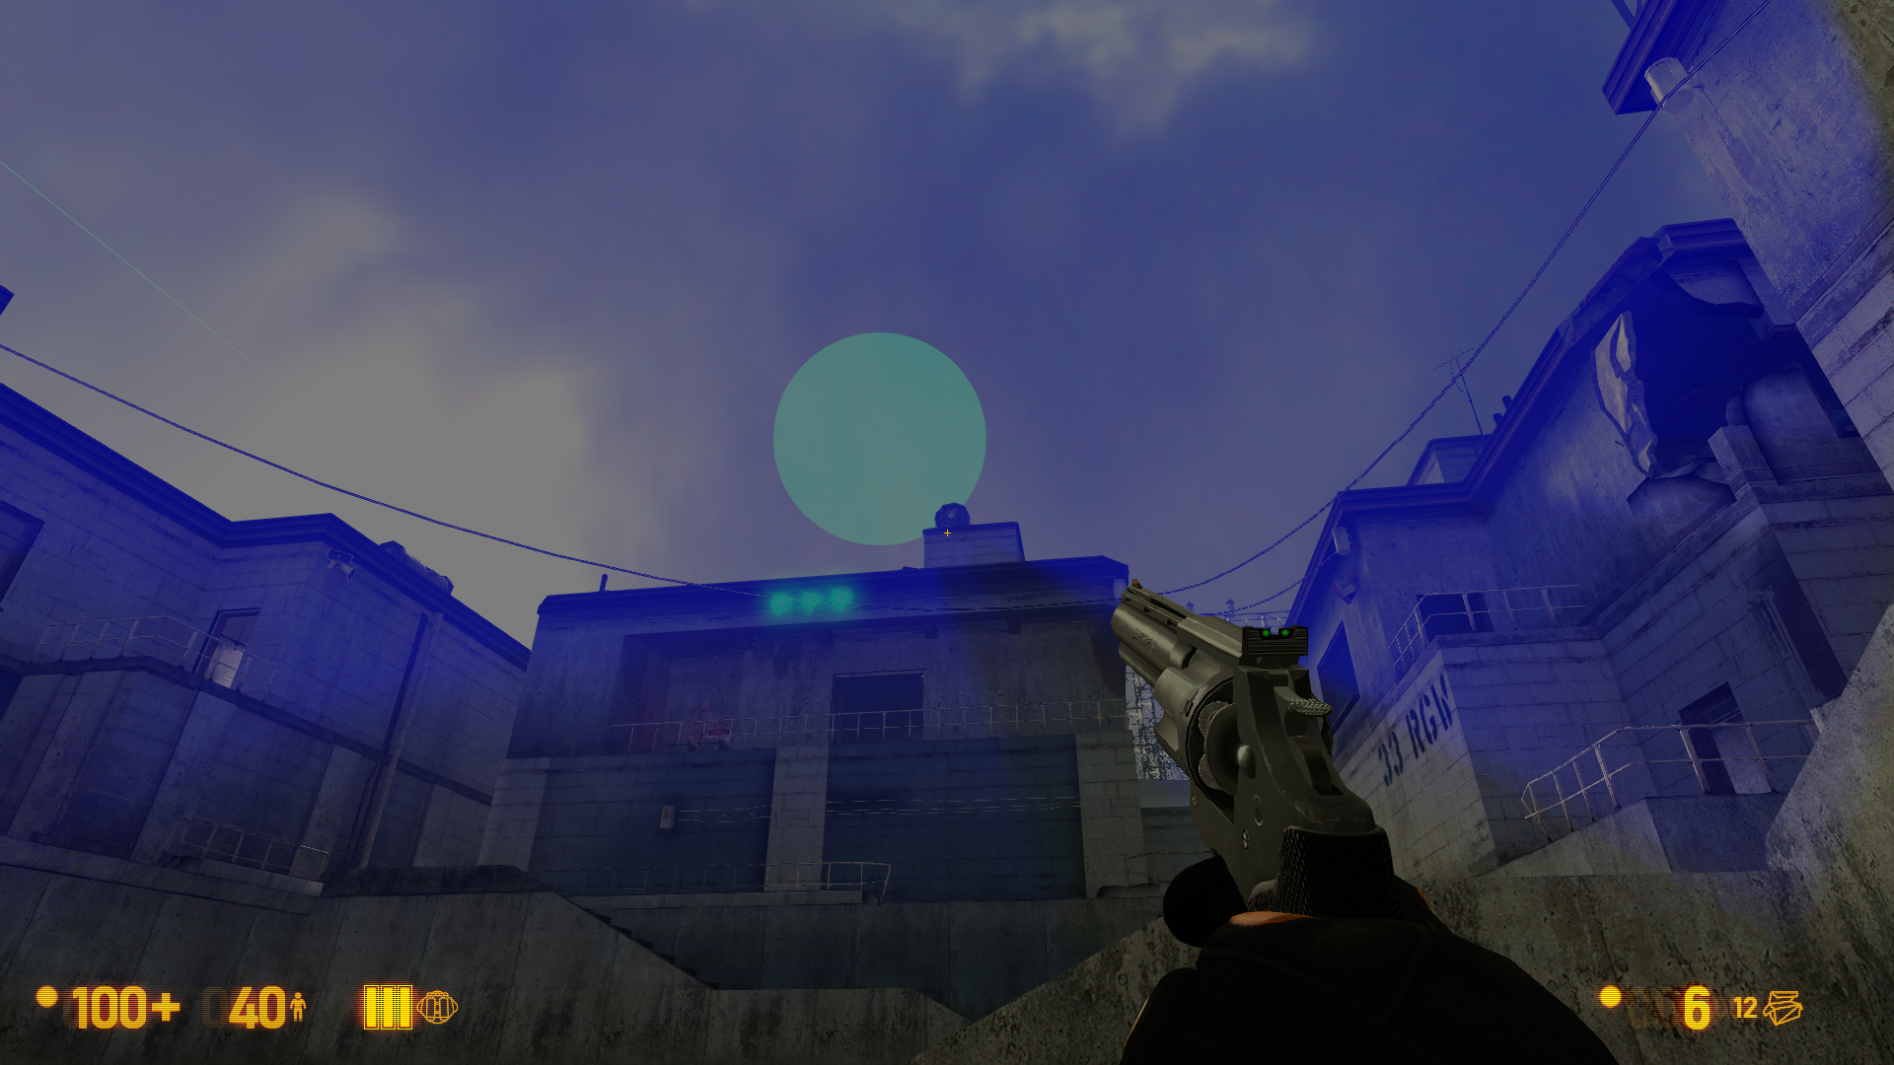
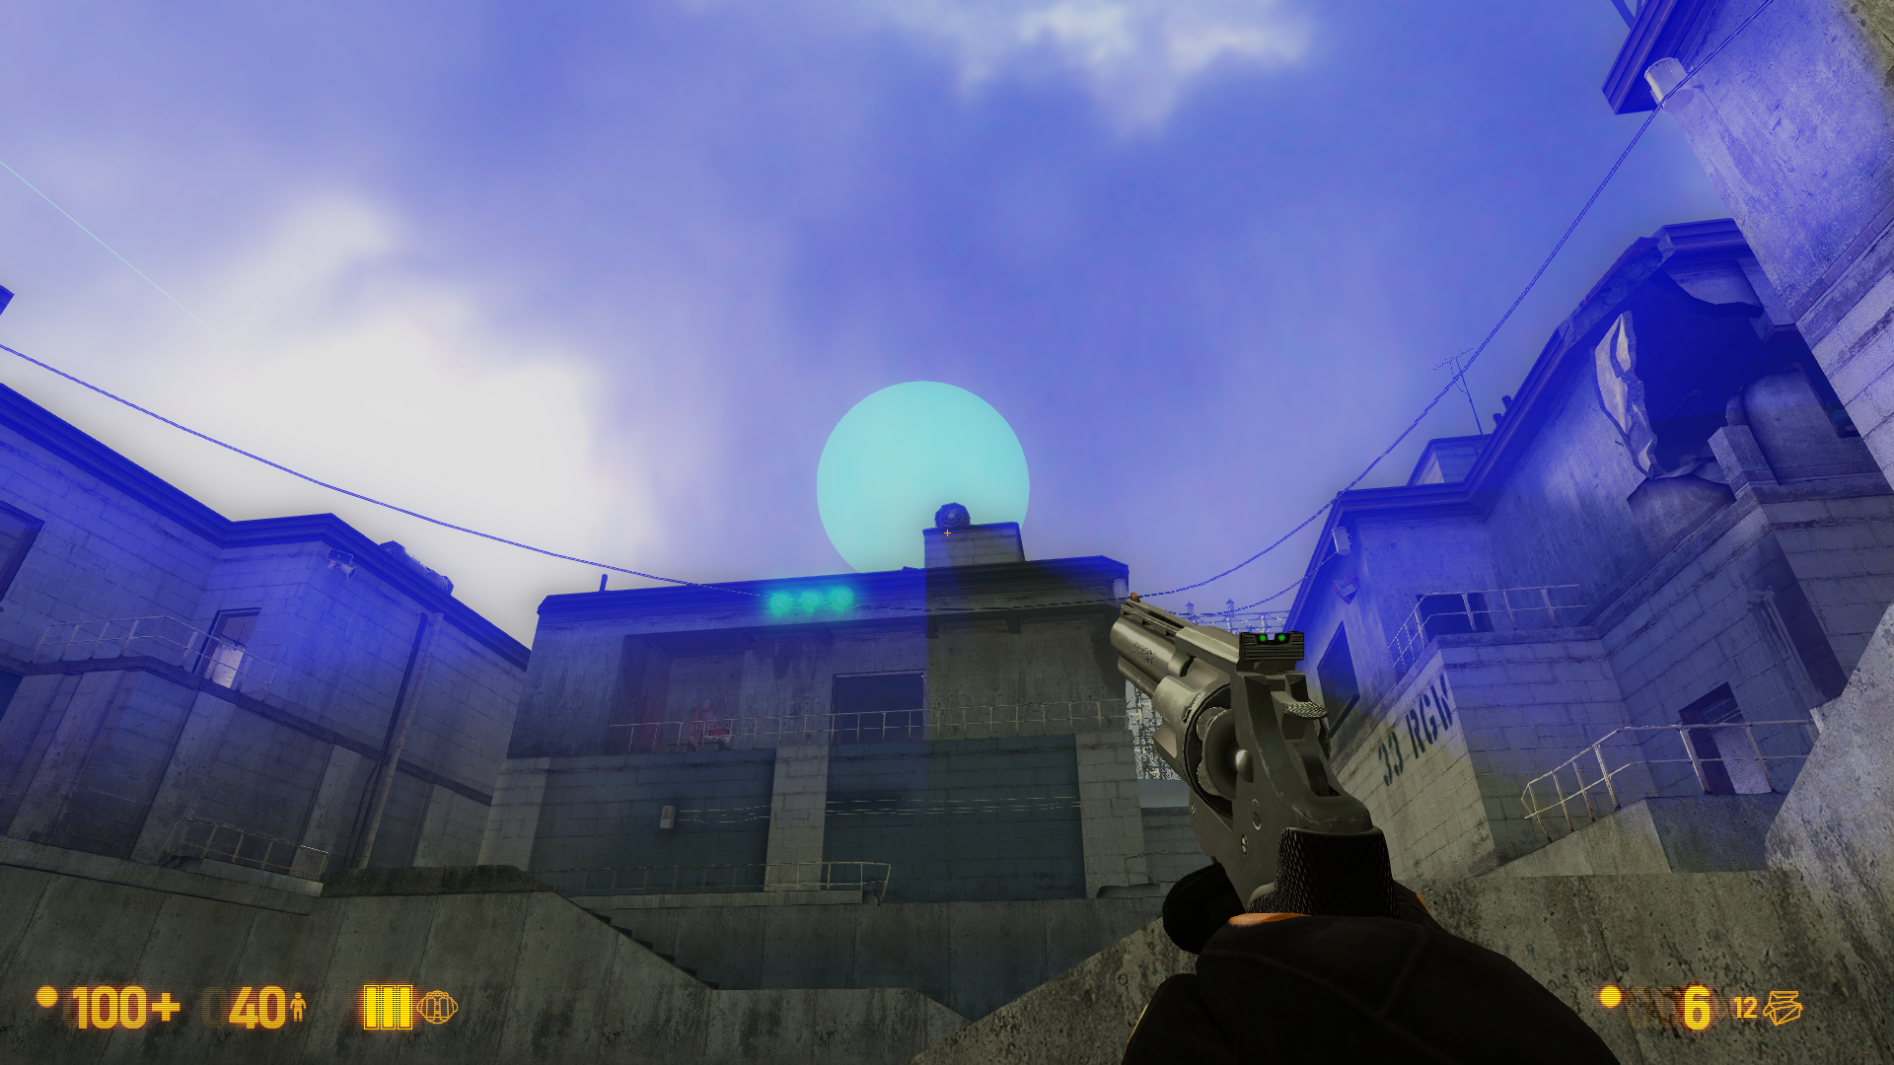
<gallery mode=packed heights=710px> | |||
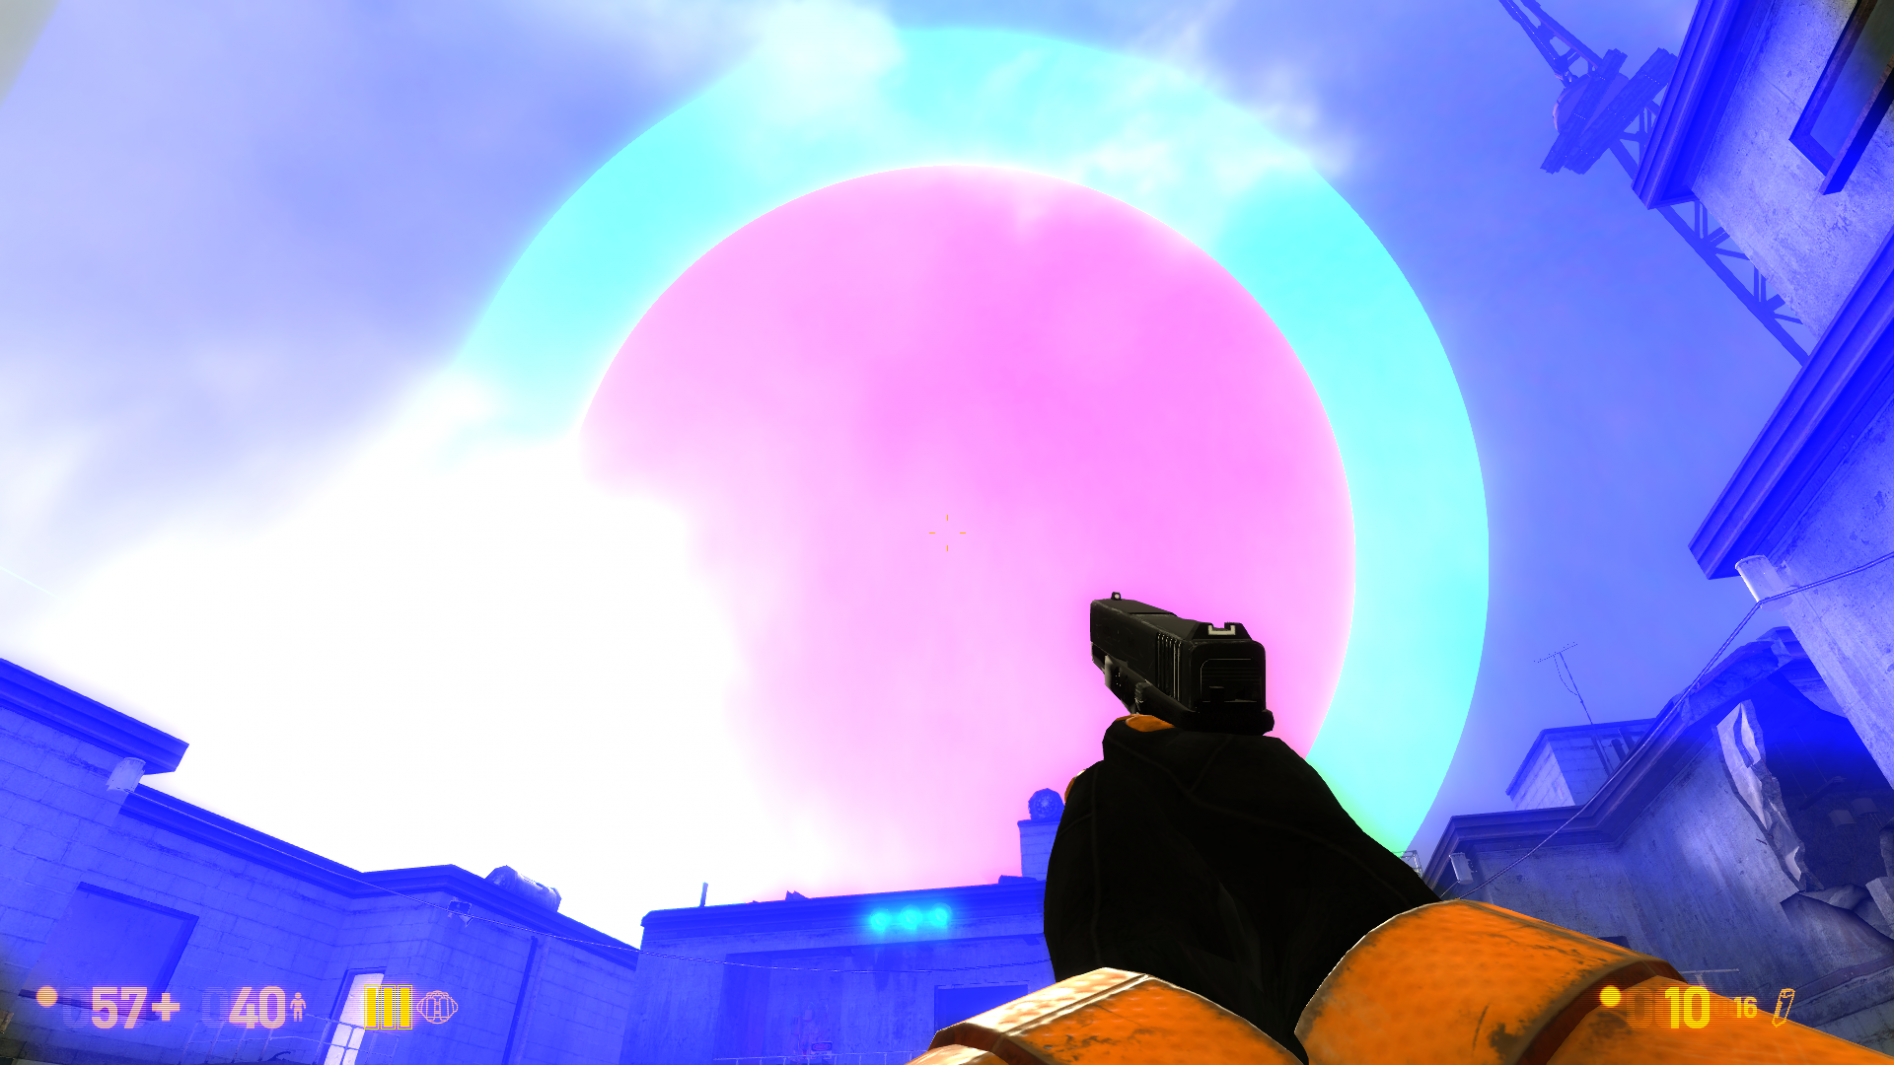
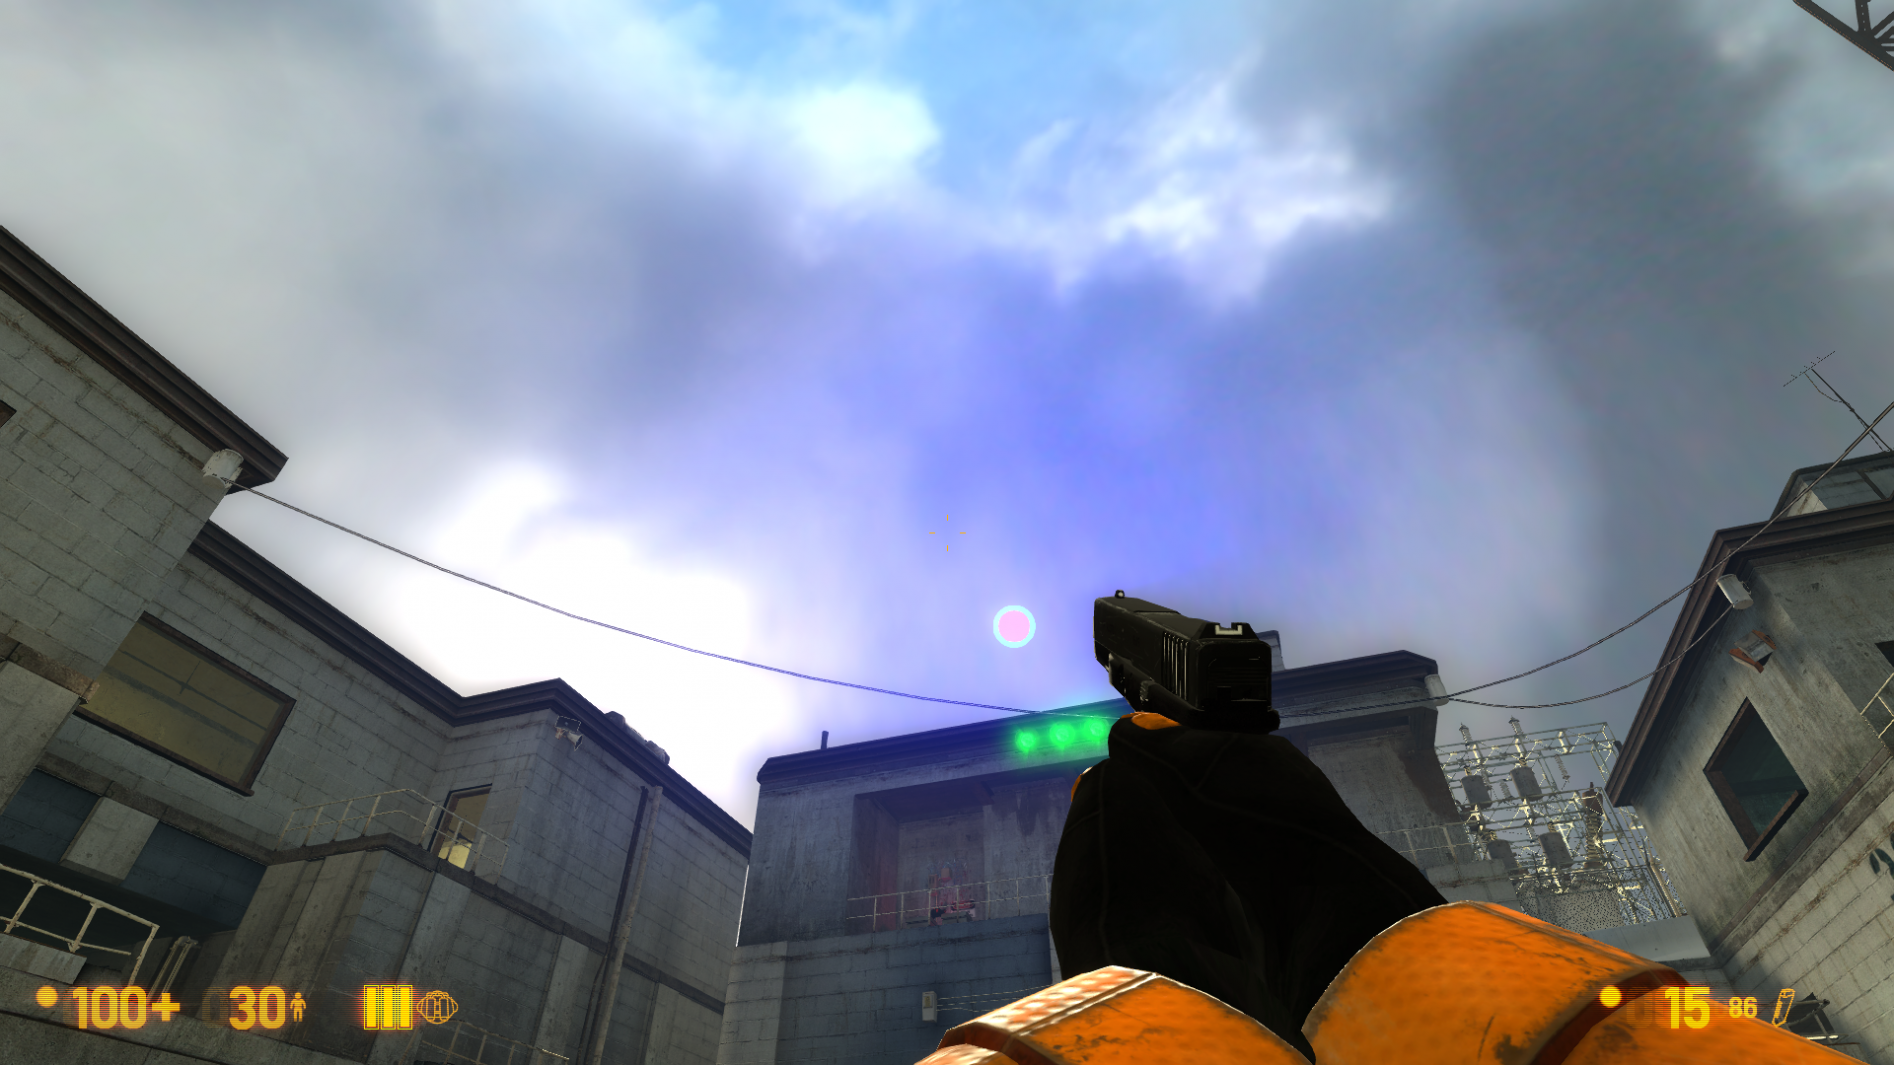
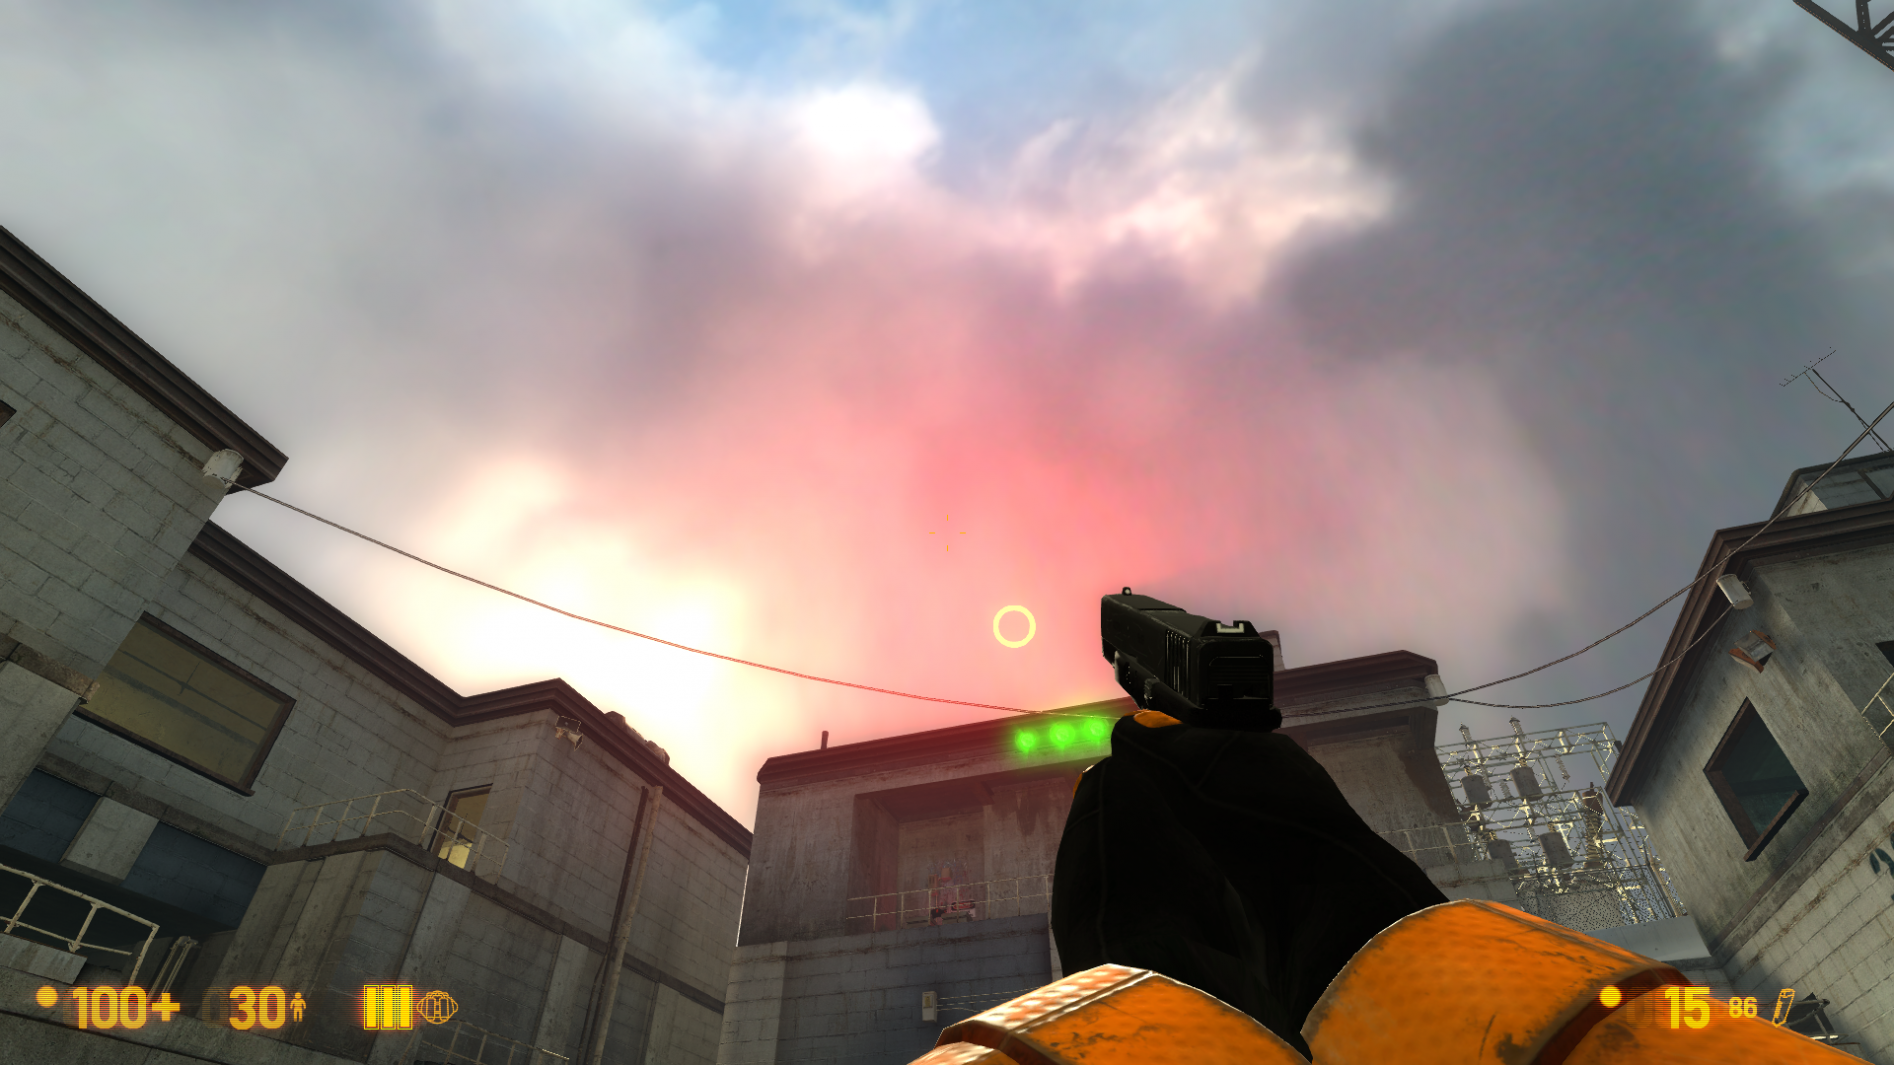
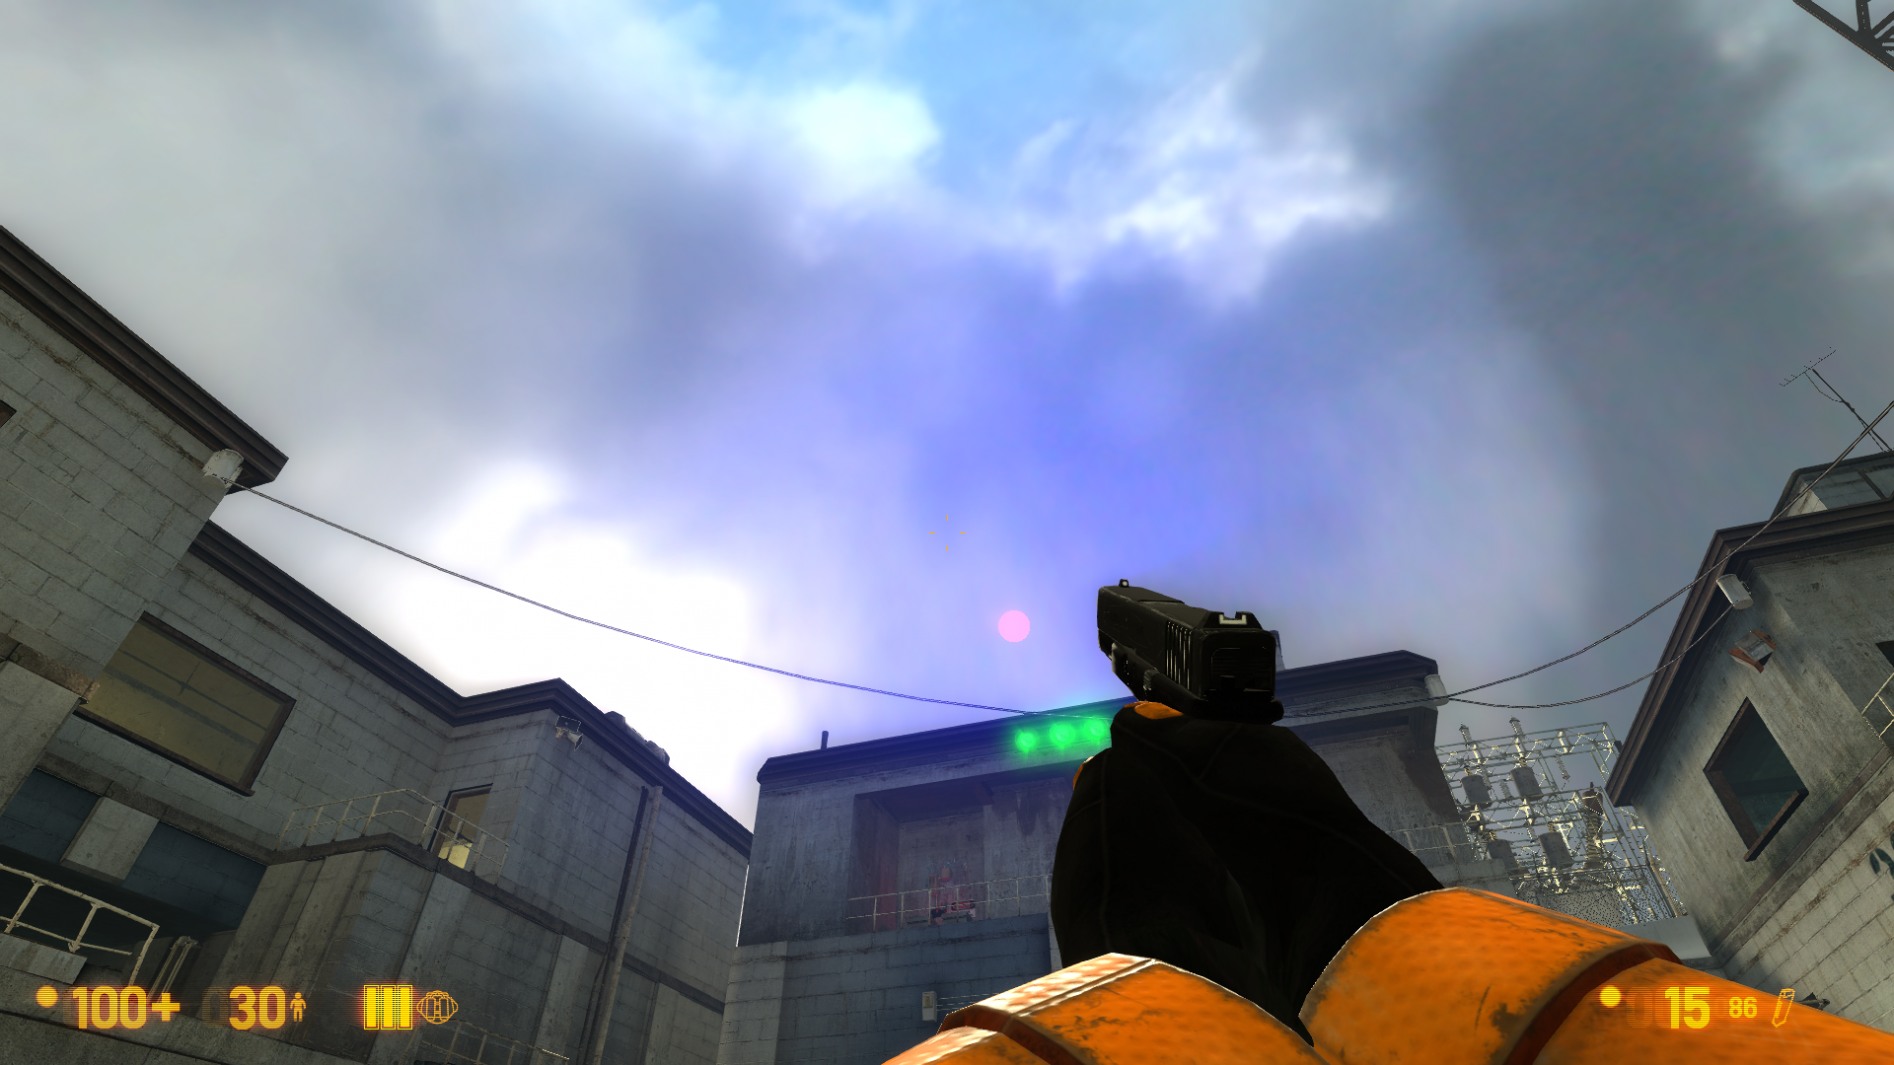
File:PBD1.png |PushbackDist - 9999999 | |||
File:PBD2.png |PushbackDist - 9999 | |||
</gallery> | |||
}} | }} | ||
{{KV|EnableGodRays|intn=EnableGodRays|choices|Enable GodRays. | {{KV|EnableGodRays|intn=EnableGodRays|choices|Enable GodRays. | ||
| Line 21: | Line 24: | ||
{{KV|Density|intn=Density|float|Density Controls the length of rays/volumetric shadows. 1.0 should work in 99% cases. Good values to start from: 0.5 to 1.5.}} | {{KV|Density|intn=Density|float|Density Controls the length of rays/volumetric shadows. 1.0 should work in 99% cases. Good values to start from: 0.5 to 1.5.}} | ||
{{expand|title=Examples| | {{expand|title=Examples| | ||
<br> | |||
<gallery mode=packed heights=410px> | |||
File:DEN1.gif|Density - 1.0 | |||
File:DEN2.gif|Density - 2.0 | |||
File:DEN3.gif|Density - 0.5 | |||
</gallery> | |||
}} | }} | ||
{{KV|Weight|intn=Weight|float|Weight Controls the intensity of volumetric shadow. Blocking of rays by geometry. Good values to start from: 0.1 - 10.0.}} | {{KV|Weight|intn=Weight|float|Weight Controls the intensity of volumetric shadow. Blocking of rays by geometry. Good values to start from: 0.1 - 10.0.}} | ||
{{expand|title=Examples| | {{expand|title=Examples| | ||
<br> | |||
<gallery mode=packed heights=410px> | |||
File:WEI10.gif|Weight - 1.0 | |||
File:WEI2.gif|Weight - 2.0 | |||
File:WEI3.gif|Weight - 5.0 | |||
</gallery> | |||
}} | }} | ||
{{KV|Decay|intn=Decay|float|Decay NOT being used.}} | {{KV|Decay|intn=Decay|float|Decay NOT being used.}} | ||
{{KV|Exposure|intn=Exposure|float|Exposure Controls the intensity of Rays during blending pass with main scene. 2.0 is a good start. Good values are 1.0 - 10.0.}} | {{KV|Exposure|intn=Exposure|float|Exposure Controls the intensity of Rays during blending pass with main scene. 2.0 is a good start. Good values are 1.0 - 10.0.}} | ||
{{expand|title=Examples| | {{expand|title=Examples| | ||
<br> | |||
<gallery mode=packed heights=710px> | |||
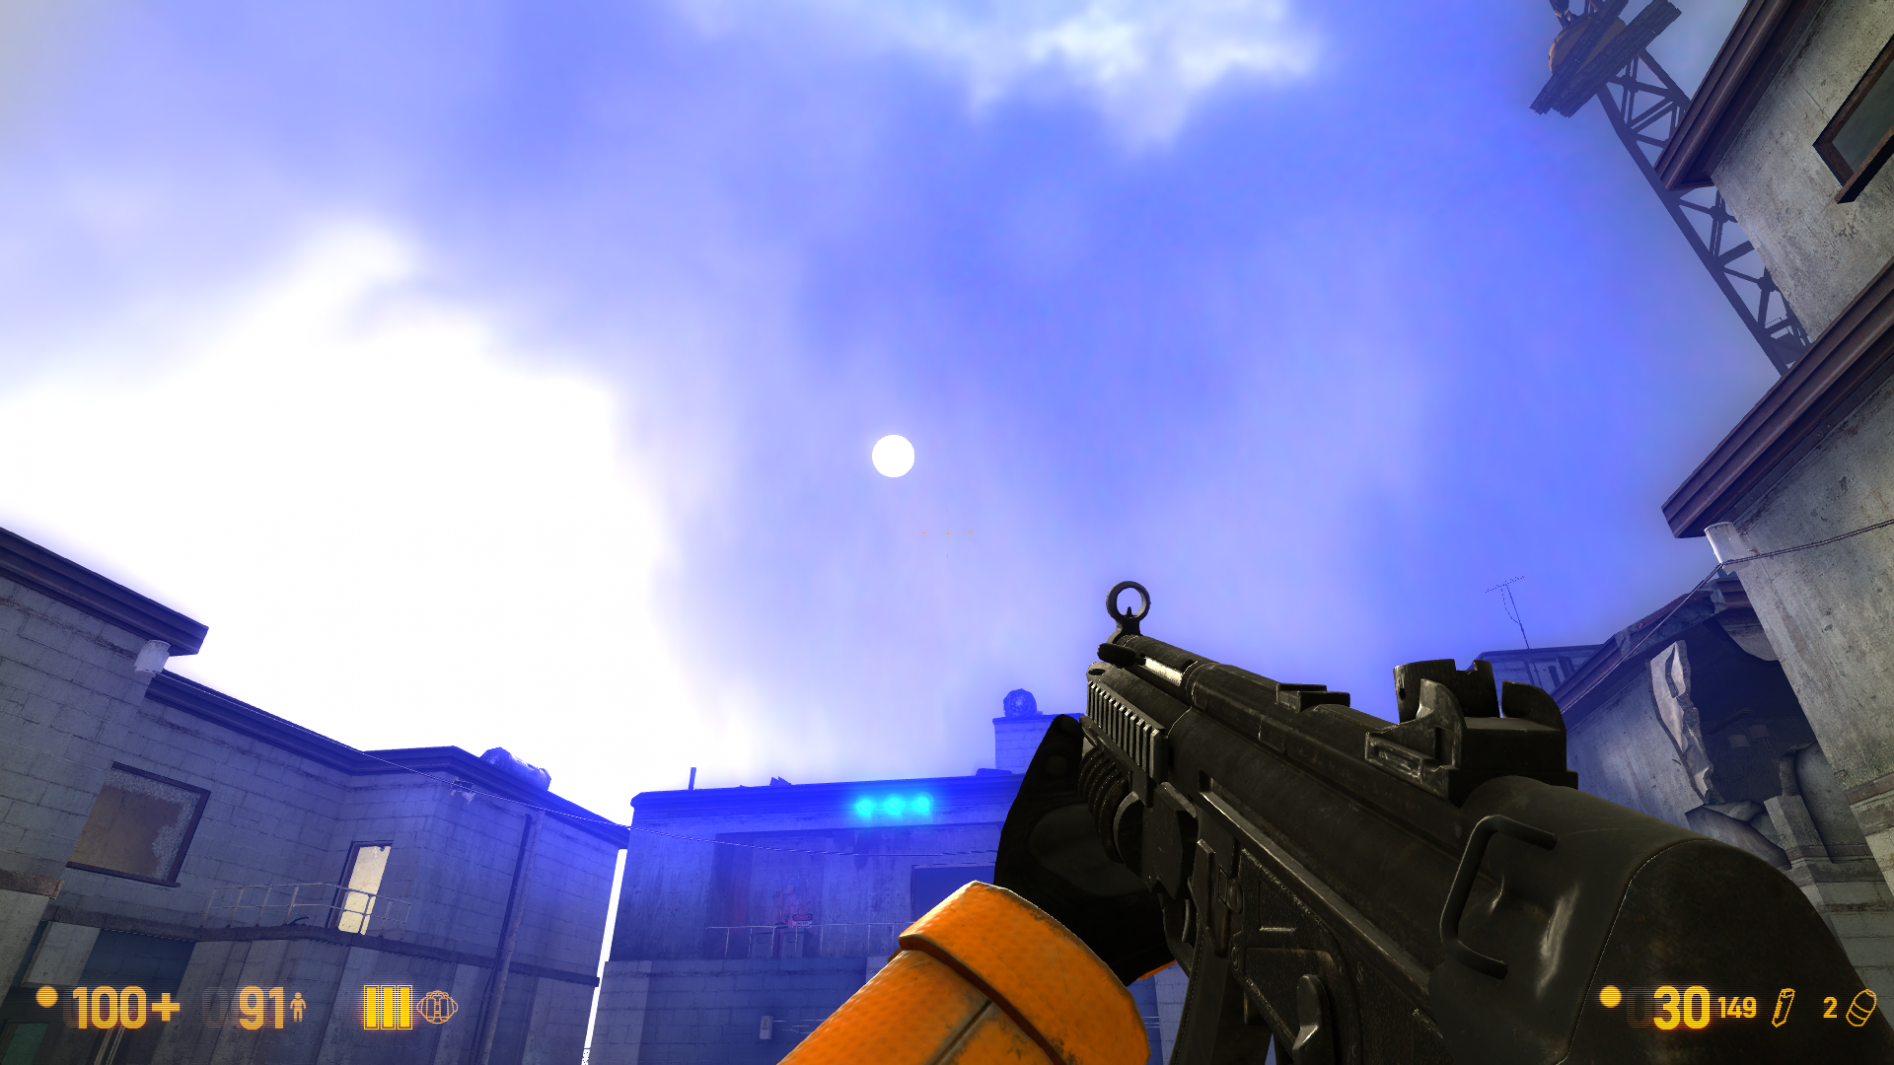
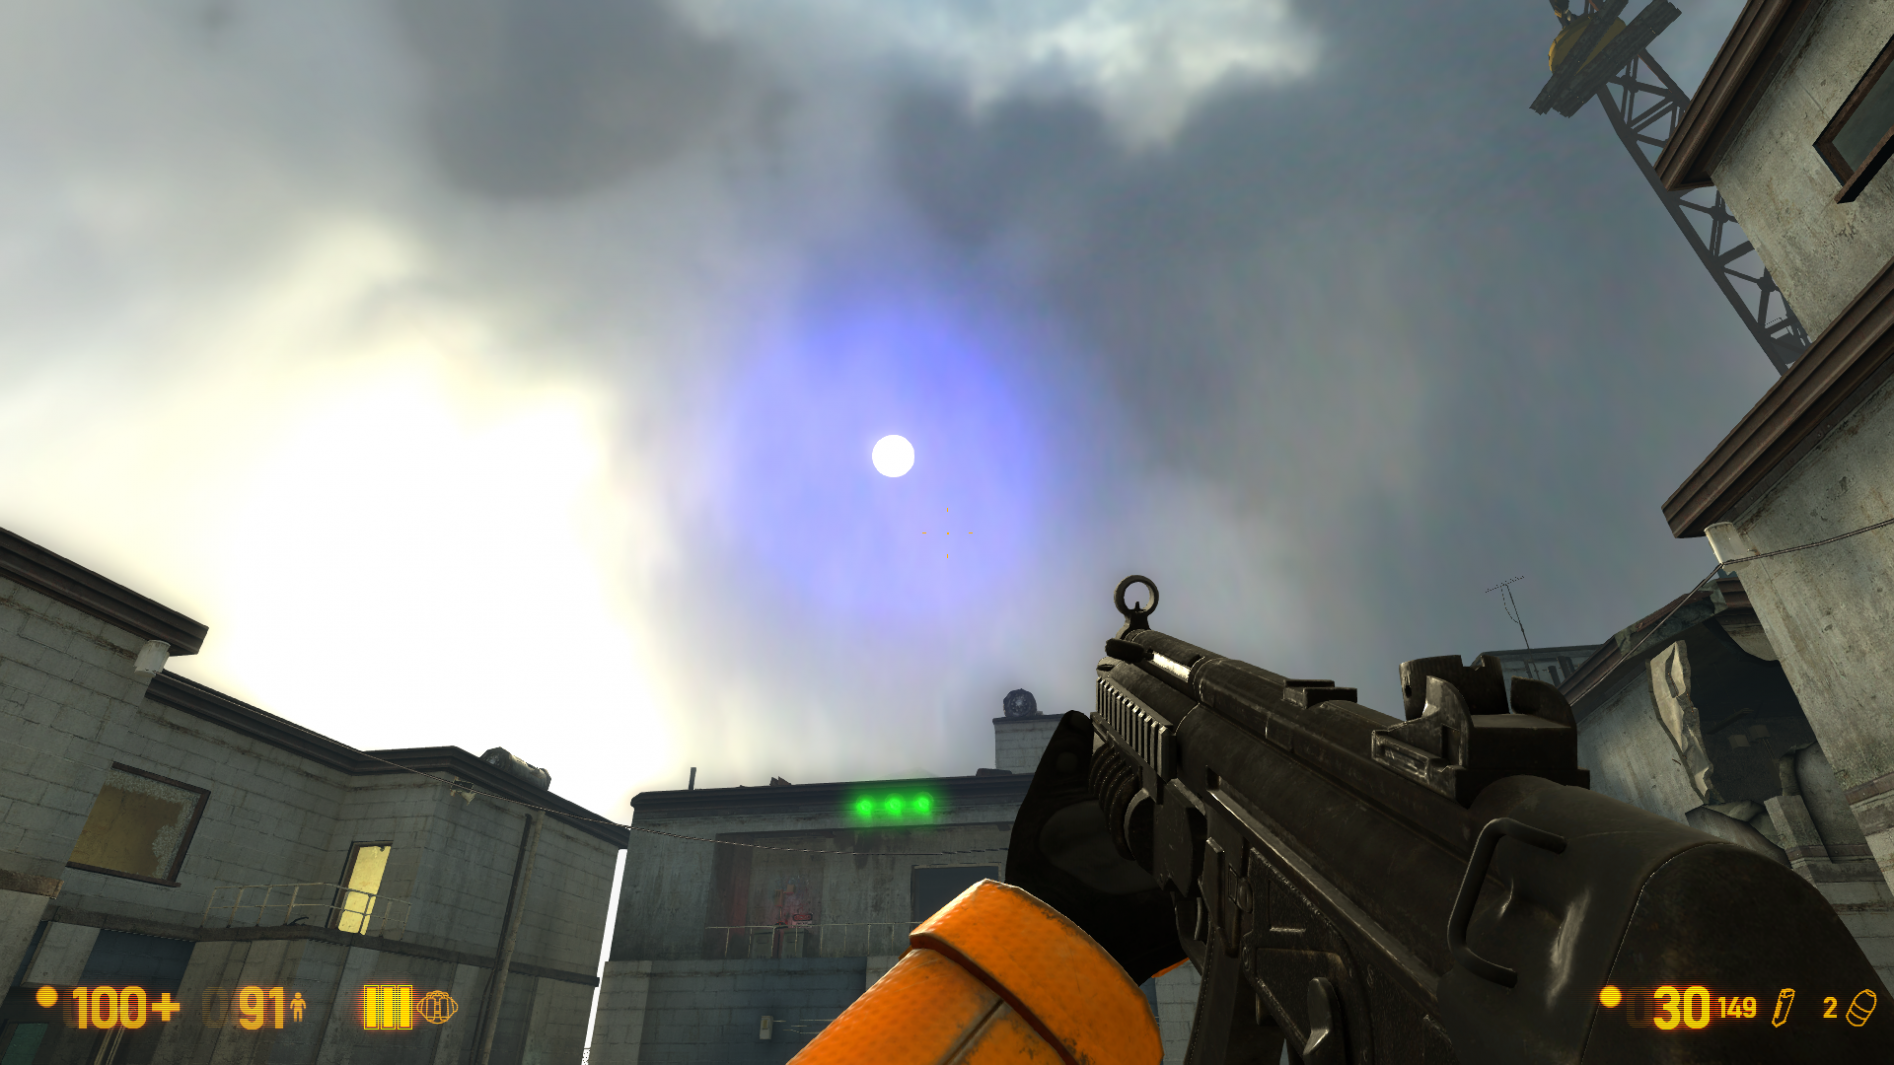
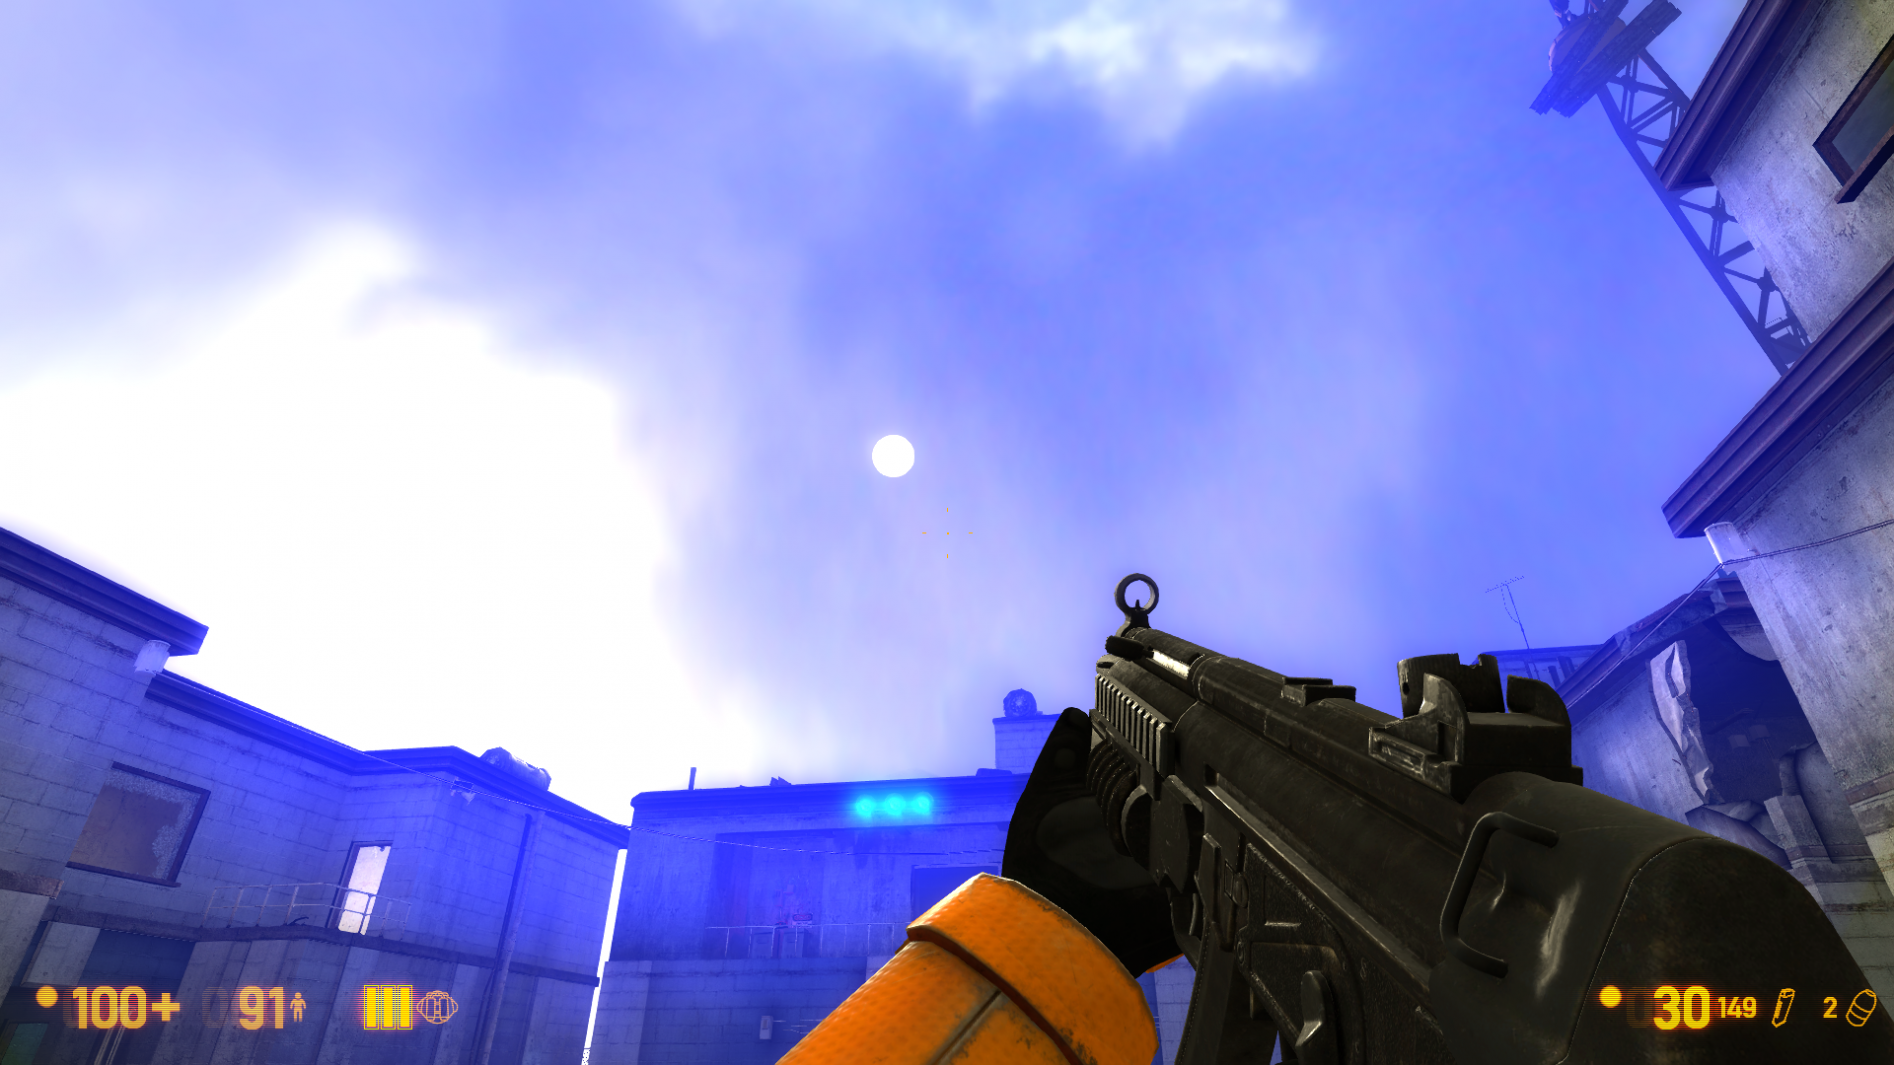
File:EXP1.png|Exposure - 1.00 | |||
File:EXP2.png|Exposure - 10.0 | |||
File:EXP3.png|Exposure - 0.10 | |||
</gallery> | |||
}} | }} | ||
{{KV|DistFactor|intn=DistFactor|float|DistFactor Controls the falloff of rays / length. 1.0f is a good starting value increase or decrease in the increments of 0.1. 0.0 will make the rays dissappear only disk will be rendererd.}} | {{KV|DistFactor|intn=DistFactor|float|DistFactor Controls the falloff of rays / length. 1.0f is a good starting value increase or decrease in the increments of 0.1. 0.0 will make the rays dissappear only disk will be rendererd.}} | ||
{{expand|title=Examples| | {{expand|title=Examples| | ||
<br> | |||
<gallery mode=packed heights=410px> | |||
File:DIST1.gif|DistFactor - 1.00 | |||
File:DIST2.gif|DistFactor - 10.0 | |||
File:DIST3.gif|DistFactor - 50.0 | |||
</gallery> | |||
}} | }} | ||
{{KV|DiskRadius|intn=DiskRadius|float|Radius of Disk/circle of sun in texturespace. 1.0 will be full screen 0.5 is half screen etc.}} | {{KV|DiskRadius|intn=DiskRadius|float|Radius of Disk/circle of sun in texturespace. 1.0 will be full screen 0.5 is half screen etc.}} | ||
{{expand|title=Examples| | {{expand|title=Examples| | ||
<br> | |||
<gallery mode=packed heights=710px> | |||
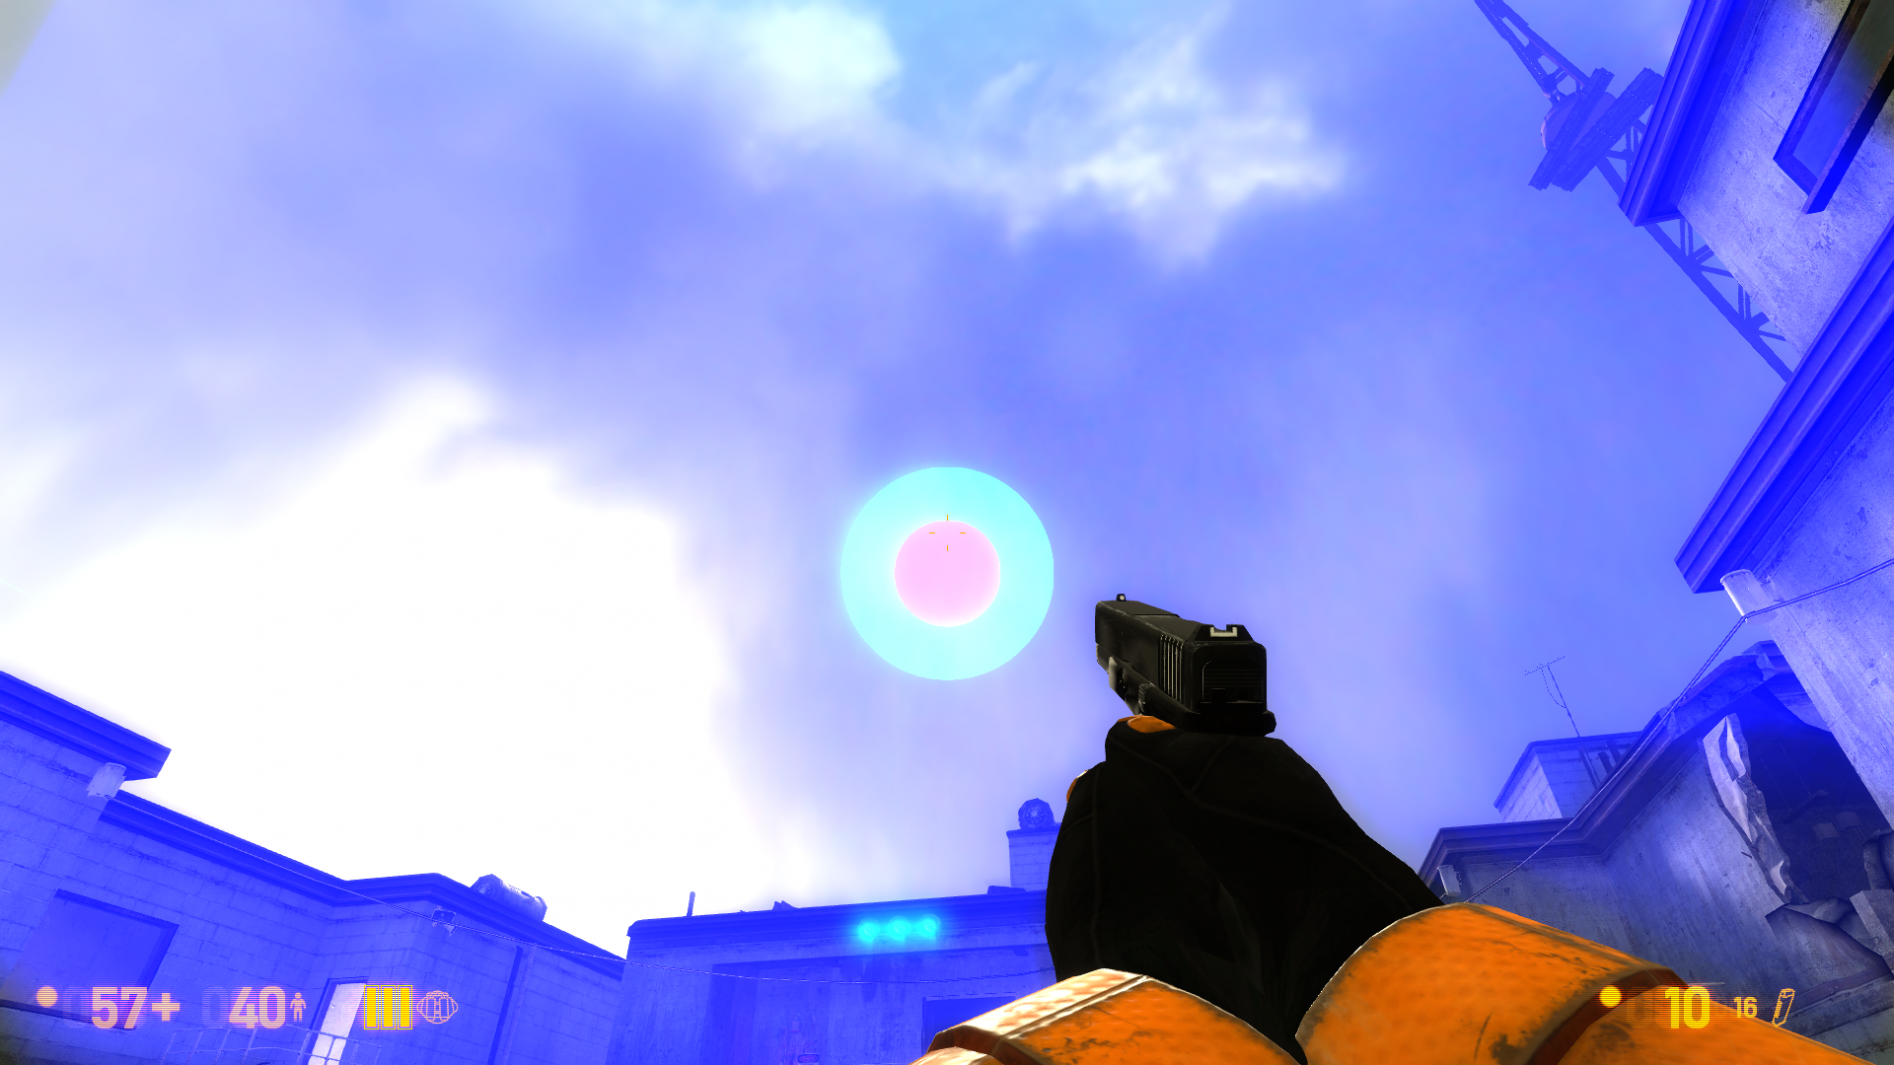
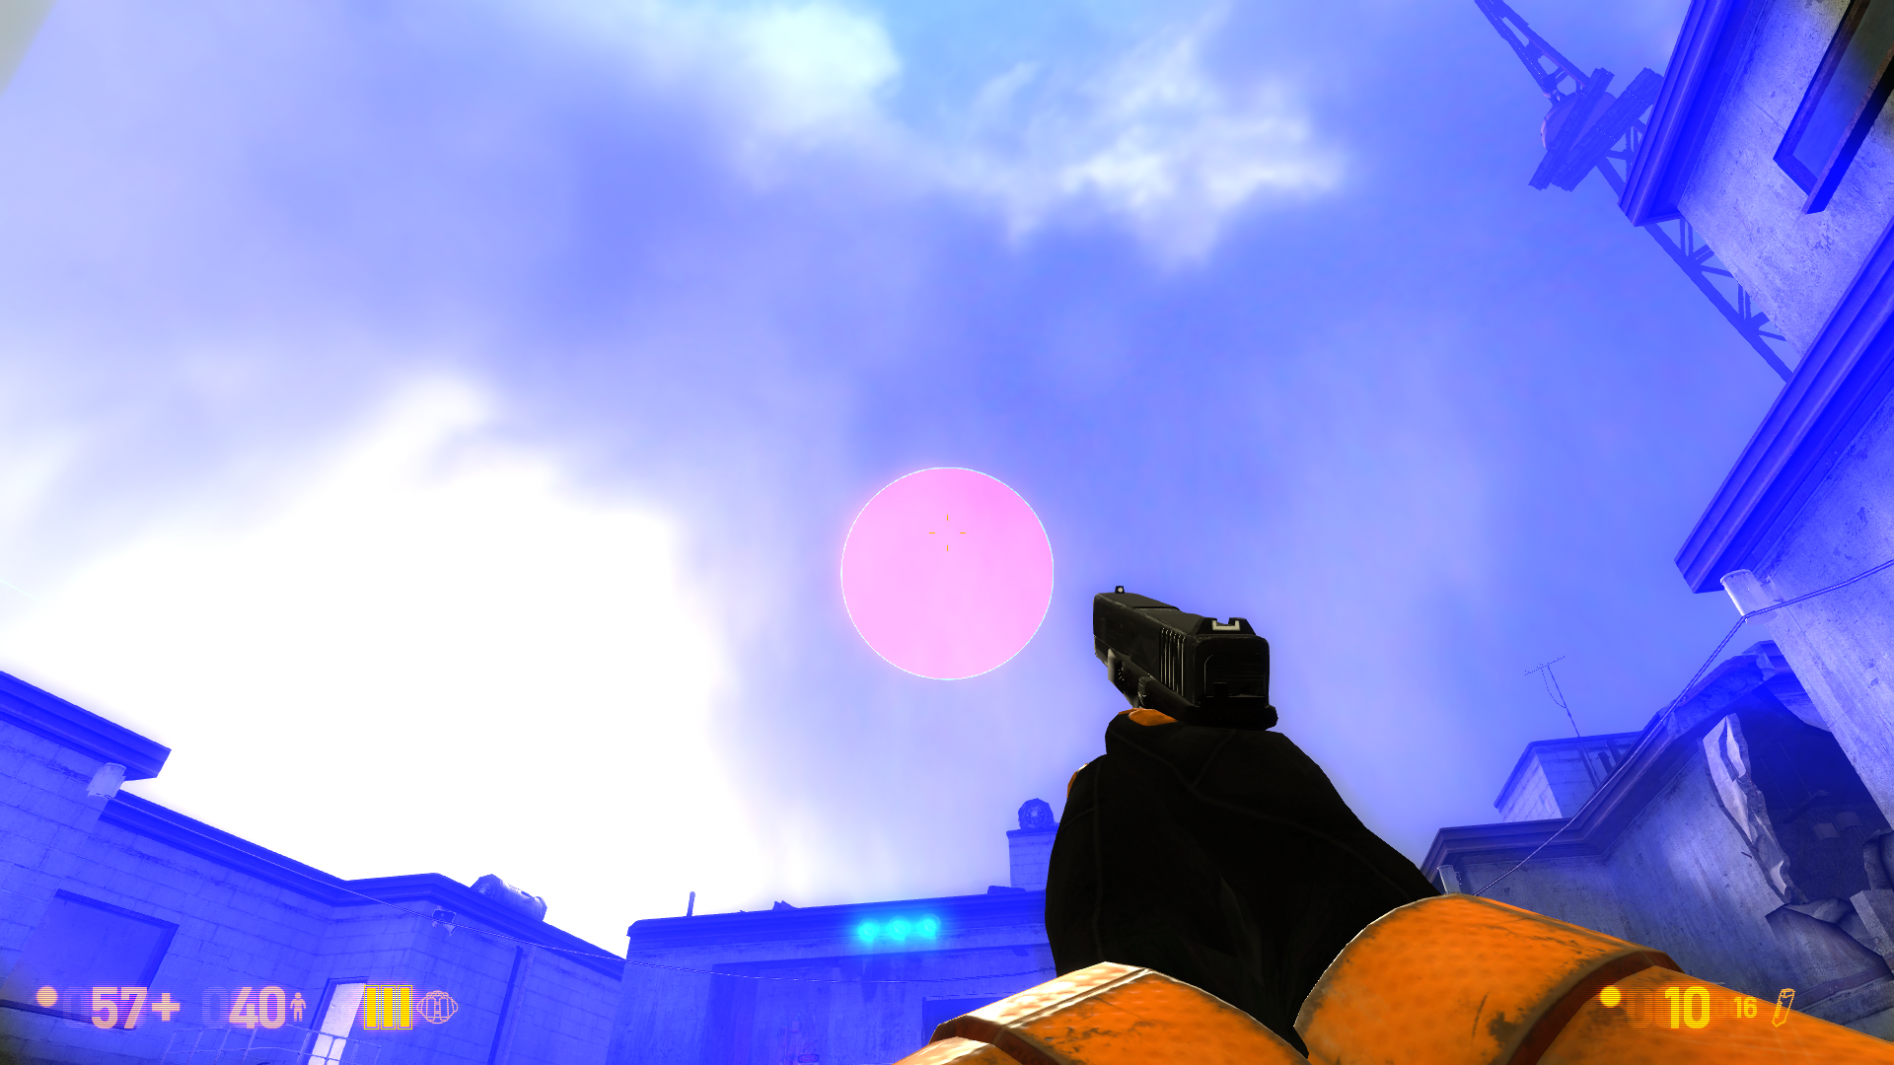
File:DISKR1.png|DiskRadius - 0.02 | |||
File:DISKR2.png|DiskRadius - 0.10 | |||
File:DISKR3.png|DiskRadius - 1.00 | |||
</gallery> | |||
}} | }} | ||
{{Note|With 0 - will not render.}} | {{Note|With 0 - will not render.}} | ||
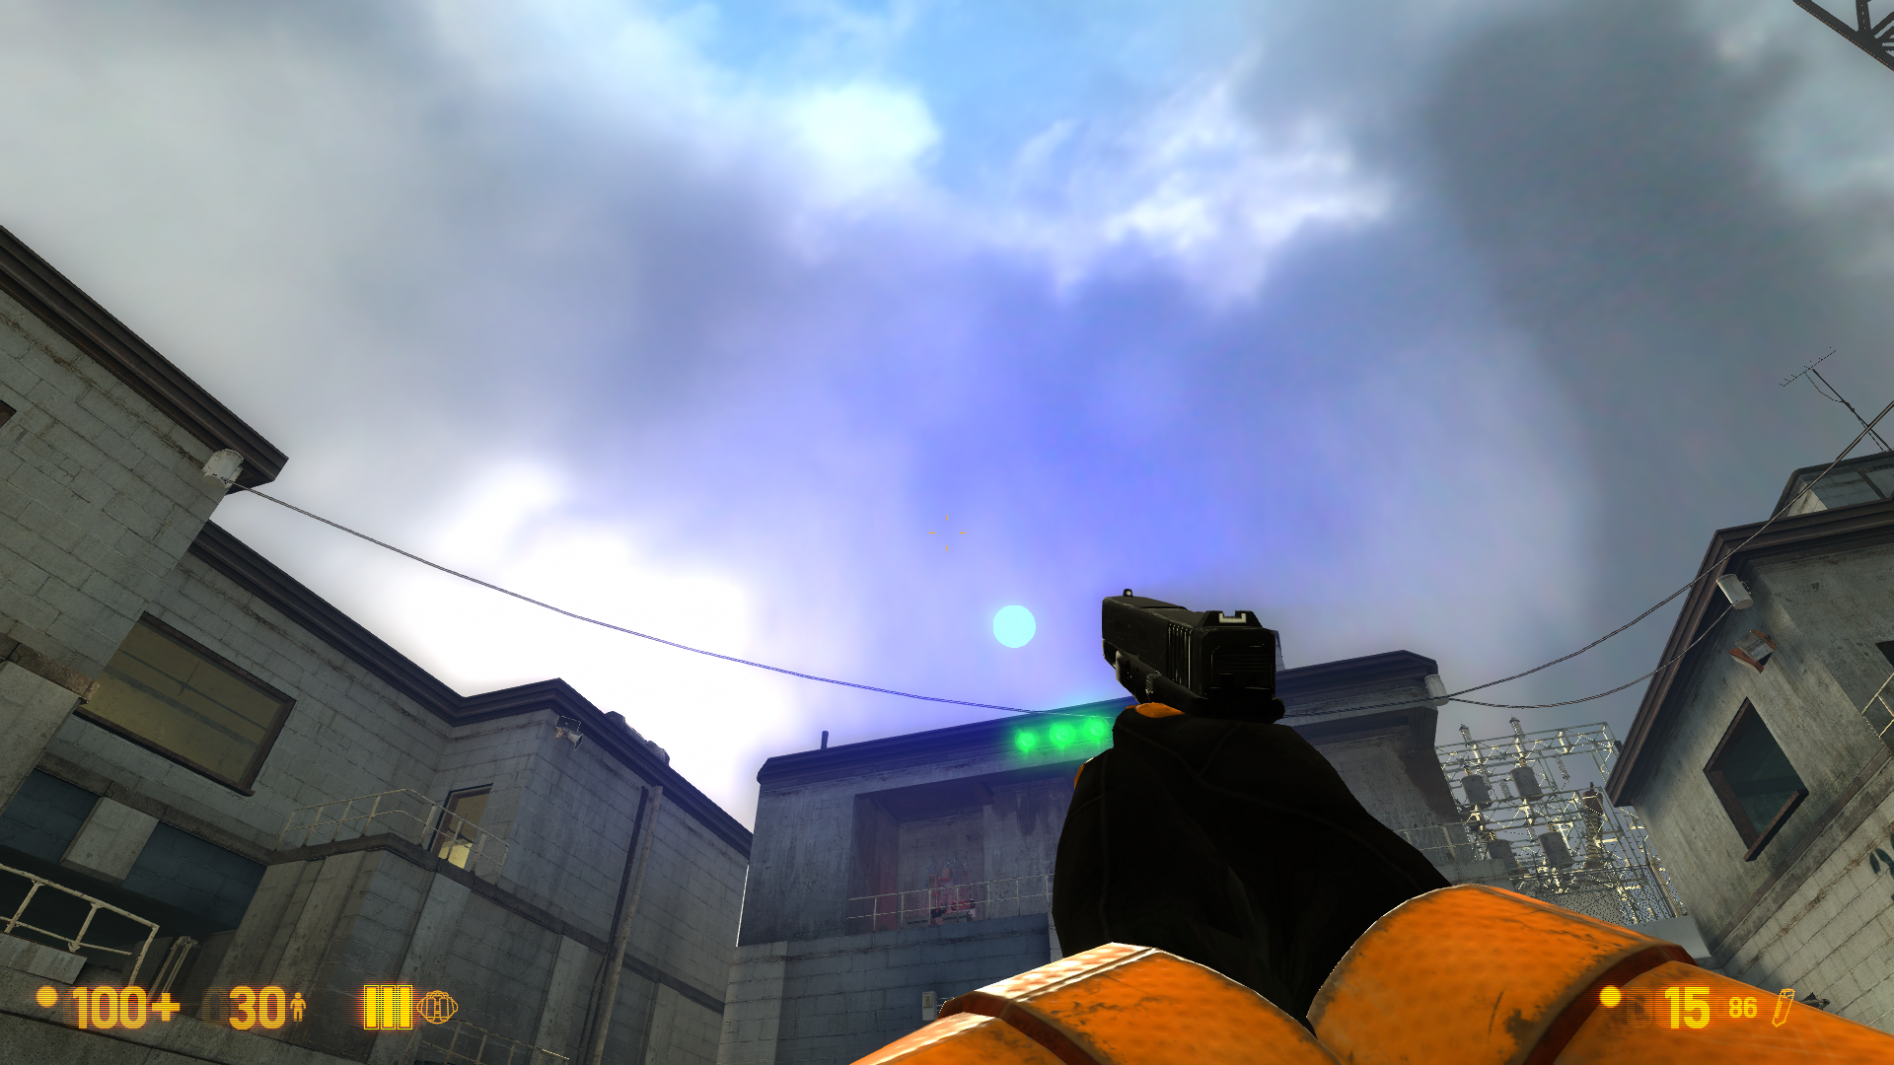
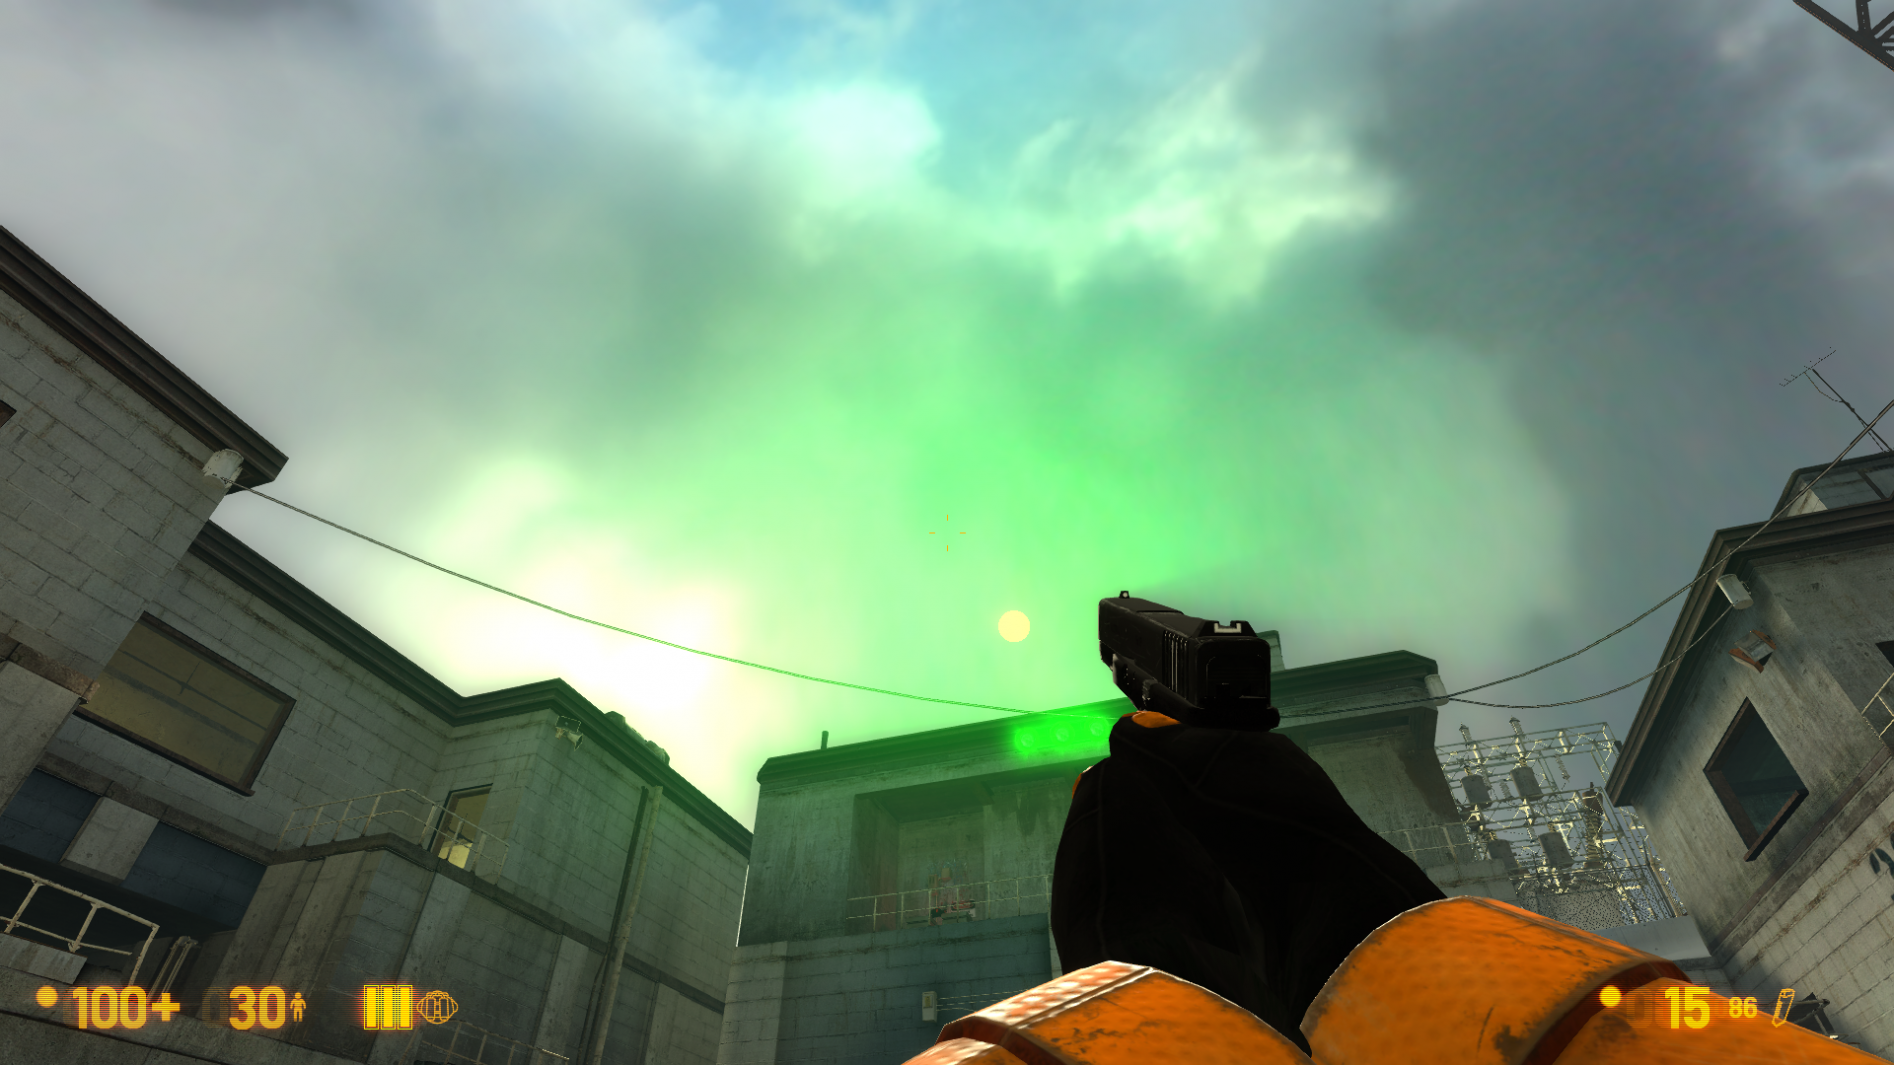
{{KV|ColorInner|intn=ColorInner|color255| This is the color of the inner circle.}} | {{KV|ColorInner|intn=ColorInner|color255| This is the color of the inner circle.}} | ||
{{expand|title=Examples| | {{expand|title=Examples| | ||
<br> | |||
<gallery mode=packed heights=710px> | |||
File:CRAYS1.png|255 0 0 255 | |||
File:CINN2.png|0 255 0 255 | |||
File:CINN3.png|0 0 255 255 | |||
</gallery> | |||
}} | }} | ||
{{Note|Unlike lighting - brightness of inner depends on fourth number which can be written here.}} | {{Note|Unlike lighting - brightness of inner depends on fourth number which can be written here.}} | ||
{{KV|ColorRays|intn=ColorRays|color255| This is the color of the rays.}} | {{KV|ColorRays|intn=ColorRays|color255| This is the color of the rays.}} | ||
{{expand|title=Examples| | {{expand|title=Examples| | ||
<br> | |||
<gallery mode=packed heights=710px> | |||
File:CRAYS1.png|0 0 255 120 | |||
File:CRAYS2.png|0 255 0 120 | |||
File:CRAYS3.png| 255 0 0 120 | |||
</gallery> | |||
}} | }} | ||
{{Note|Unlike lighting - brightness of rays depends on fourth number which can be written here.}} | {{Note|Unlike lighting - brightness of rays depends on fourth number which can be written here.}} | ||
{{KV|DiskInnerSizePercent|intn=DiskInnerSizePercent|float|Used only in Fancy Gaphics Mode. Disk inner circle radius [[=]] DiskRadius * DiskInnerSizePercent.}} | {{KV|DiskInnerSizePercent|intn=DiskInnerSizePercent|float|Used only in Fancy Gaphics Mode. Disk inner circle radius [[=]] DiskRadius * DiskInnerSizePercent.}} | ||
{{expand|title=Examples| | {{expand|title=Examples| | ||
<br> | |||
<gallery mode=packed heights=710px> | |||
File:DISKIR1.png|DiskInnerSizePercent - 0.75 | |||
File:DISKIR2.png|DiskInnerSizePercent - 0.50 | |||
File:DISKIR3.png|DiskInnerSizePercent - 0.99 | |||
</gallery> | |||
}} | }} | ||
{{Note|With 0 - will not render.}} | {{Note|With 0 - will not render.}} | ||
{{KV|ColorOuter|intn=ColorOuter|color255|Used only in Fancy Mode. This is the color of the outer circle.}} | {{KV|ColorOuter|intn=ColorOuter|color255|Used only in Fancy Mode. This is the color of the outer circle.}} | ||
{{expand|title=Examples| | {{expand|title=Examples| | ||
<br> | |||
<gallery mode=packed heights=710px> | |||
File:CRAYS1.png|0 255 0 255 | |||
File:COUT2.png|255 0 0 255 | |||
File:COUT3.png|0 0 255 255 | |||
</gallery> | |||
}} | }} | ||
{{Note|Unlike lighting - brightness of outer depends on fourth number which can be written here.}} | {{Note|Unlike lighting - brightness of outer depends on fourth number which can be written here.}} | ||
Revision as of 00:49, 8 October 2023
newLight_Dir is an e0 available in ![]() Black Mesa. It is one of the many new lighting entities available. Black Mesa incorporates a new lighting system which utilizes
Black Mesa. It is one of the many new lighting entities available. Black Mesa incorporates a new lighting system which utilizes ![]() Deferred lighting to create a hyper realistic interpretation of light. This entity draw in skybox post processing effect called GodRays, also include disk to imitate sun.
Deferred lighting to create a hyper realistic interpretation of light. This entity draw in skybox post processing effect called GodRays, also include disk to imitate sun.
Keyvalues
- Pitch Yaw Roll (Y Z X) (angles) <angle>
- This entity's orientation in the world. Pitch is rotation around the Y axis, yaw is the rotation around the Z axis, roll is the rotation around the X axis.
- LightEnvEnabled (LightEnvEnabled) <choices>
- Grab direction and color values from light_env ?
Determines is the entity use Light_environment direction or its own (just like env_sun).
- 0: Enabled : Fetch Angles from Light_Env
- 1: Disabled : Use Manual Angles
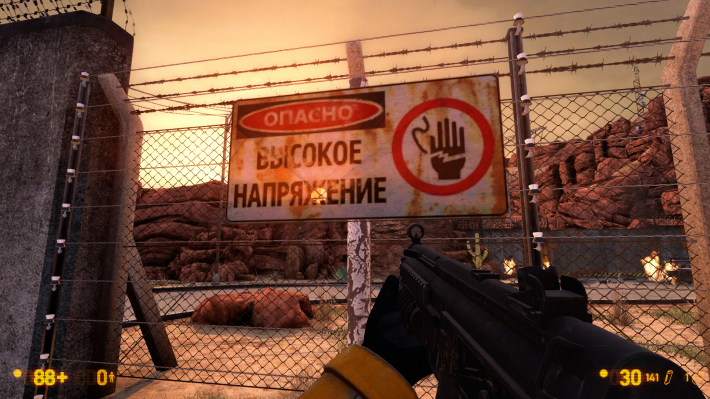
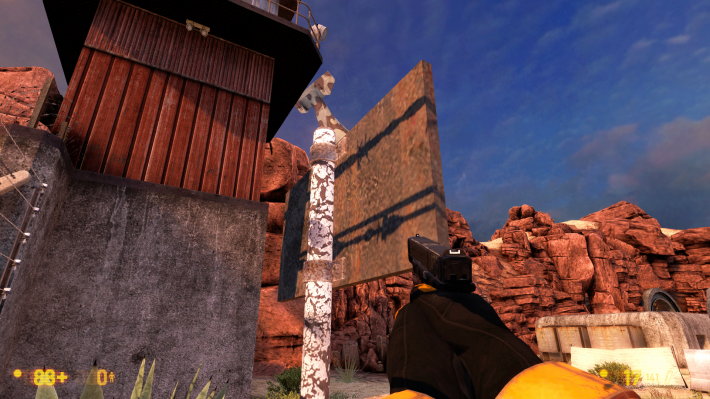
- PushbackDist (PushbackDist) <float>
- PushbackDist.
Determines distance from GodRays to player in skybox.
|
|
- EnableGodRays (EnableGodRays) <choices>
- Enable GodRays.
Determines whether godrays are enabled or not.
- 0: Disabled
- 1: Enabled
- Density (Density) <float>
- Density Controls the length of rays/volumetric shadows. 1.0 should work in 99% cases. Good values to start from: 0.5 to 1.5.
|
|
- Weight (Weight) <float>
- Weight Controls the intensity of volumetric shadow. Blocking of rays by geometry. Good values to start from: 0.1 - 10.0.
|
|
- Decay (Decay) <float>
- Decay NOT being used.
- Exposure (Exposure) <float>
- Exposure Controls the intensity of Rays during blending pass with main scene. 2.0 is a good start. Good values are 1.0 - 10.0.
|
|
- DistFactor (DistFactor) <float>
- DistFactor Controls the falloff of rays / length. 1.0f is a good starting value increase or decrease in the increments of 0.1. 0.0 will make the rays dissappear only disk will be rendererd.
|
|
- DiskRadius (DiskRadius) <float>
- Radius of Disk/circle of sun in texturespace. 1.0 will be full screen 0.5 is half screen etc.
|
|
- ColorInner (ColorInner) <color255>
- This is the color of the inner circle.
|
|
- ColorRays (ColorRays) <color255>
- This is the color of the rays.
|
|
- DiskInnerSizePercent (DiskInnerSizePercent) <float>
- Used only in Fancy Gaphics Mode. Disk inner circle radius = DiskRadius * DiskInnerSizePercent.
|
|
- ColorOuter (ColorOuter) <color255>
- Used only in Fancy Mode. This is the color of the outer circle.
|
|
- UseToneMapDisk (m_bUseToneMapDisk) <choices>
- 0: Enabled
- 1: Disabled
Inputs
- TurnOnGodRays
- Turn the Godrays on.
- TurnOffGodRays
- Turn the Godrays off.
Outputs
Issues
Incorrect work with $translucent
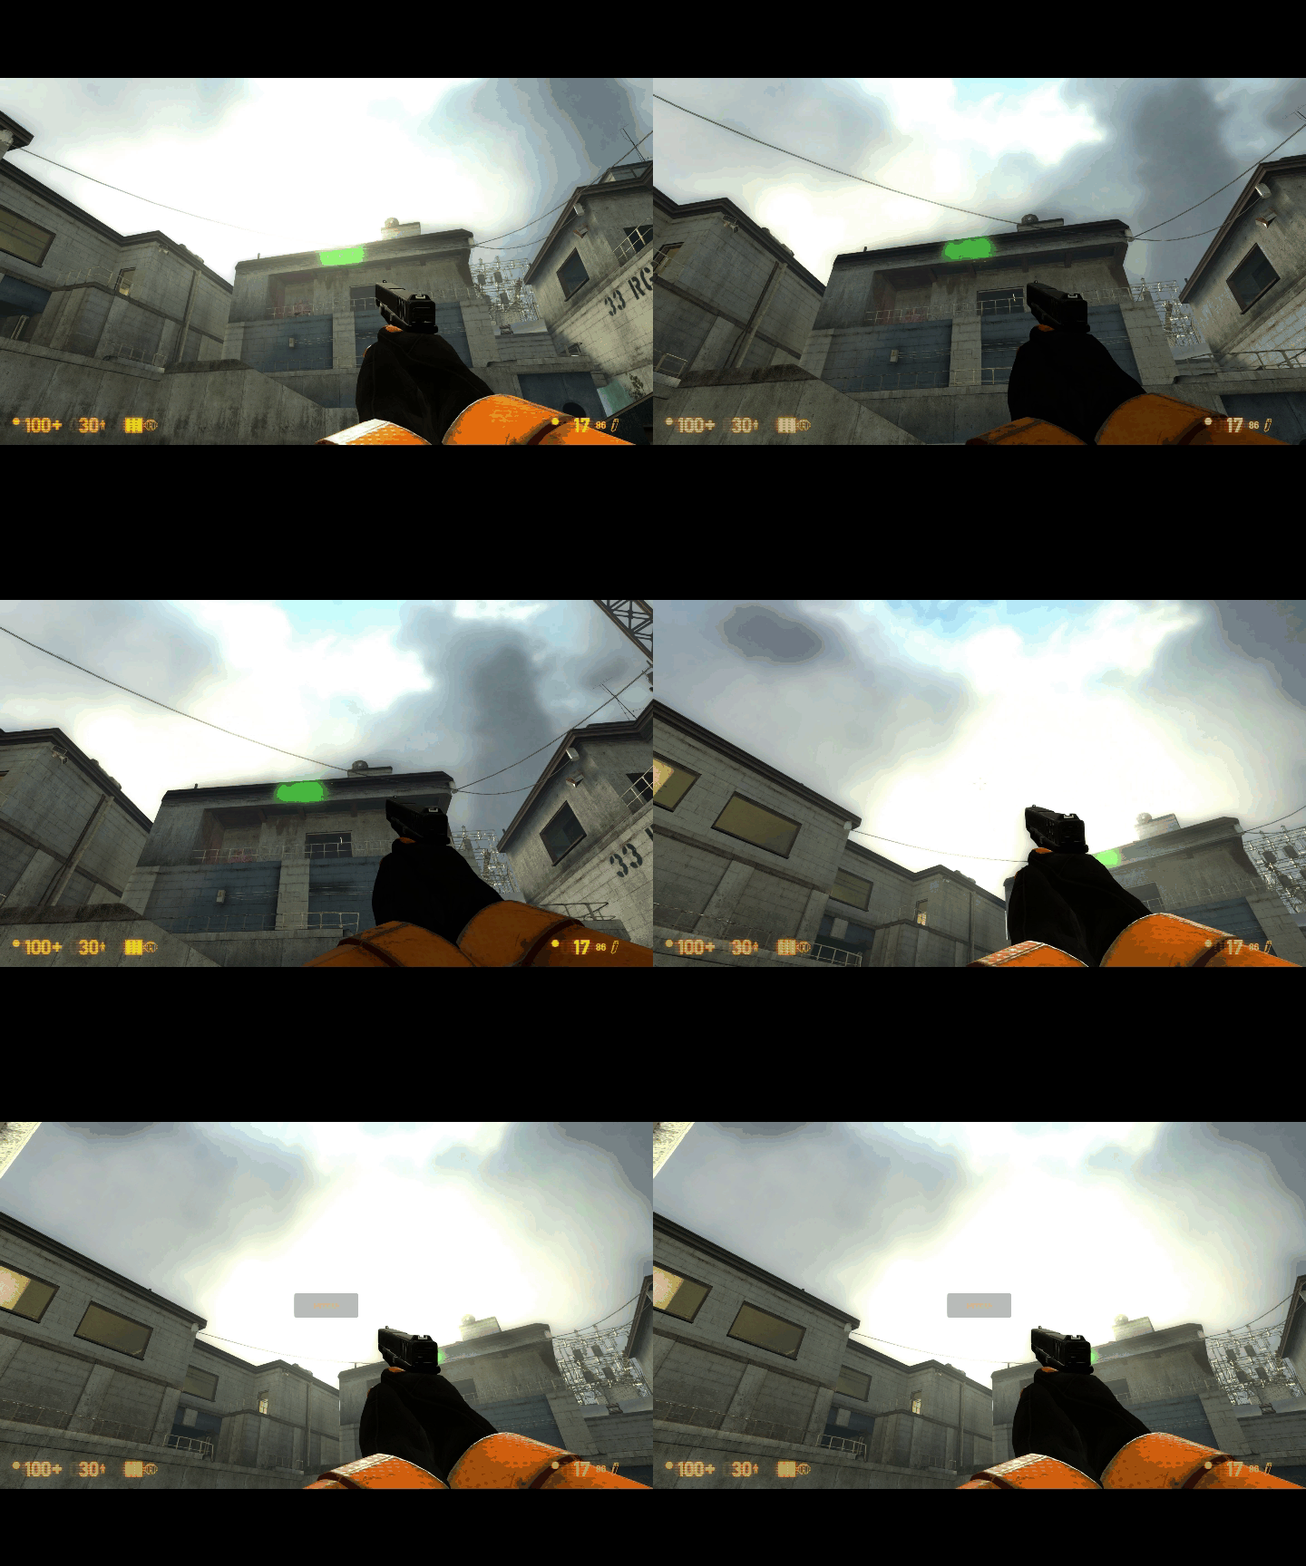
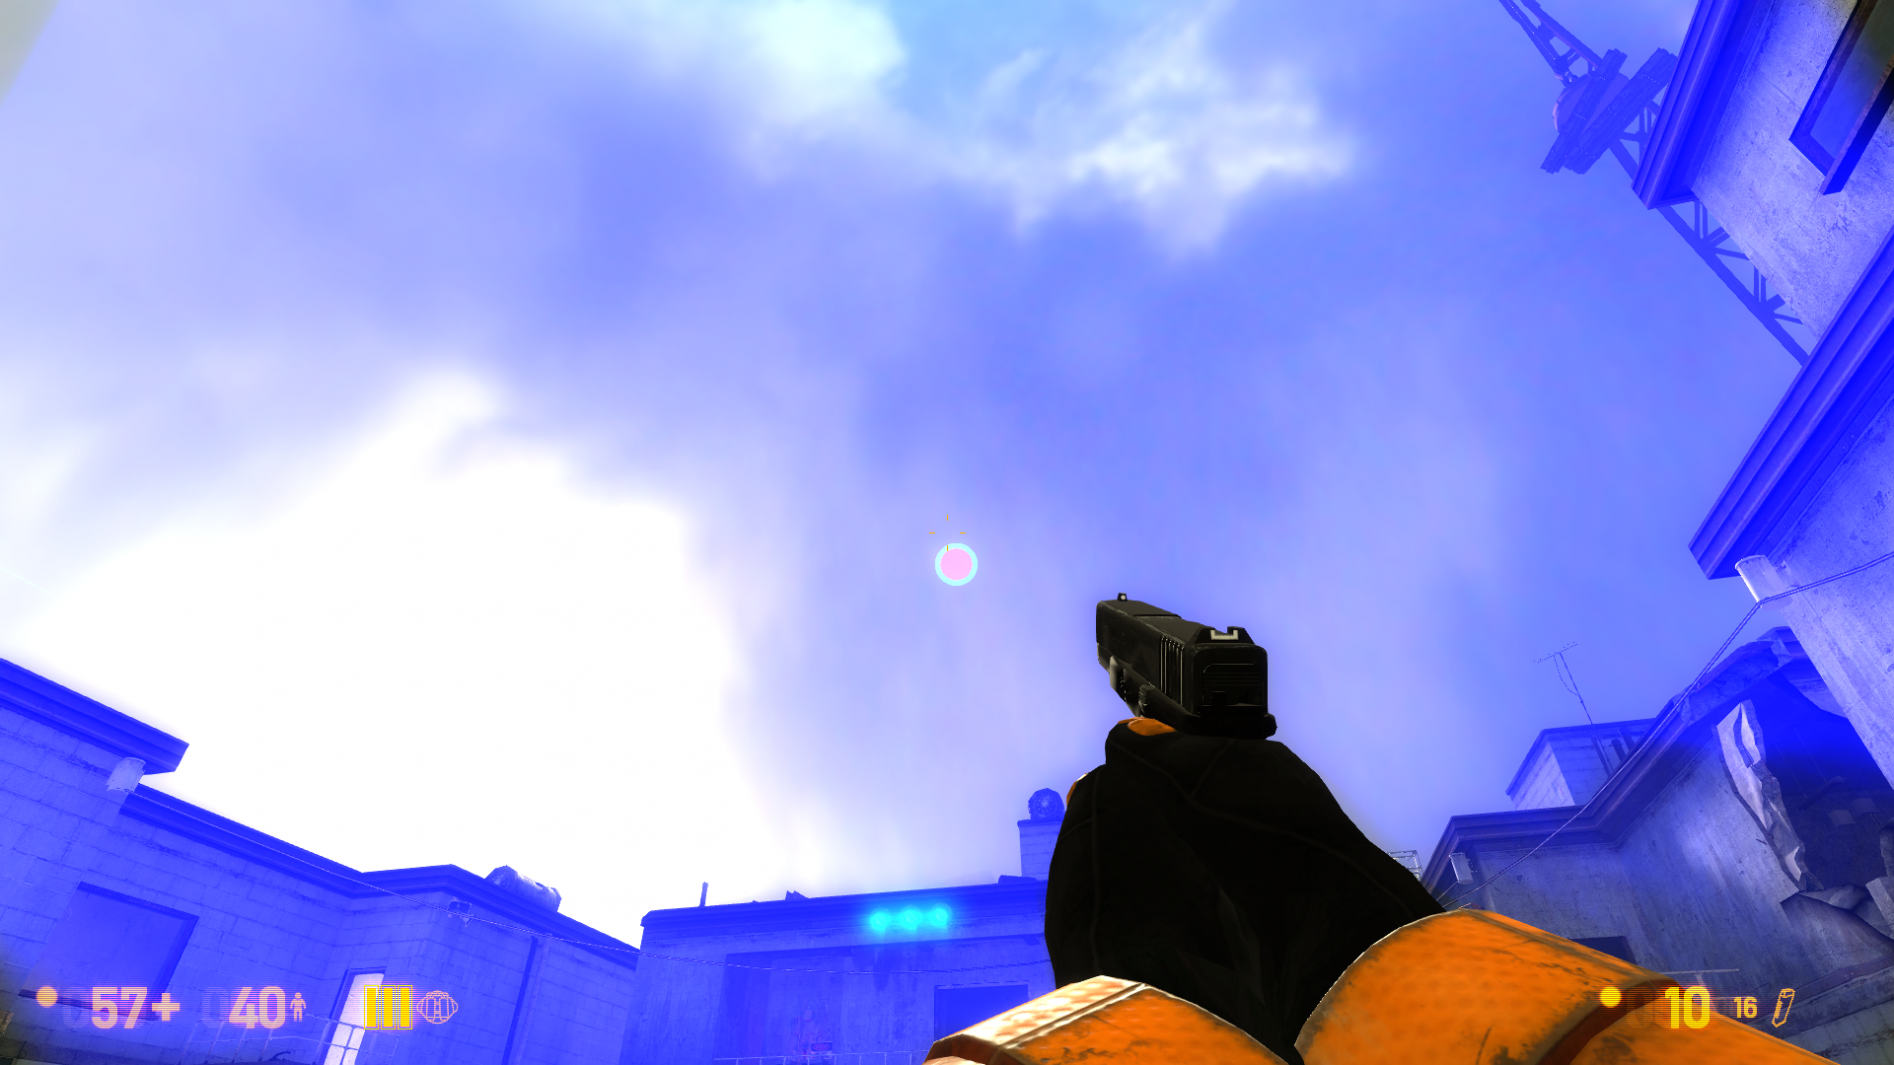
Godrays (also disk) all time fully rendering through textures with material shader parameter $translucent, because of this you will see unexpected results like in the picture. Disable Godrays when you need or use $alphatest if it'll give resualts similar to $translucent. You also can try use some other tricks to escape this problem.
Godrays incorrect work with point_viewcontrol
Godrays change position in sky when player move, this affects to what show point_viewcontrol when it's enabled. If you want to see in your background level Godrays - place player on needed position. If your point_viewcontrol moves - attach player to it.
File:PointViewControlFlareBug.gif Showcase of problem in background level of Black Mesa: Black Ops - Restored |
See Also
- newLight_Point
- env_lensflare
- light_environment
- env_cascade_light
- Advanced Lighting
- Effect flags (dynamic light effects)
- BlackMesa XenEngine: Part 4 – Lighting & Shadows (page from Black Mesa developer about new lights)
