Half-Life: Alyx Workshop Tools/Modeling/Physics Prop
This tutorial demonstrates how to construct a basic physics prop. A physics prop is an object which has a physical representation and can be interacted with in game.
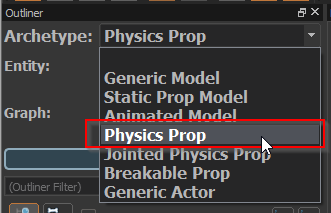
Select the Physics Prop archetype
From the Document Outliner archetype dropdown, select the Physics Prop .
While not required, selecting the Physics Prop type will provide warnings if the model is missing required nodes, such as the prop_data (see below).
Create the render mesh
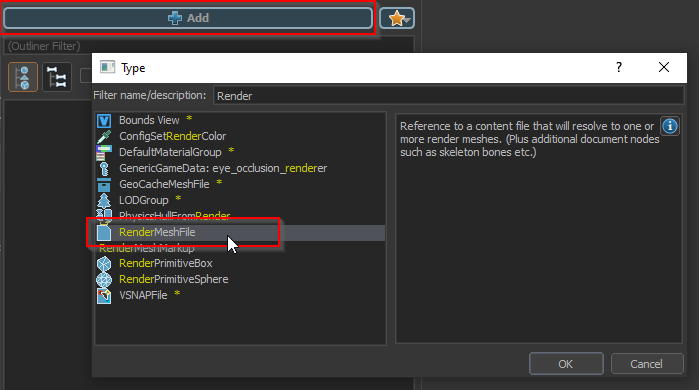
Click the Add node button, and select the 'RenderMeshFile' node.
When prompted select your input mesh file to be used.
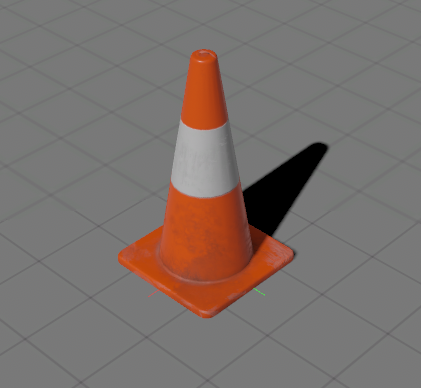
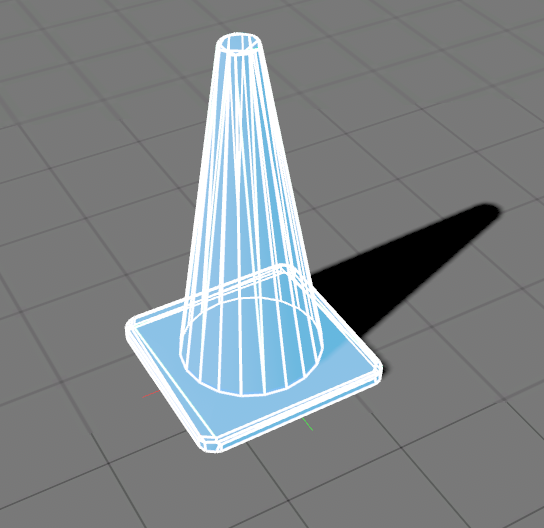
Your mesh should now be visible in the viewport. For this example we are using a simple cone model:
Disable extra meshes in the input file
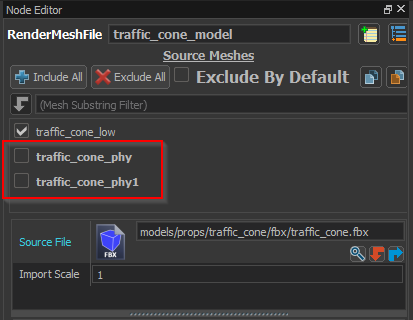
In this example, we are using the same mesh file for both physics and rendering, but it has separate mesh objects within the input .fbx file that are intended for physics only, so we want to disable those for the render mesh.
With the RenderMeshFileNode selected, use the Node Editor to un-check any meshes that should not be part of rendering model.
Add a physics shape
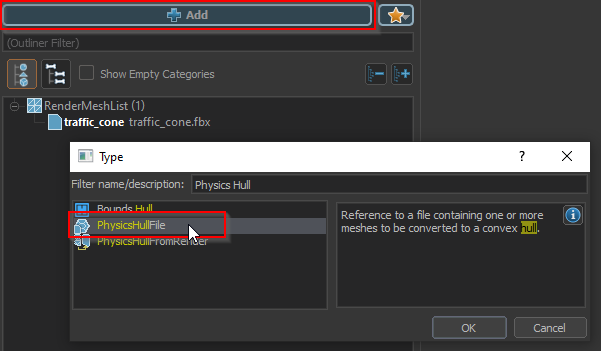
Click the Add node button again this time selecting 'Physics Hull File'.
This can be the same mesh file as your render mesh, but for complex meshes it may be necessary to first generate a simplified mesh to use for the physics representation.
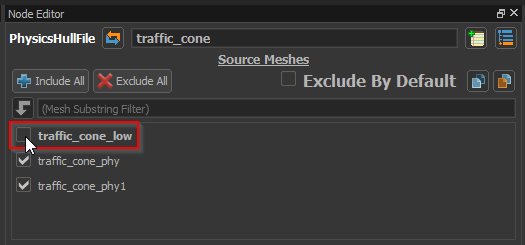
In this example, as shown when creating the render mesh, we have meshes for both physics and rendering in the same .fbx file, so we will disable the meshes intended only for rendering.
With the PhysicsHullFile node selected, use Node Editor and un-check any meshes which should not contribute to the physics shape..
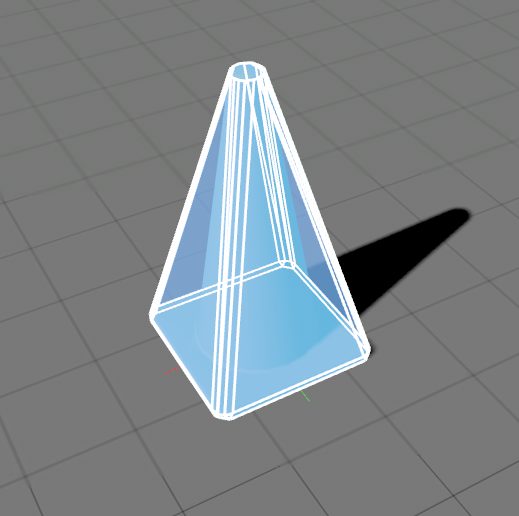
The PhysicsHullFile node will generate a convex hull surrounding the enabled meshes. While it is selected you can see a preview of the hull.
Adjust the hull parameters to get a better fit
The PhysicsHullFile node has several options an parameters that can be used to control exactly how it generates a hull from the input mesh.
In this case we can get a closer fit by generating multiple hulls, instead of a single hull.
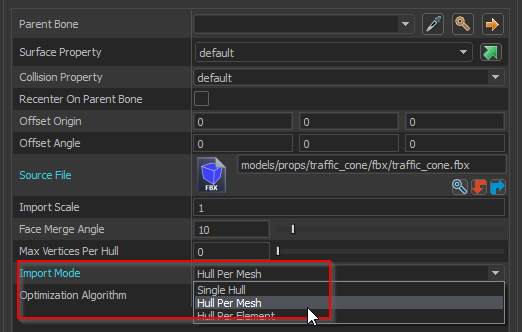
Change the Import Mode to Hull Per Mesh.
Selecting the Hull Per Mesh causes a separate hull to be generated for each of the enabled meshes in the PhysicsHullFile's mesh list.
Since these meshes were specifically constructed for the physics shape, this now results in a much better fit:
However, these hulls are more complex than ideal, and the model could cause both performance and stability problems with the physics simulation.
Note that the number of vertices used by the hulls is currently highlighted in red because the hulls currently have too many vertices.
Simplify the hull
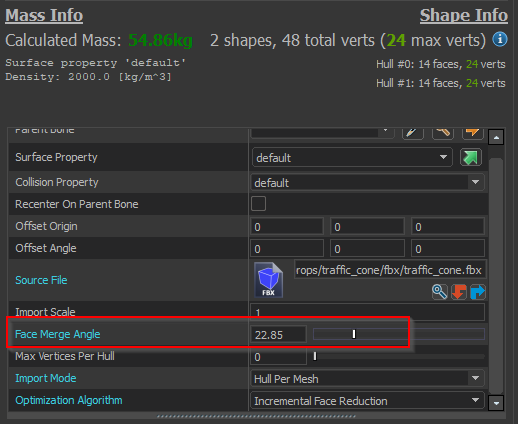
Increase the Face Merge Angle to simplify the hull.
The face merge angle is used to determine when two faces should be merged into a single face, if the angle between the two faces is greater than the merge angle then the faces will not be merged. Increasing it allows more faces to be merged, resulting in a simpler hull.
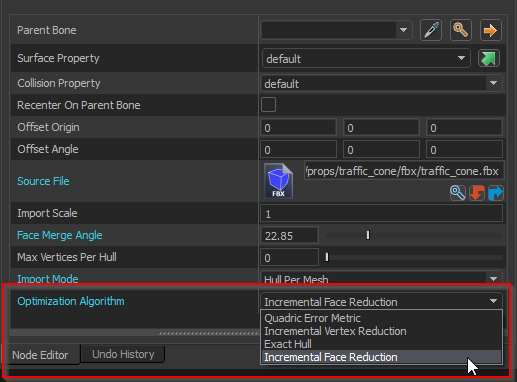
Change the Optimization Algorithm to Incremental Face Reduction.
There are several different options for the Optimization Algorithm which one is best will vary based on the geometry of the model, try switching between them to see which one gives the best results.
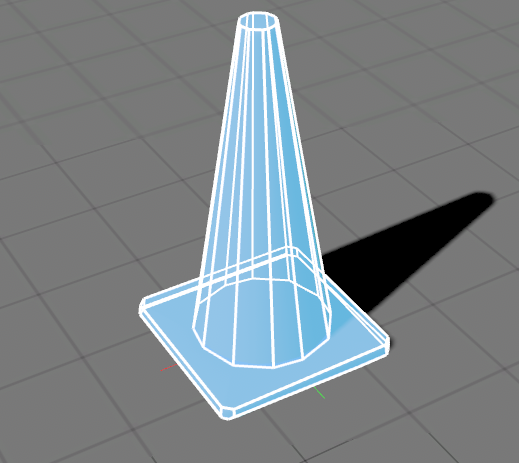
At this point the hull now is simple enough while still closely matching the rendering mesh.
Add Prop Data
All physics props must have a prop_data node. Models without prop_data cannot be used with the prop_physics entity.
This node provides the game with information about how damage should be applied to the prop.
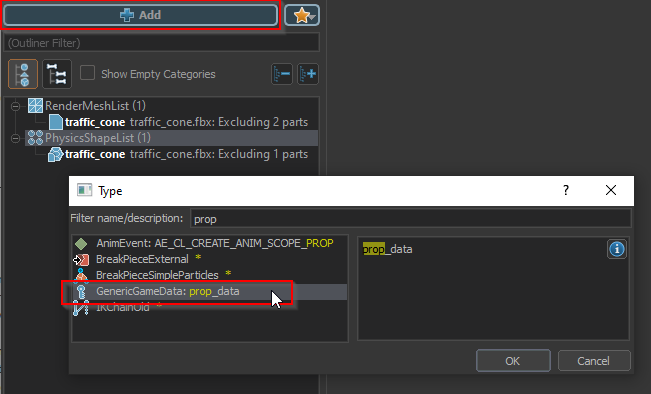
Click the Add node button and select GenericGameData: prop_data from the list.
Compile the model
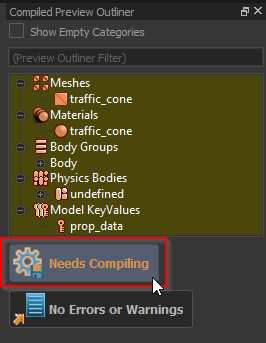
Click the 'Needs Compiling' button at the bottom of the Preview Outliner to save and compile the model.
Test the model
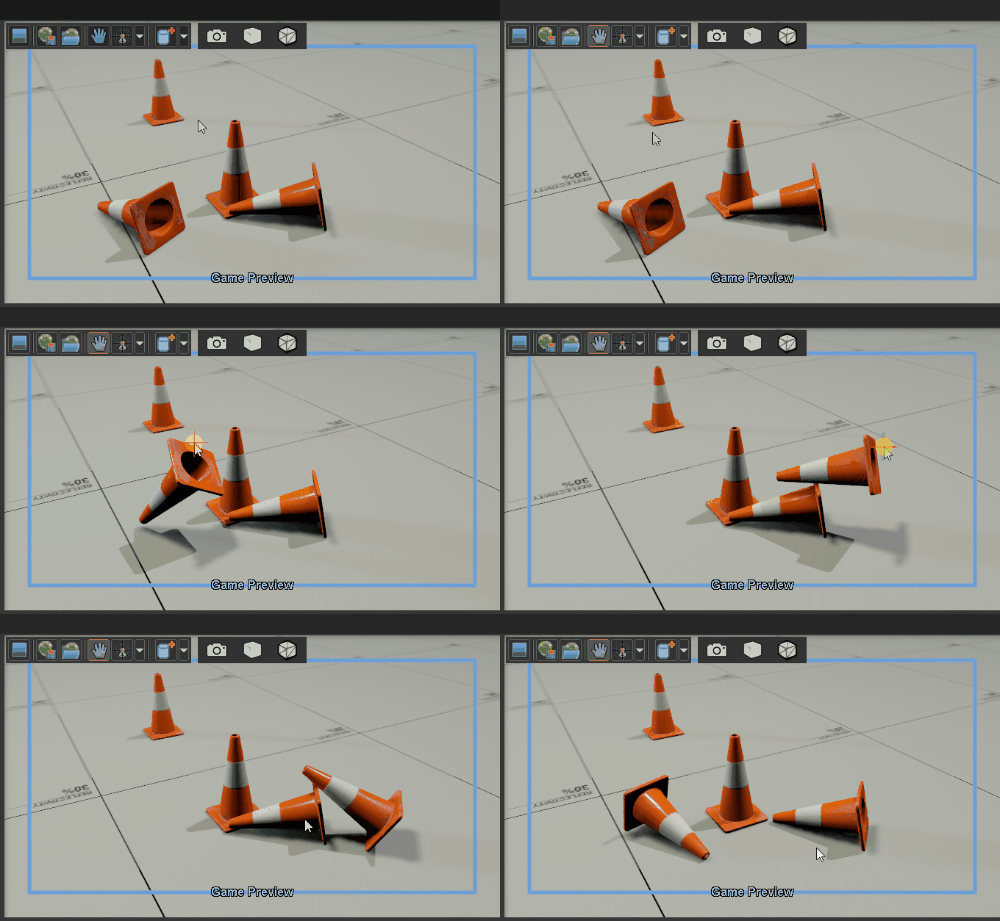
You can quickly test the in-game functionality of the model using the ModelDoc Editor's Game Preview mode
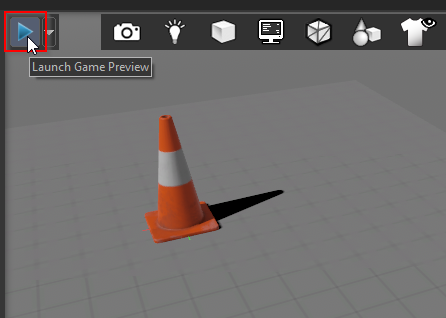
Click the play button in the upper left corner of the 3D viewport to start the Game Preview mode.
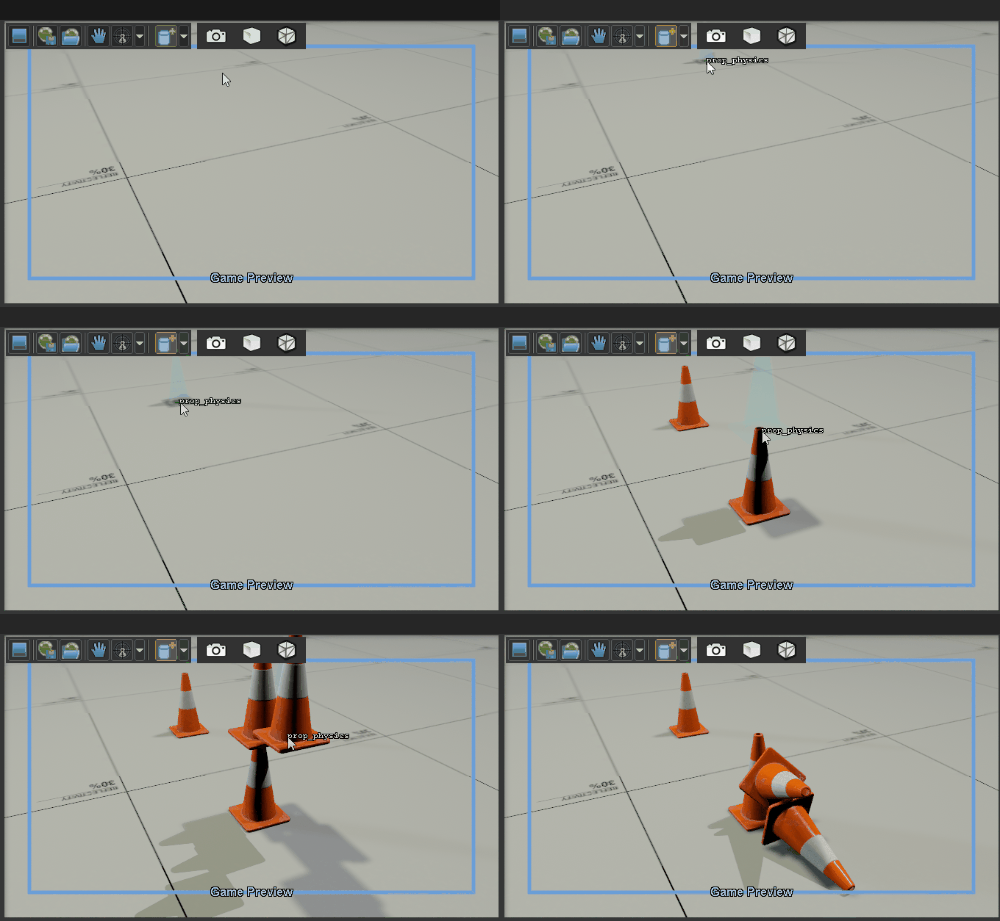
Select the prop_physics entity class, then select the Spawn entity tool and click in the viewport to place instances of the model. .
Use the Grab tool to move existing instances of the model .
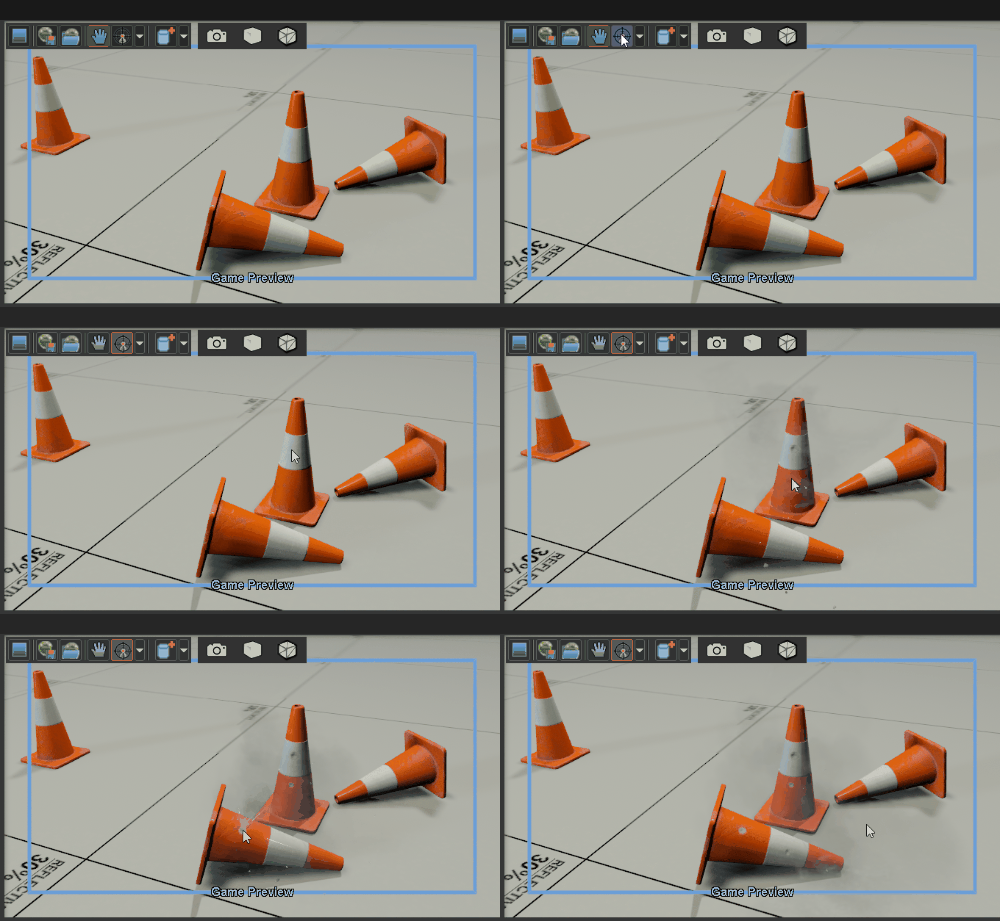
Use the Shoot tool to test how the model will react when being shot.
Note that the impact effect doesn't really match the model. This can be corrected by changing the surface property of the model
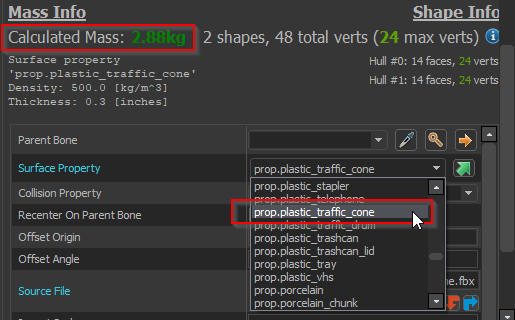
Change the Surface Property of the model
With the PhysicsHullFile selected, find the Surface Property attribute in the Node Editor and select a type which is appropriate for your model.
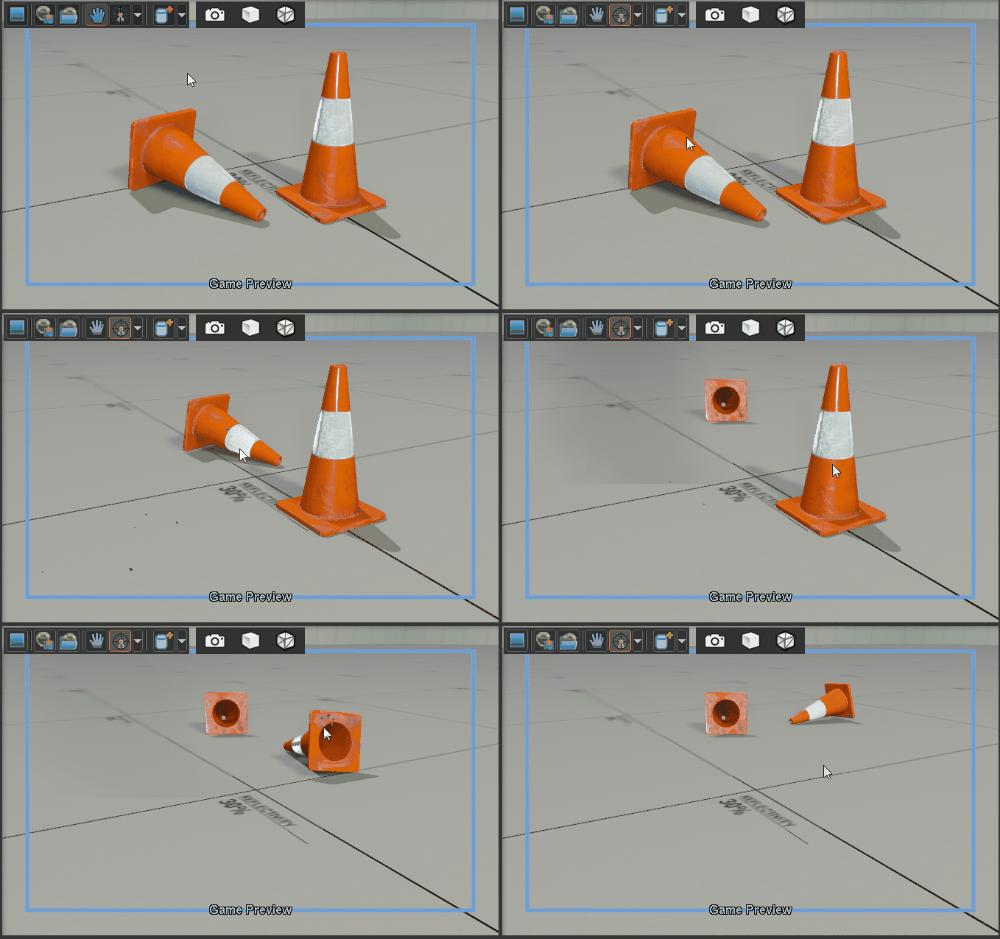
Recompile the model. You should now see a more appropriate impact effect when shooting the model.
You now have a functional model that can be placed as a prop_physics entity and can be interacted with using the physics system in game.
