Half-Life: Alyx Workshop Tools/Modeling/Material Groups
This tutorial demonstrates creating a simple model and then adding two material groups. In many locations material groups are referred to as Skins.
Add a render mesh to the model
For this example we are going to create 3 boxes. However, this can easily be substituted with one or more 'RenderMeshFile' nodes which reference externally authored meshes.
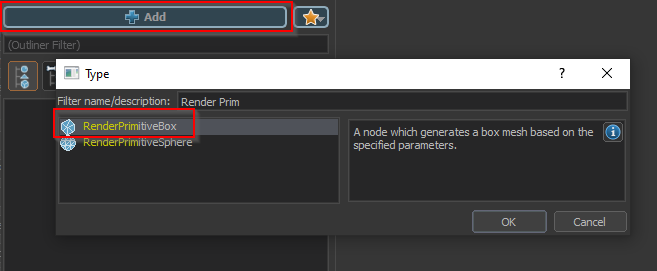
Click the Add node button and select the 'RenderPrimitiveBox' node type.
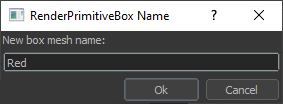
Name this box 'Red'.
When prompted for a bone, simply select 'none'.
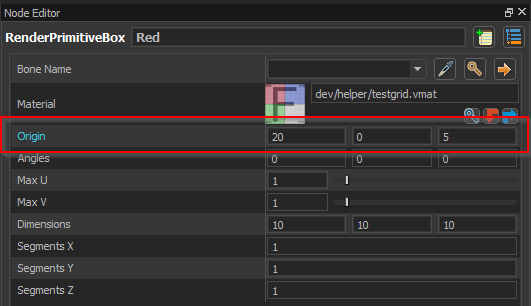
Set the Origin of the box to < 20, 0, 5 > using the Node Editor.
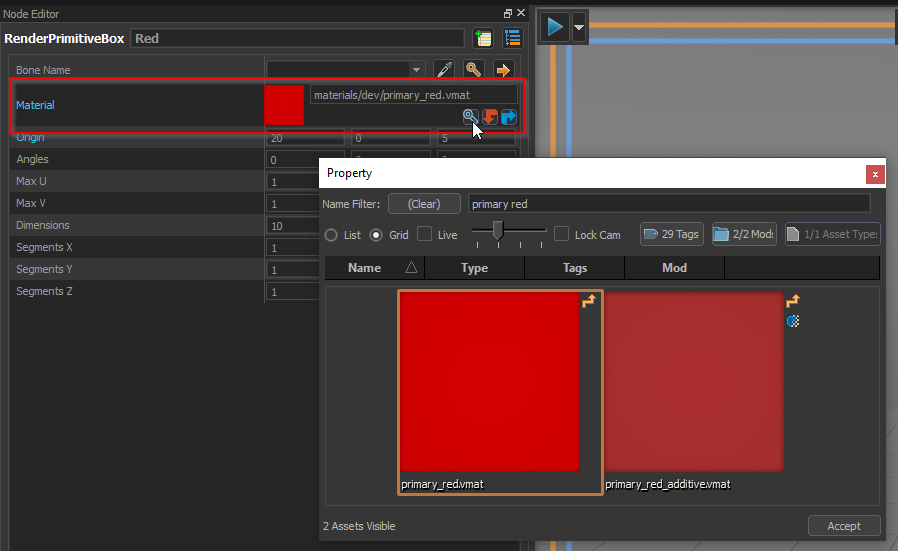
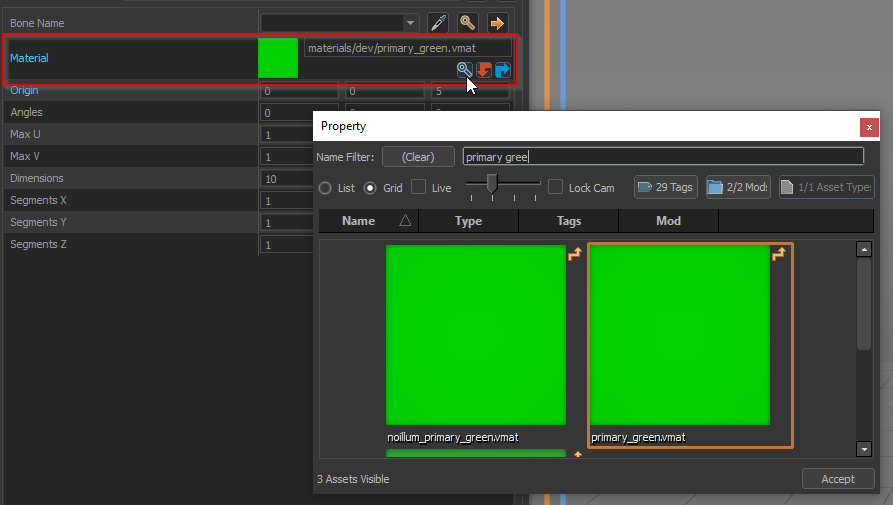
Change the material of the box to 'primary_red' by clicking on the Browse (magnifying glass) button under the Material property of the box in the Node Editor
This will open an asset browser, type 'primary red' in the Name Filter, then select the 'primary_red.vmat' and click the Accept button
We now have a single render mesh using a single material. Next we will add two more boxes using two different materials, as this will help better illustrate the material group functionality.
Add additional render meshes using different materials
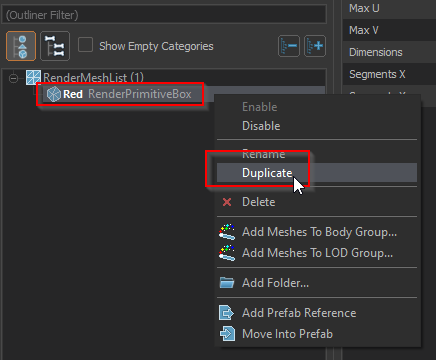
Create a copy of the 'Red' mesh by right clicking on it and selecting Duplicate.
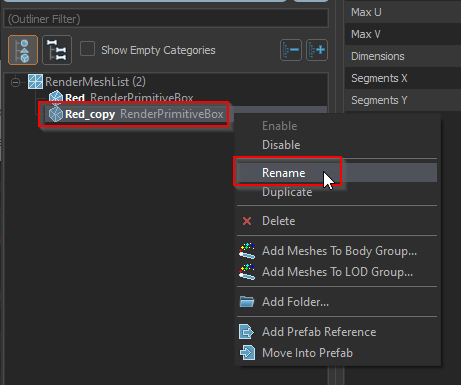
Rename the new mesh to 'Green' by right clicking on it and selecting Rename.
Change the material of this box to be 'primary_green' by again using Browse button under the Material property in the Node Editor.
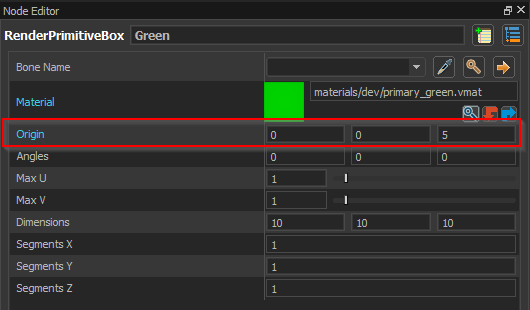
Using the Node Editor, set the Origin of this box to < 0, 0, 5 >.
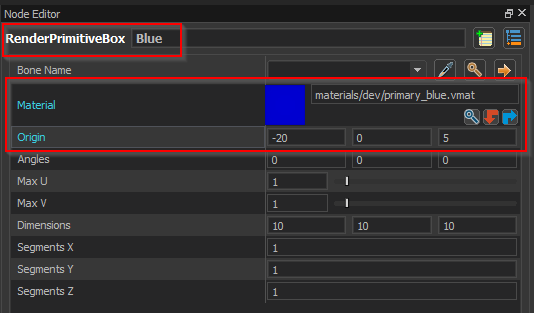
Repeat the above steps to create a new box, this time name the box 'Blue', assign it the 'primary_blue' material, and set its origin to < -20, 0, 5 >.
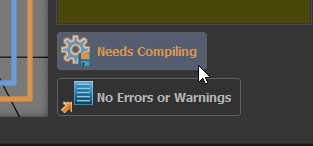
Click the 'needs compiling' to save and compile your model.
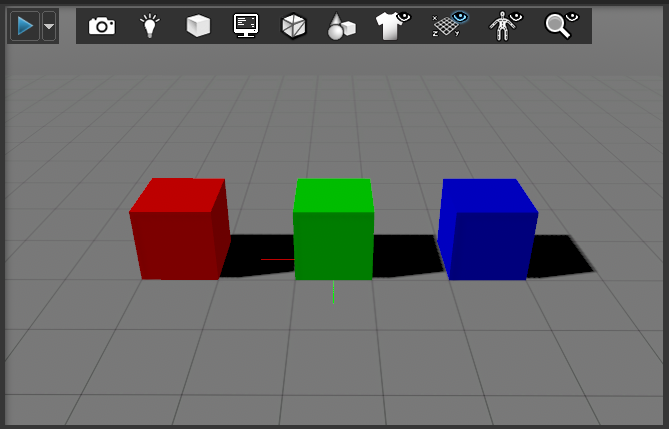
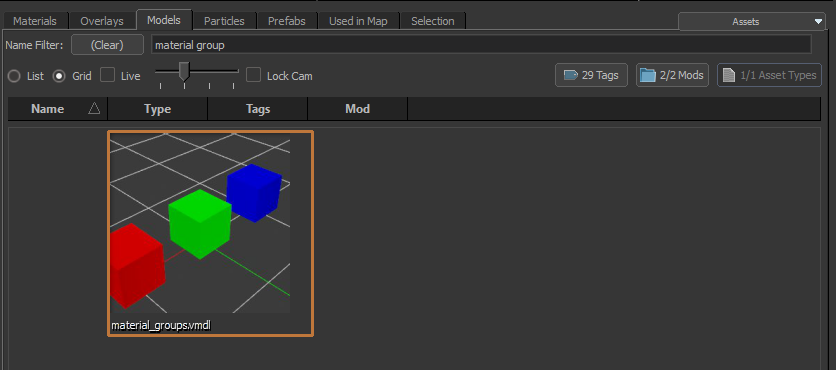
You should now a have a model with a red, green and blue box:
Create a material group
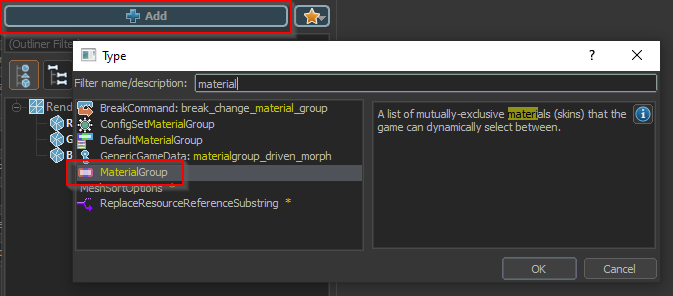
Click the Add node button and select the 'MaterialGroup' node type.
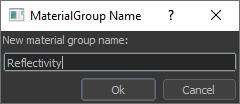
Name this material group 'Reflectivity'.
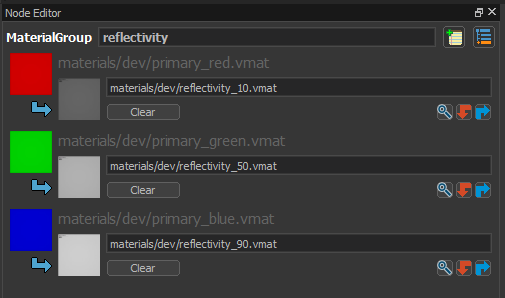
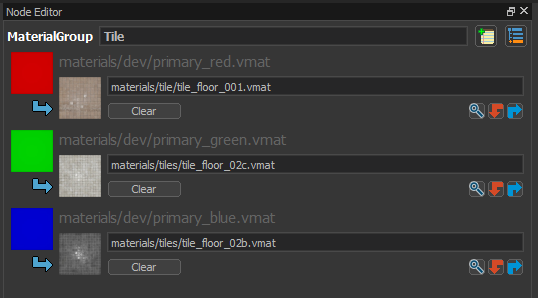
The material group should now be selected, and the node editor should displaying a list of the 3 materials currently in use in the model.
Each of the original materials in the model has replacement material, currently all of the replacement materials are the same as the original materials.
Pick replacement materials
For each of the original material we want to pick a material to replace it with
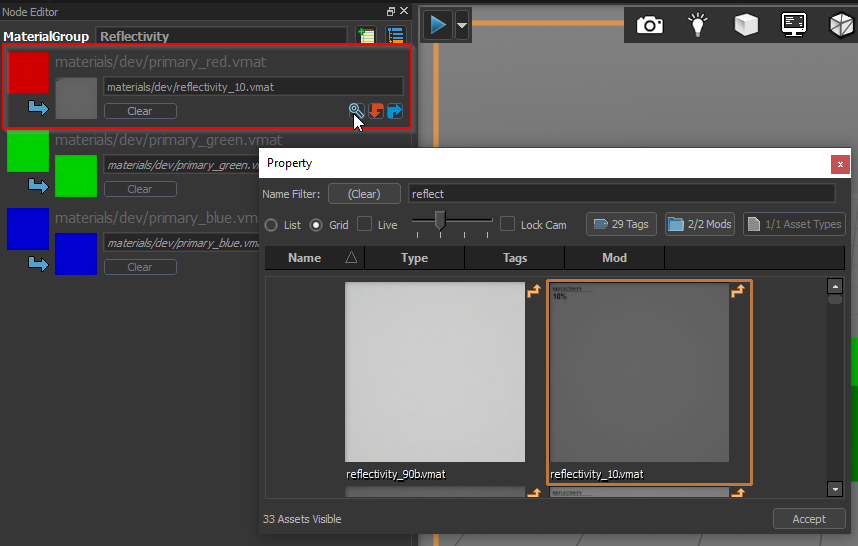
Click on the Browse button under the entry for original material 'primary_red.vmat' and select the material 'refelectivity_10.vmat' from the asset browser to replace it
Note that you should see the thumbnail and the path of the replacement material appear under the name of the original material in the Node Editor. However there will be no change in the viewport.
Repeat the process for the 'primary_green.vmat' and 'primary_blue.vmat' replacing them with 'reflectivity_50.vmat' and 'refelectivity_90.vmat'.
Create an additional material group
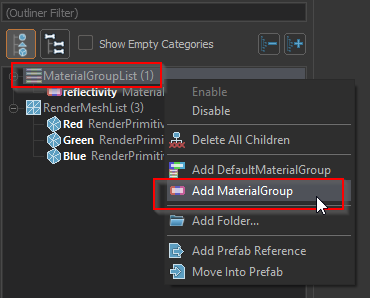
Create another material group by right clicking on the MaterialGroupList in the Document Outliner and selecting the Add MaterialGroup command from the context menu.
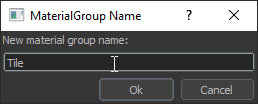
Give this material group a name. For the example we are going select tile materials, so we named the material group 'Tile'.
Use the Node Editor to select different replacement materials for each of the 3 original materials.
The materials selected here are game specific, so they may not be available depending on which game you are running. Simply select any three materials that are different from the ones previously selected for the 'Reflectivity' material group
Preview the material groups
Click 'Needs Compiling' to compile the model.
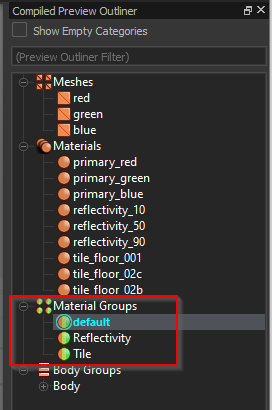
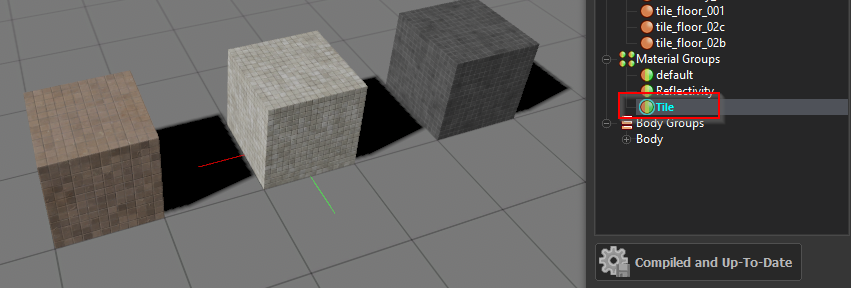
You should now see the 'Default' as well as the 'Reflectivity' and 'Tile' material groups listed in the Preview Outliner
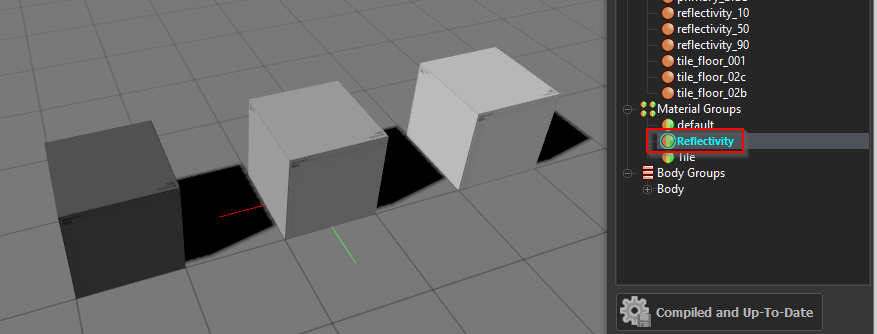
Double click on the 'Reflectivity' material group in the Preview Outliner to preview it in the 3D viewport.
Double click on the 'Tile' material group in the Preview Outliner to preview it in the 3D viewport.
Note, you can also change the material group being previewed from material group drop-down in the toolbar.
Place the model in Hammer and select a skin
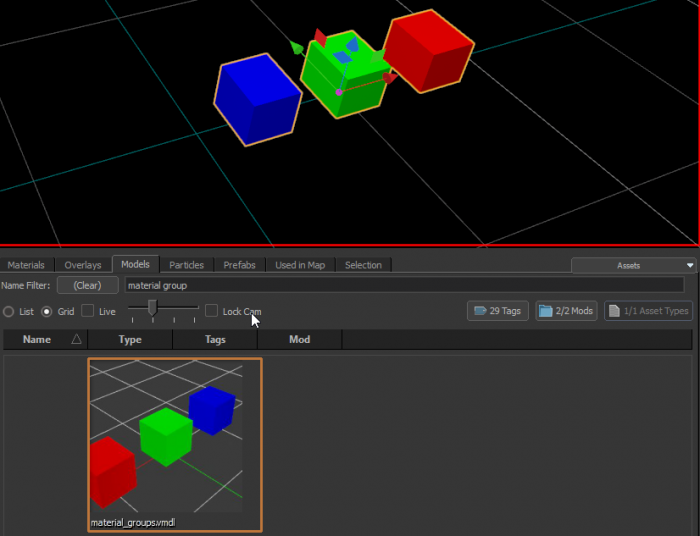
You can now place the model in Hammer a select different skins
Open Hammer from the asset browser.
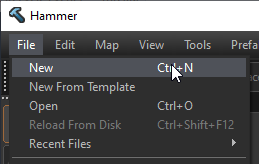
Create a new document by selecting File > New.
If you have Hammer in the default configuration, the lower right panel should contain an asset browser view.
Select the models tab and type in the name you gave the model into the filter.
Once you have located your model, you can drag and drop from the asset browser into the 3D viewport to place an instance.
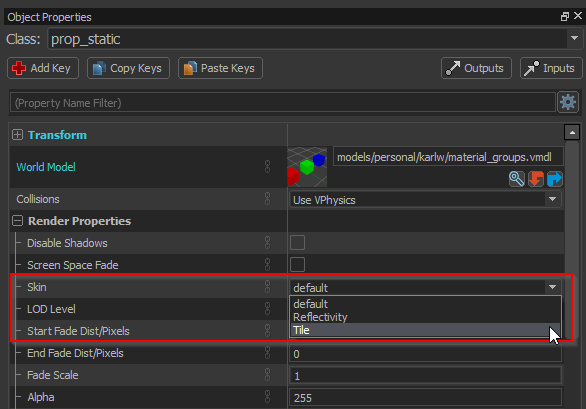
With the new instance of the model selected, you can now expand the Render Properties in the Object Properties editor and select one of the material groups from the Skin drop-down.
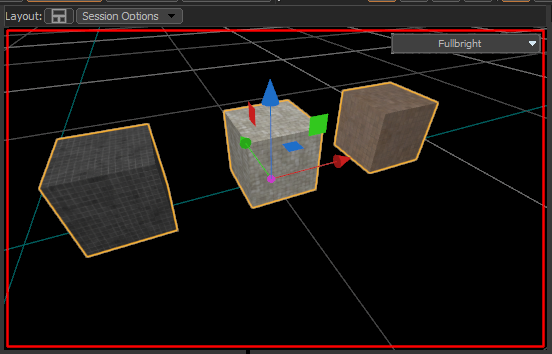
The selected skin should be visible in the hammer viewport
