Basic Box Model
This tutorial demonstrates how to create a simple model with the ModelDoc editor. This type of model is really only used for testing or demonstration purposes, but it is a good way to learn the most basic operation of the editor.
Open the ModelDoc Editor
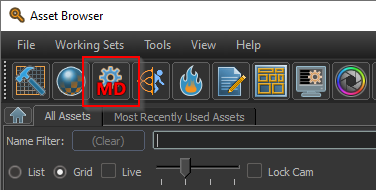
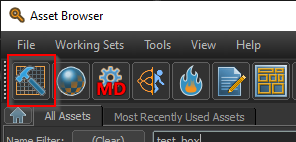
From the asset browser click on the icon for the ModelDoc editor to open it.
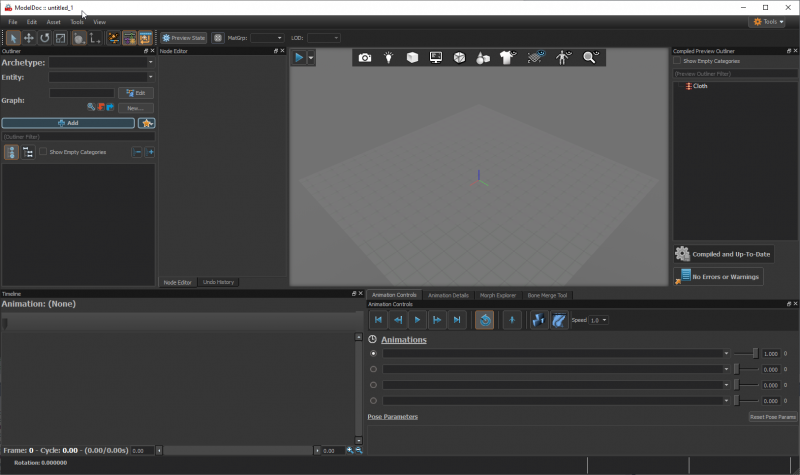
The editor will open with a new empty document ready to start editing.
Add a box primitive
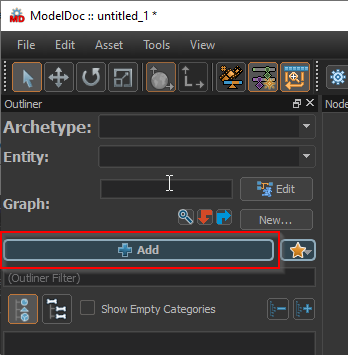
A model is composed of multiple 'nodes'. Nodes are added to the document using the Add button.
Click the add button to get a list of all of the nodes that can be added to the document
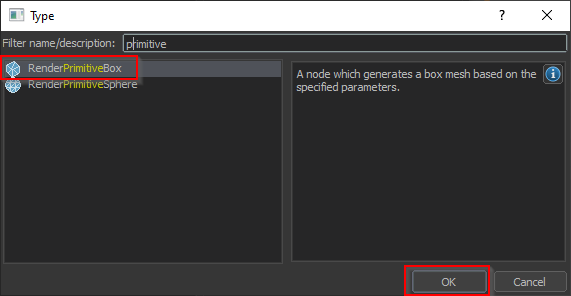
Clicking the add button will bring up a list of all of the possible types of nodes that can be added to the document. Selecting a node type will provide a description of what the node does.
There a large number of node types that can be added to the document. The best way to navigate this list is to use the filter to narrow the list down to what you are looking for.
Type 'Primitive' into the filter box
This will filter the list of nodes to the basic primitive shapes.
Select the 'RenderPrimitiveBox' and click the 'OK' button
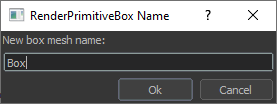
You will now be prompted for a name. For this model the name isn't important. In more complex documents other node can reference each other by name.
Type in a name and click 'OK'
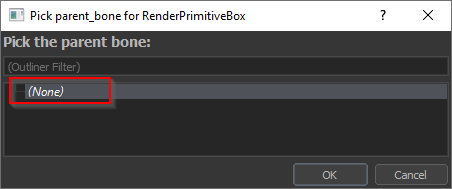
You will also be prompted to assign the box to a bone. There are no bones in this document. Simply select 'None' and click 'OK'.
Move and resize the box
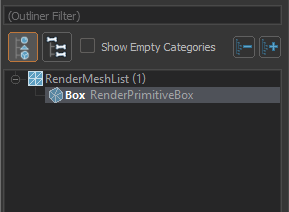
After creating the box, it will show up in the outliner and will be selected.
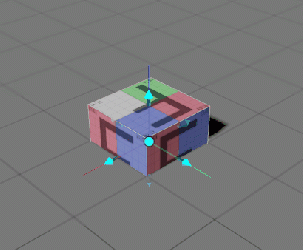
Because the box is selected, it will have manipulators visible in the viewport.
Click and drag the manipulators to resize the box
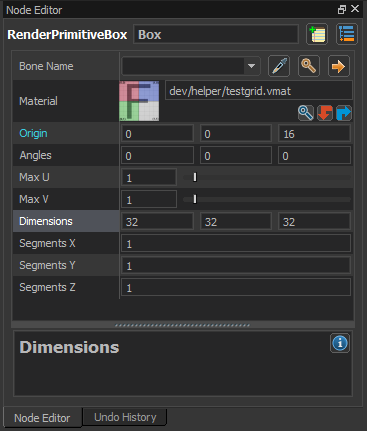
Additionally because the box is selected, its properties will be displayed in the Node Editor.
You can use the Node editor to change the material assigned to the box, adjust uv mapping, or to type in exact dimensions.
In this case the box has been adjusted to be 32 x 32 x 32, where it was originally 10 x 10 x 10
Save and compile the model
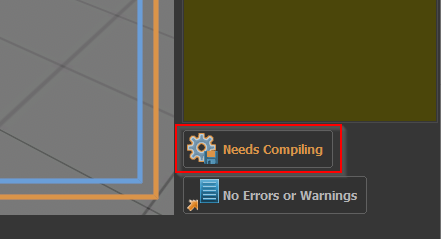
As soon as you made changes to the document, the compile status button should have highlighted and changed to 'Needs Compiling'. This indicates that the document has changes that have not yet been compiled into the final model.
Click on the 'Needs Compiling' button
This will prompt you to save the file. Choose a filename and save the file.
Note that the name you choose for your model here will be the one you use to find it in the asset browser.
Place your model in a map
Now that you have compiled the model, it should appear in the asset browser, and can easily be added to a map.
Open Hammer from the asset browser
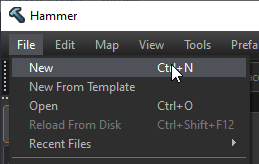
Create a new document by selecting File > New
If you have Hammer in the default configuration, the lower right panel should contain an asset browser view.
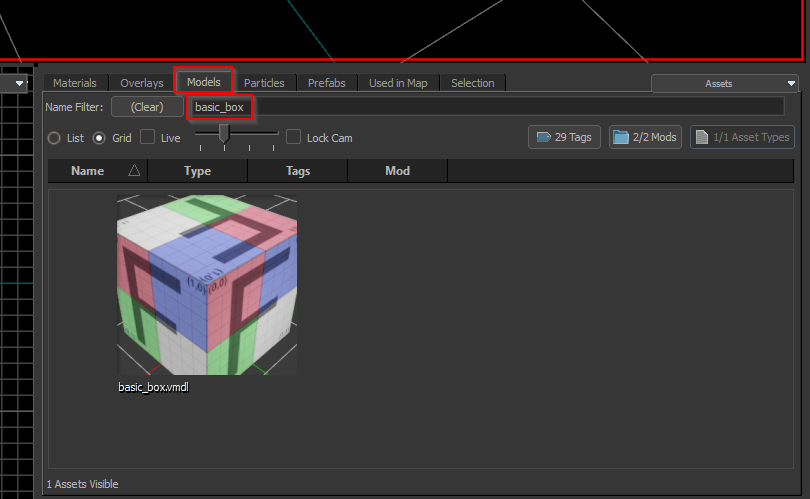
Select the models tab and type in the name you gave your model in the previous step
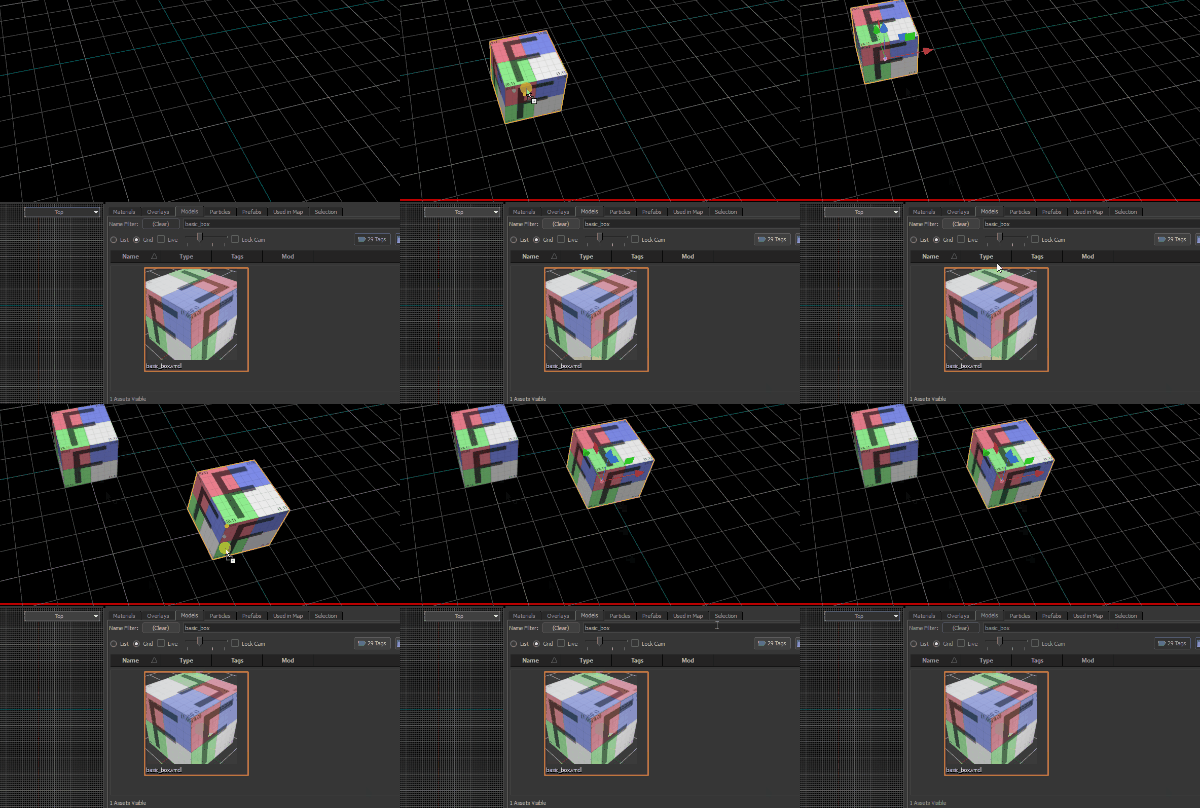
You can now place one or more instances of your model in the map simply by dragging it into the 3d viewport
