Half-Life: Alyx Workshop Tools/Level Design/Navigation Mesh
Introduction
This tutorial will teach you how to create a Navigation Mesh so NPCs can walk around by their own.
Setup
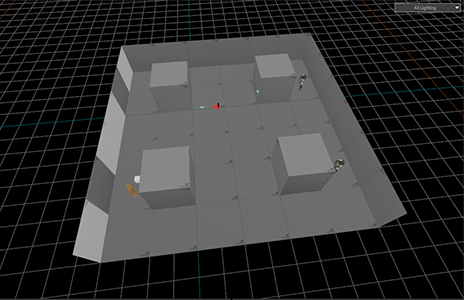
Create a test room with a couple walking NPCs of your choice. Here in this example, there are two npc_combine_s.
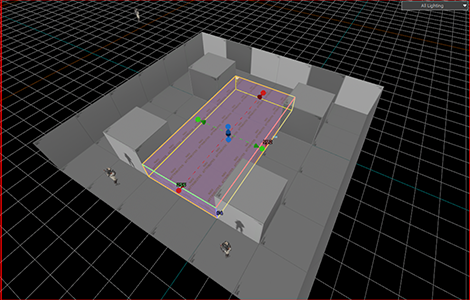
Click on the Navigation button 8. The Nav Mesh Editing panel should appear on the left side of the screen. Click Create Walkable Seed and drag a block into the first walking area you want to create. It should create a func_nav_markup mesh entity.
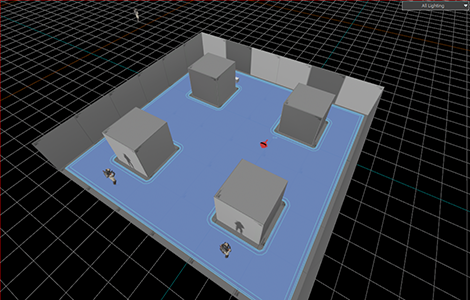
To generate the navmesh, the game will flood fill outwards from walkable seeds. You do not need to cover all walkable space in a walkable seed. There may be cases where the flood fill does not reach areas that you wish to be marked walkable. In this case, create more walkable seeds for those areas. Use the preview button to generate a navmesh and preview the navmesh to confirm that all areas that NPCs can go are marked as walkable.
Finishing up
Compile your map, the navmesh will be generated and added to your map ingame automatically. You can visualise the navmesh in-game use the command nav_edit 1. In Hammer it is possible to hide nav markup entities in the auto visgroups in if they get in the way when working on other parts of your map.
The basic_setup template contains an example of a walkable seed.


