Half-Life: Alyx Workshop Tools/Level Design/Hotspot Texturing
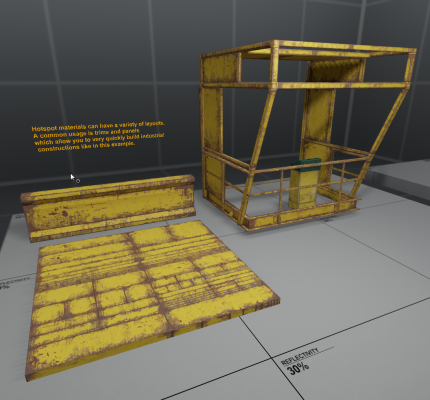
Hot spot texturing is a method to quickly apply textures to geometry by matching faces to predefined rectangles. This method is especially useful with texture maps consisting of trims and panels, and will allow you to automate a lot of the texture aligning process.
Please refer to the included workshop example map to see some examples of hotspot texturing:
workshop_examples/hotspot_example.vmap
To set up a material for hotspotting, you need to first define the hotspot layout using the Subrect Editor
Using the Subrect Editor
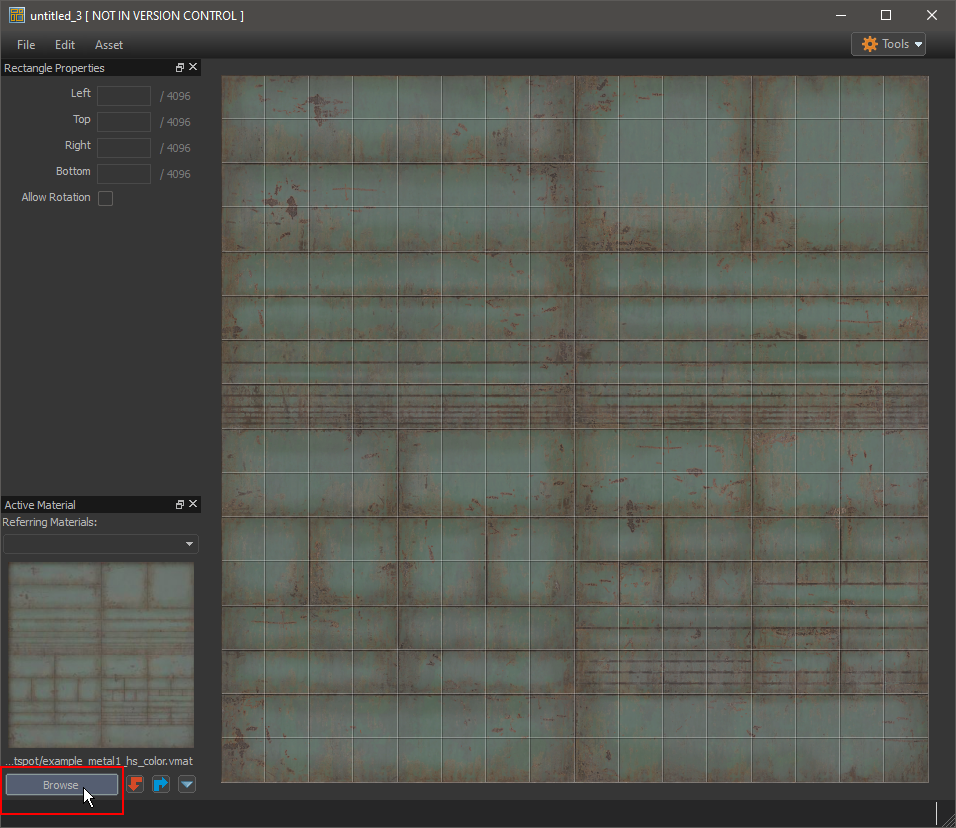
The Subrect Editor can be launched from the asset browser:
After opening the subrect editor, you can select a material to use as reference.
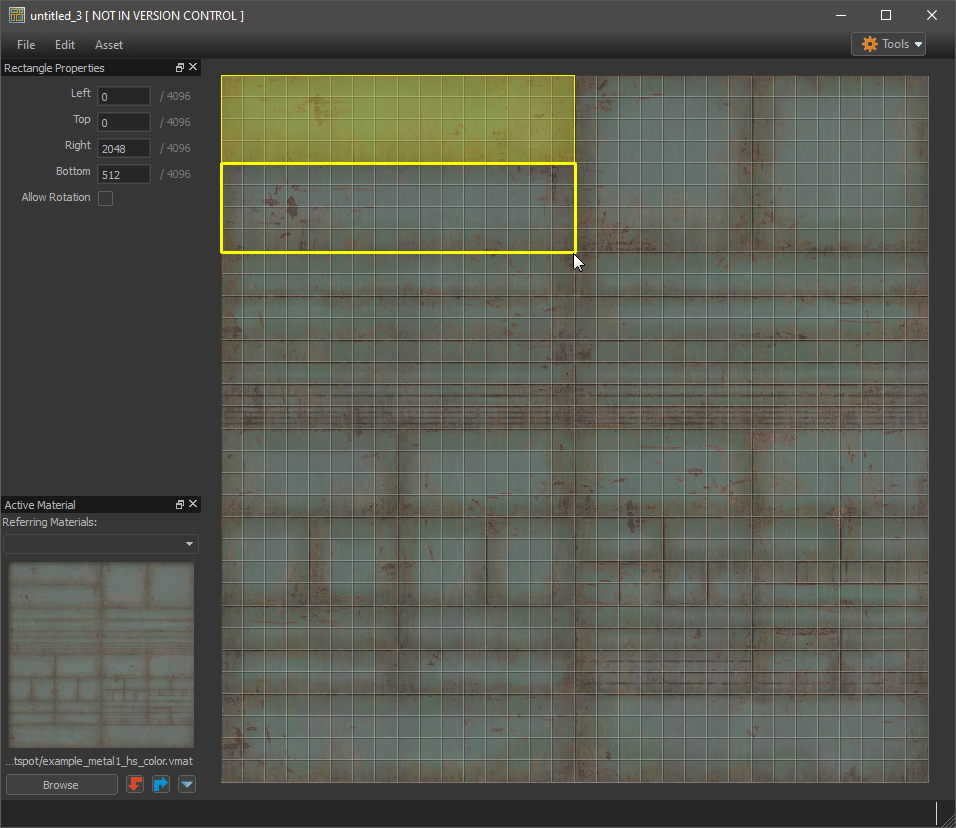
After selecting a reference material you can start drawing out rectangles on the grid with LMouse+Drag. The grid size can be changed with '[' and ']' (or from the Edit menu).
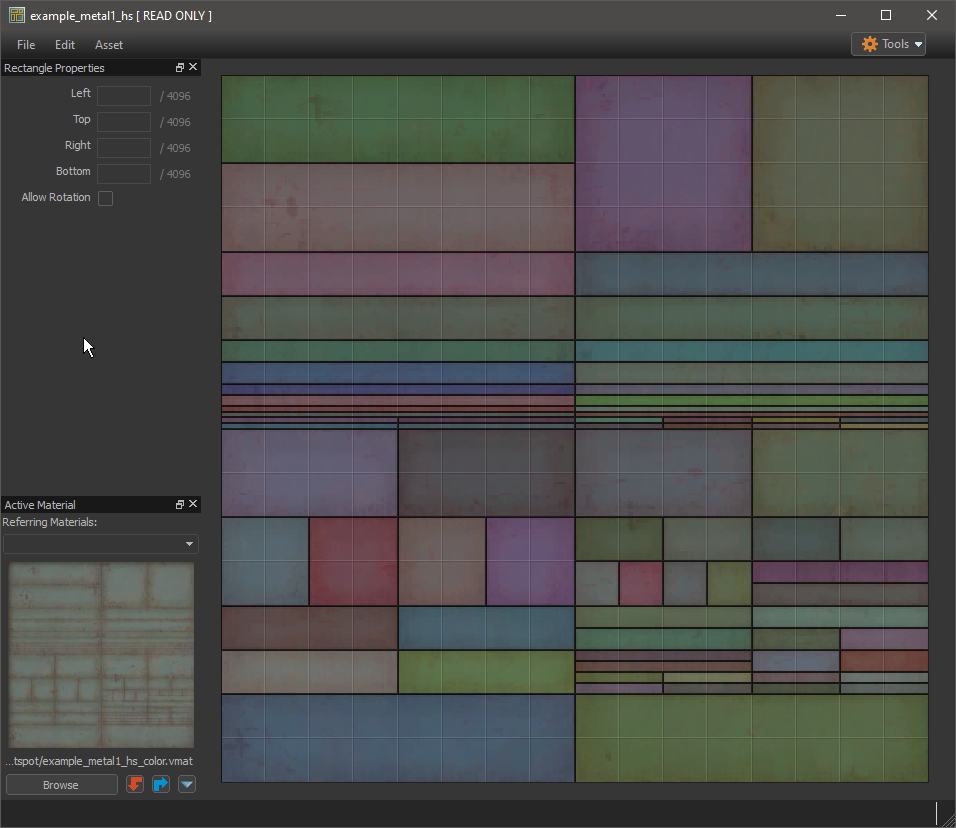
here's what it looks like with all rectangles drawn:
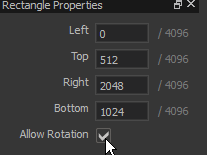
By default, hammer will try to align the rectangles to the world orientation when they are applied. However, to get more use and variation out of generic rectangles, you can select them and allow for them to be rotated by toggling "allow rotation" in rectangle properties.Â
Setting up materials for hotspotting
Once you have defined the rectangles for you image, save the file. This will create a .rect file, which contains the definitions of the rectangles. The .rect file may be referenced by multiple different materials.
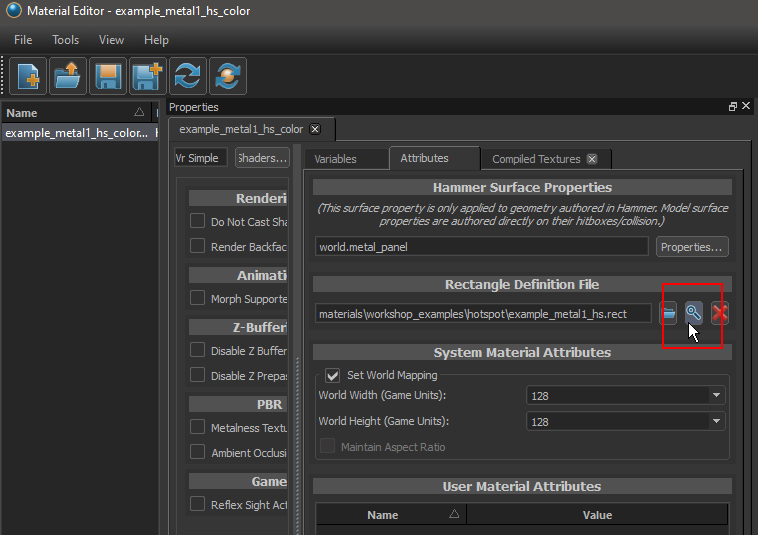
To assign the rectangle definition to a material, open the material in the material editor, select the attributes tab and then click on the browse button (magnifying glass) under the "Rectangle Definition File".
(to make sure you get a consistent pixel density from the hotspot tool, make sure to set world mapping values as well)
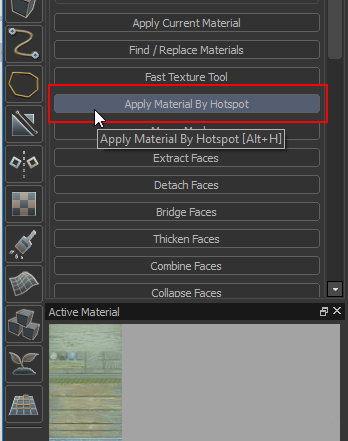
Once the rectangle file has been assigned to a material, the hotspot texture application tool can be used on a face selection in Hammer.
This will attempt to automatically assign the best rectangles of the material to the faces based on size and aspect ratio.
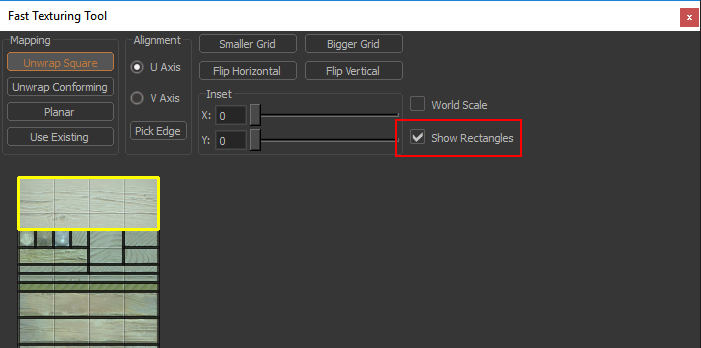
Additionally the rectangle definition can be used with the fast texture tool (ctrl + g). The rectangles can be displayed by selecting 'Show Rectangles'.
Double clicking on the image will select the rectangle under the cursor and update the uvs of the current selection.
