Creating an Addon
Getting started
First make sure you have the Half-Life: Alyx Workshop Tools installed!
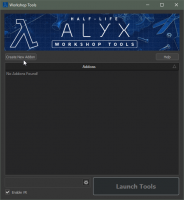
Once you've got the tools installed and are in the Workshop Tools launcher, create a new addon by selecting "Create New Addon," entering a name, and then clicking "Launch Tools."
Create a map
You've made an empty addon, now it needs content!
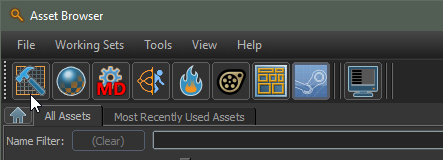
Once the tools have loaded, open Hammer (the Half-Life: Alyx level editor) by clicking the hammer icon in the top left of the toolbar.
Instead of starting a new map from scratch, you can import a starter template. A basic starter map is included with the tools.
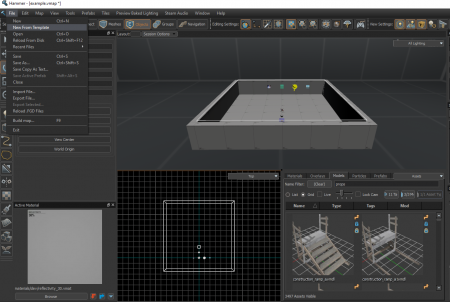
- In the File menu, choose New Map From Template.
- Browse to maps\templates\ and choose basic_setup.vmap
- Your new map should open like this:
- Save your map by pressing Ctrl-S or choosing Save from the File menu. For this example, save your map as "example.vmap."
If you'd like to try building the map and walking around, now's the time!
- Before you build, first you'll want to generate a preview light bake.
- To do a preview bake, go to the Lighting menu and choose "Preview Baked Lighting." On a map this simple, this should only take a second.
- To build and play your map, press F9 or choose Build Map from the File menu. It should already be set for Full Compile, which is what you want. Press the Build button and sit back while Hammer builds your map.
- You'll know the build is done because the game engine window will come to the foreground, with your map loaded. If you're playing with VR enabled, put your headset on and walk around!
Add your map to your addon
Congratulations, you've made and built a map! Now it's time to formally add that map to your addon, so you can select the map from within Half-Life: Alyx's new game menu.
- Close the tools, and re-launch them to return to the Tools Launcher.
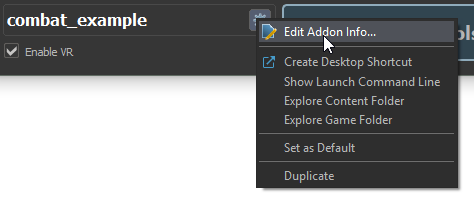
- Right-click your addon, or select it and press the gear icon, then choose "Edit Addon Info..."
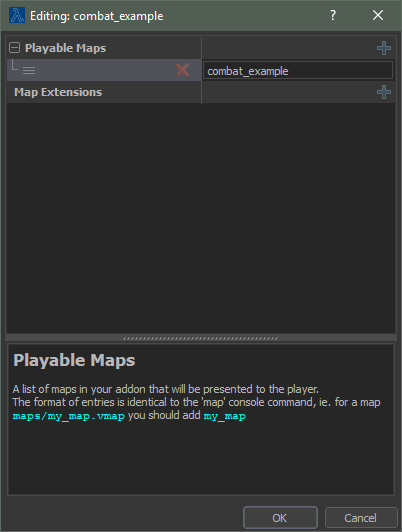
In the window that pops up, click the + icon next to Playable Maps, and add your test map by typing in its name. You don't need the file extension! These names are based on the file path starting at the maps directory, so since your test map is maps/example.vmap, you'd just type in "example." (If your map was located in maps/testmaps/example.vmap you would type in "testmaps/example")
In addition to editing addon info, the right-click menu contains some other useful options:
- Edit Addon Info...
- Once you've created maps for your addon, this is where you'll list them.
- Create Desktop Shortcut
- Places a shortcut on your desktop with the appropriate command switches to directly launch the tools with the appropriate addon. You can create separate shortcuts to launch your addon in tools with and without VR.
- Show Launch Command Line
- Shows you the command line string to launch directly into this addon's tools with your current launch options.
- Explore Content Folder & Explore Game Folder
- Opens a Windows Explorer window at the location of your addon's content directory (your source content, most of what you will be editing in tools), or game directory (your compiled content, and a few exceptions like LUA scripts and webm videos).
- Set As Default
- Marks an addon as default when launching the Half-Life: Alyx Workshop Tools. Default is saved between sessions.
- Duplicate
- Creates an addon with the desired name and copies the files from your selected addon into a new directory.
Play your addon
Now that you've made a map and added it to your addon, you can play it locally in game:
- Quit the tools and launch Half-Life Alyx normally from Steam.
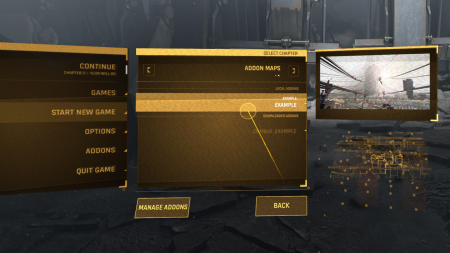
- Go to the Addons menu. You should see your addon there, in the list of local addons. Make sure your addon is enabled.
- From the main menu, start a New Game.
- Click through the tabbed menu at the top of the New Game menu to change from the main Alyx campaign to Addon maps.
- Your addon should be there, ready to be played. Click it and start!
Upload your addon
Now that you've played your addon, if you think it's ready to be shared with the world, it's time to upload it in the Workshop.
Launch the Workshop Manager tool by clicking the Steam icon in the top of the toolbar.
Select "New Submission" by clicking the + icon.
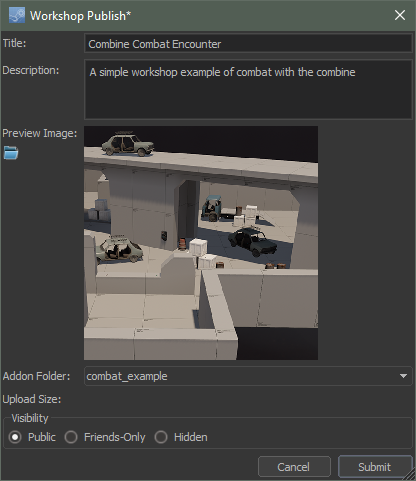
Fill out the Publish dialog including a preview image, and hit submit.
Once your addon has been created and uploaded, the workshop web page for the addon will automatically open.
Update your addon
Launch the tools for your addon, as above. Go to the Workshop Manager tool, then right click the entry for your addon and select "Re-Upload."
Type a description of what's changed into the Change Log, make whatever other changes you see fit to the Title, Description, and Preview Image, and hit Submit.
