World Layers
World layers are an association of map geometry and entities which can be dynamically toggled at runtime.
Currently world layers are restricted to visual and entity modifications. The physics and navigation cannot be modified by world layers.
There are 3 main components to world layers:
- The world layer group. This is a special type of hammer group. Like normal hammer groups it can contain a number of child objects, but it may also be connected to an info_world_layer entity to control the visibility of the group at runtime.
- The info_world_layer entity. The info_world_layer entity is the runtime entity which controls visibility of the world layer using entity i/o.
- Tile editor layers. Additional layers can be authored in the tile editor and their visibility can be controlled by the info_world_layer along with the world layer group.
Create a world layer group
To create a world layer group first select one or more objects, such as the group of rocks shown here:
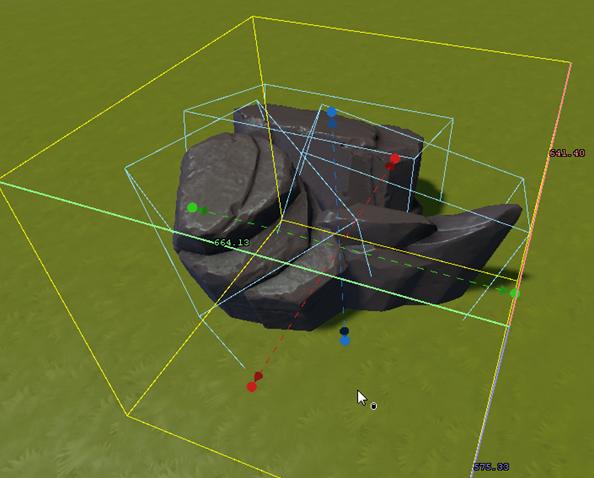
Then select Create World Layer from the tools menu.
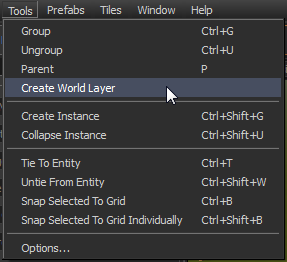
This will create a new world layer group and place the selected objects underneath it:
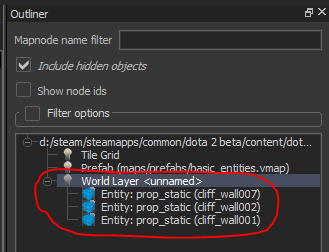
With the world layer group selected, go to the object properties pane and assign a name to the world layer in the Layer Name field:
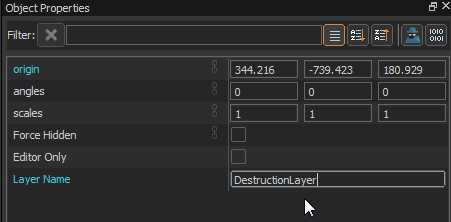
Create an info_world_layer entity
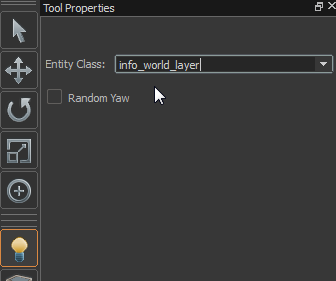
Now create an info_world_layer entity using the entity tool:
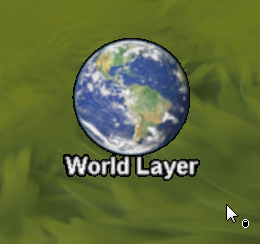
When placed in the map the info_world_layer entity will display as a world icon:
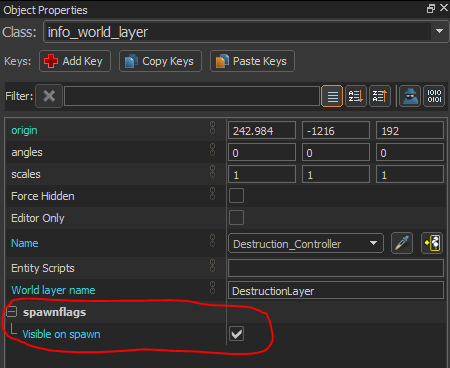
Select the info_world_layer entity and give it the same name in the World layer name field as the name assigned in to world layer group created above:
Also give the entity a target name in the Name field, this is required to hook up entity i/o to the entity. This can be a different name.
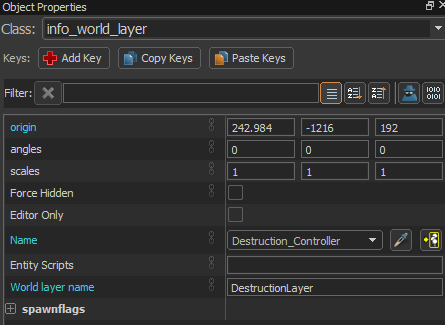
This will associate the info_world_layer entity with the world layer group, allowing it to control the visibility of the group.
Create a trigger to activate the world layer
Create a trigger volume by using the block tool to create a box with the trigger material applied and then using Tools > Tie To Entity to create a trigger_dota entity:
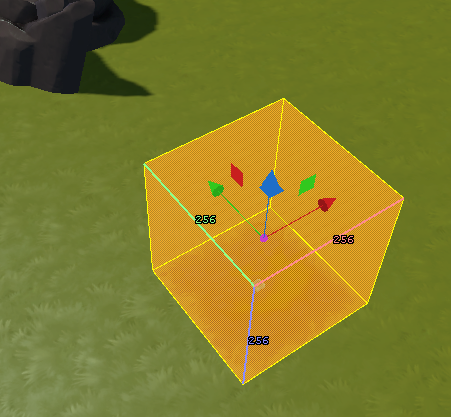
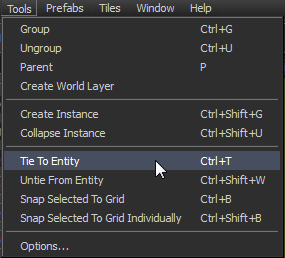
With the trigger volume selected, press Alt+↵ Enter to bring up the object properties and then select the outputs tab:
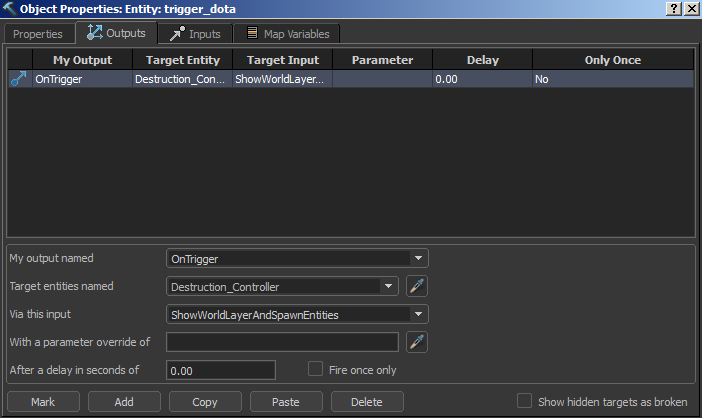
Add an OnTriggered output which targets the info_world_layer entity and select the ShowWorldLayerAndSpawnEntities input.
This will cause the layer to be displayed when the trigger is activated.
Create a layer in the tile editor
Add a new layer to the tile map by pressing the Add button in the layers section of the tile editor ui:
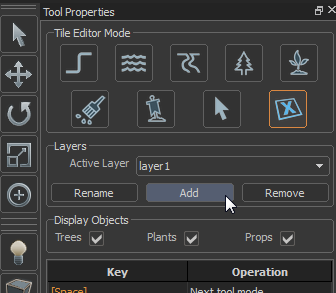
This will create a complete copy of the current layer, however all of the tiles will be disabled.
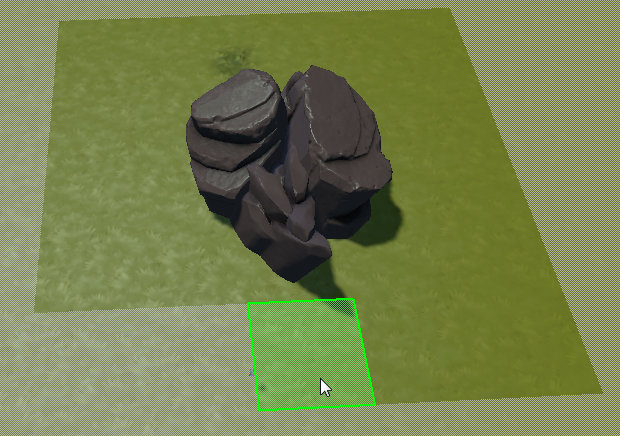
After pressing add, the tile editor will be placed in the enable / disable tile mode. Hold ctrl and drag over tiles to enable them in the new layer:
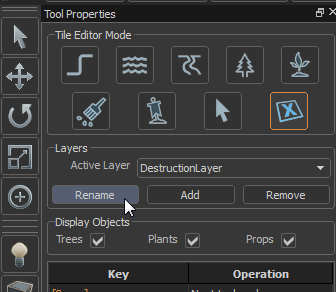
Rename the layer to use the name specified as world layer name for both the world layer group and the info_world_layer entity:
Any tile editor operation can be used to modify the new layer, including the destruction path tool. The destruction path tool is an alternate version of the path tool that places destruction tiles instead of path tiles.
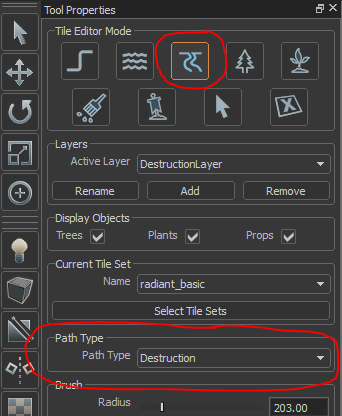
To use the destruction path tool, select the path tool in the tile editor and then change the path type to destruction:
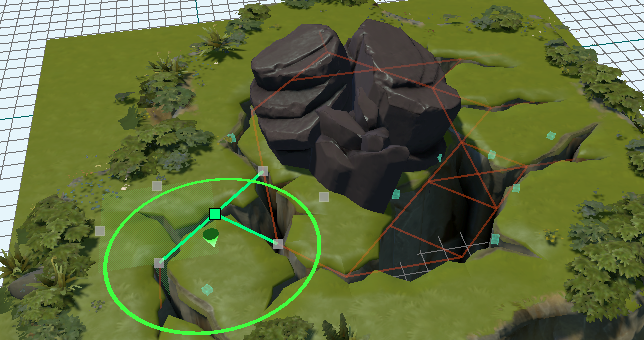
Use the destruction path tool to modify the new layer.
Note that in many cases you will need to create two layers, one that is enabled by default and can be disabled when the other layer is enabled. A world layer can be made visible by default by setting the visible on spawn flag.
