Converting brushes to models with XSI
Jump to navigation
Jump to search
Not all geometry is suitable for brushes. Anything that needs to be repeated over and over, be lit dynamically or be highly detailed is generally better off as a model. This tutorial will guide you through the process of exporting a brush from Hammer into the XSI Mod Tool and then out again to a compiled model ready for use as a prop.
- 1 unit in Hammer = 1 unit in XSI
- You'll have to set Texture UV in XSI again, so don't spend much time tuning texture in hammer.
Exporting from Hammer
With the geometry you want to convert selected, press Ctrl+R or click the "Create Prefab" button (in the New Object toolbox). It doesn't matter which tool you have active.
Save the file somewhere accessible.
Importing to XSI
In XSI, click ValveSource > VMF Tools > Import VMF">Main menu > ValveSource > VMF Tools > Import VMF and select the prefab file you just saved from Hammer. Ignore the Texture Path option.
 Note:You must also do the following in order for the model to work correctly.
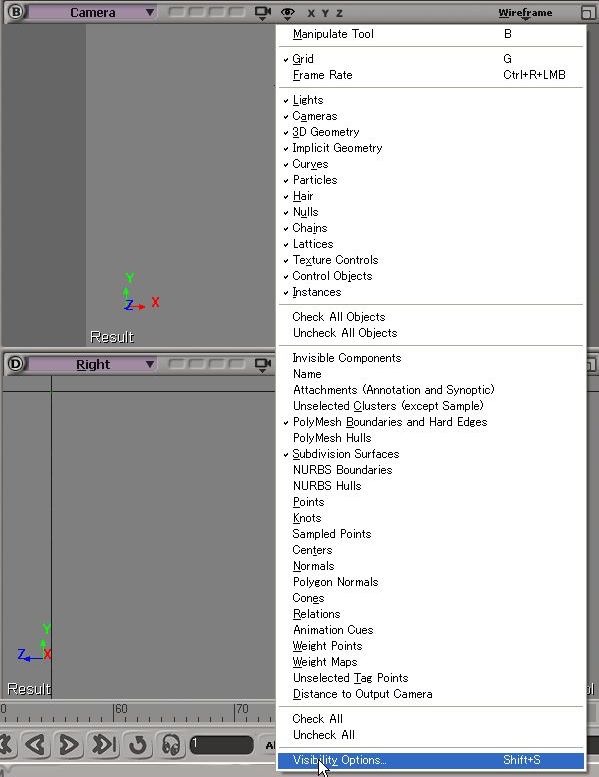
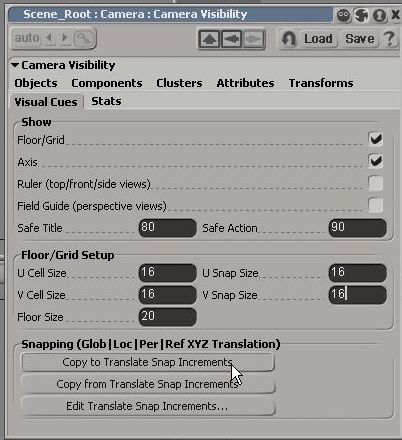
- Go to visibility options(click eye icon in each view), select the Visibility options button, then in its pop up window, select the Visual Cues Tab, then set U/V Cell/Snap Size to 16 or 32 in Floor/Grid Setup, then click Copy to Translate Snap Increment.
- In the Snap panel, click ON and grid icons.
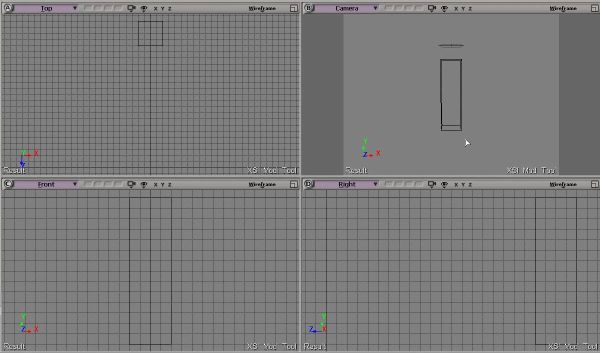
- Now XSI works like Hammer's Snap to Grid.
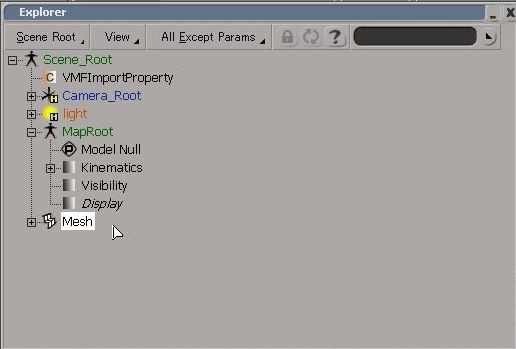
- Move loaded mesh to the world origin. The world origin in XSI will be the pivot point in Hammer. See Animators Guide to Scripted Sequences for details.
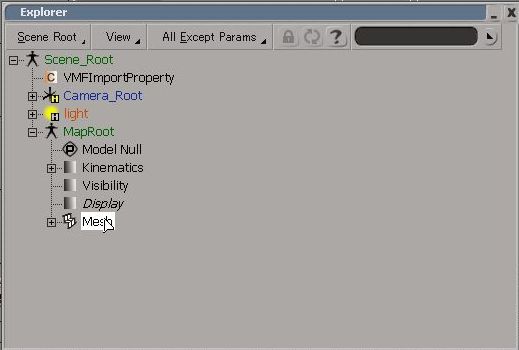
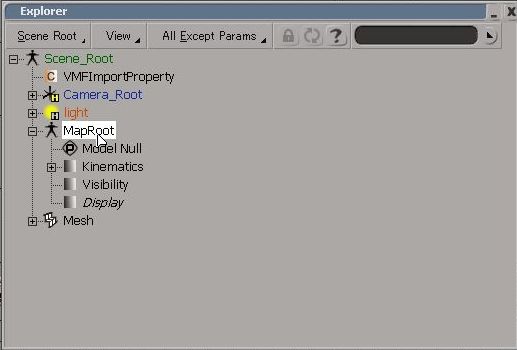
- Select the mesh, then click cut button in the Constrain panel. This will free the mesh from MapRoot which has rotations.
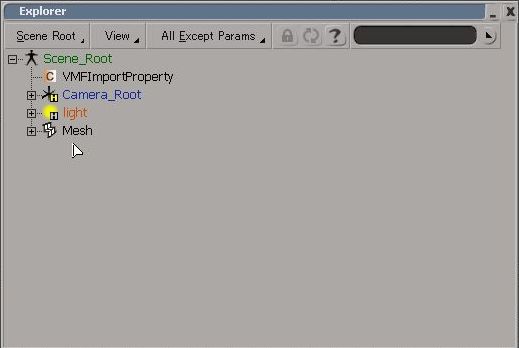
- Delete MapRoot.
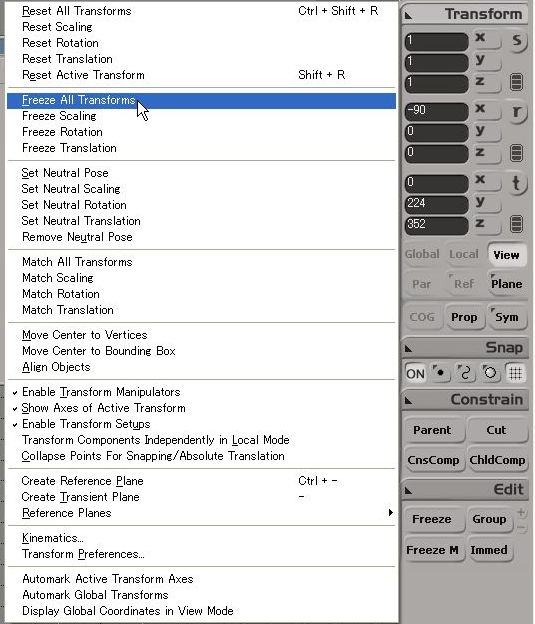
- Select the mesh, do Freeze and Freeze All Transformation.
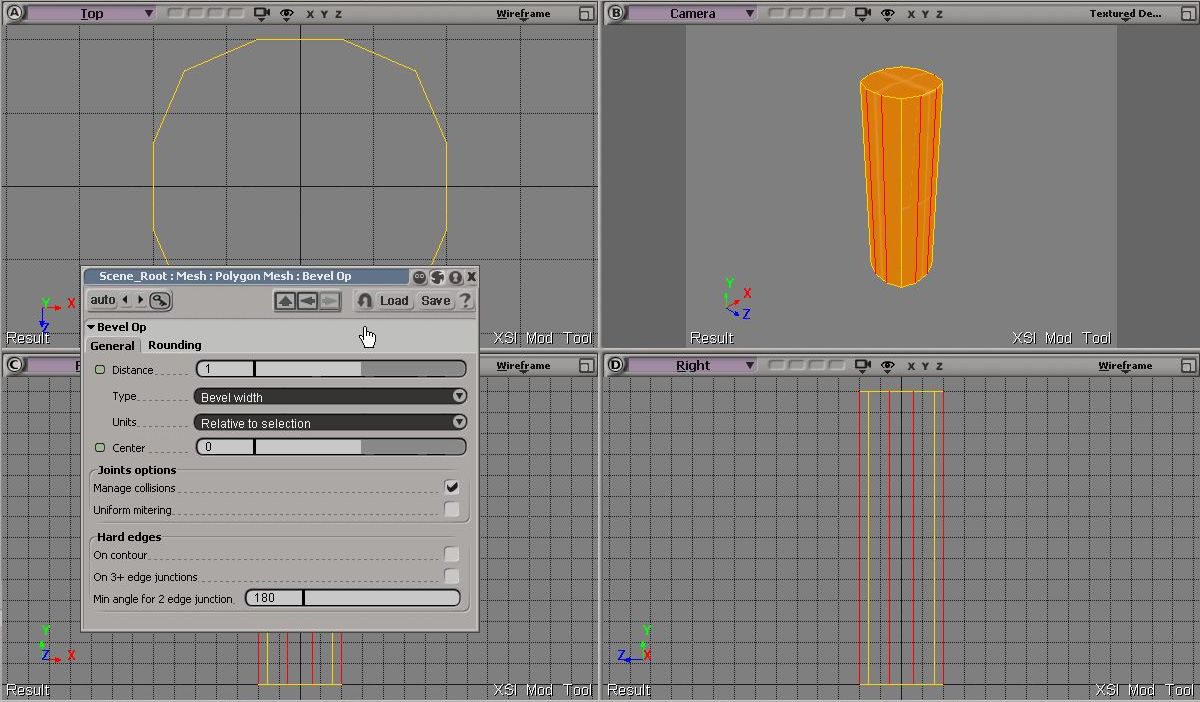
- Now you can edit it as you like, give it more detail, etc. Don't forget to texture it, for SMD exporter only export mesh with material and UV informations.
- If you are happy with your mesh, Freeze and Freeze All Transformation again, then click ValveSource>Export SMD, and export as a reference SMD.
Compile
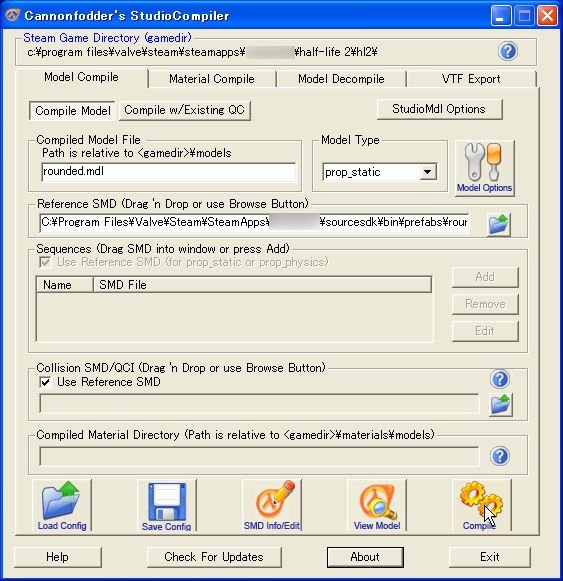
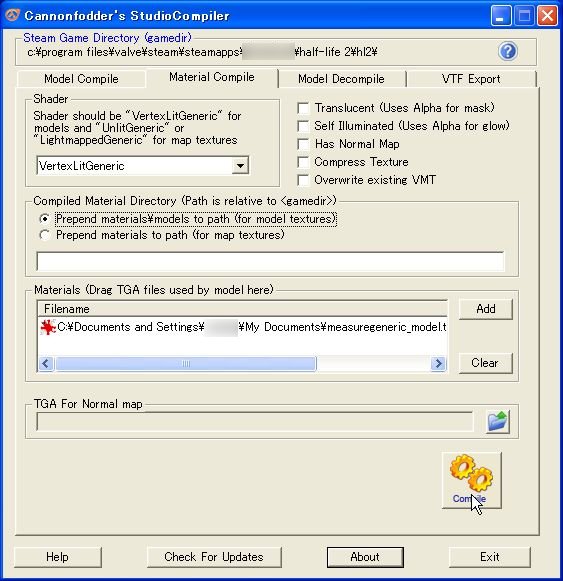
- Now compile the model and textures. Here Cannonfodder's StudioCompiler was used for compiling prop_static model and texture.
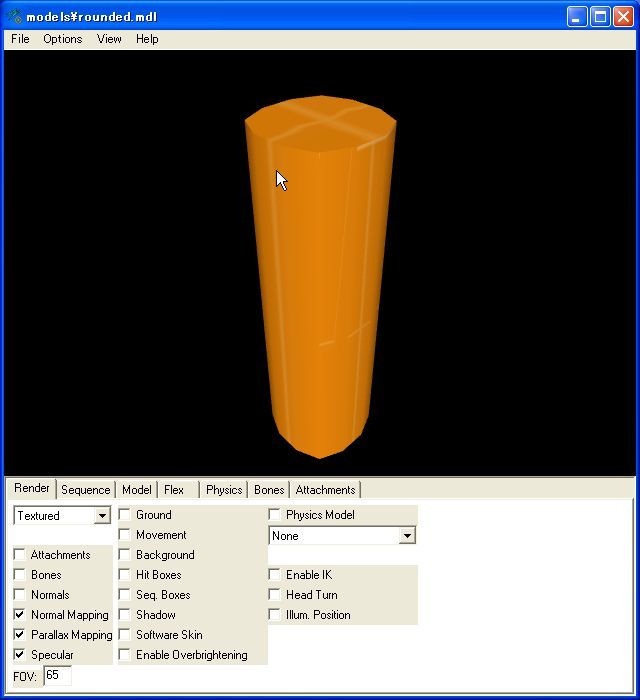
- Preview the compiled model in HLMV
Hammer again
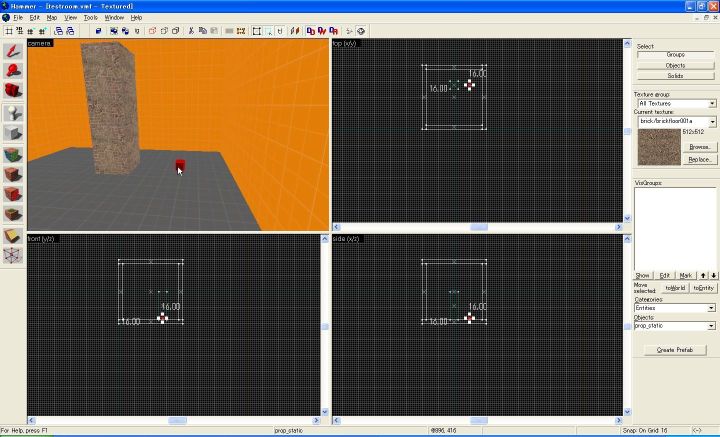
- Place it as prop_static in hammer.
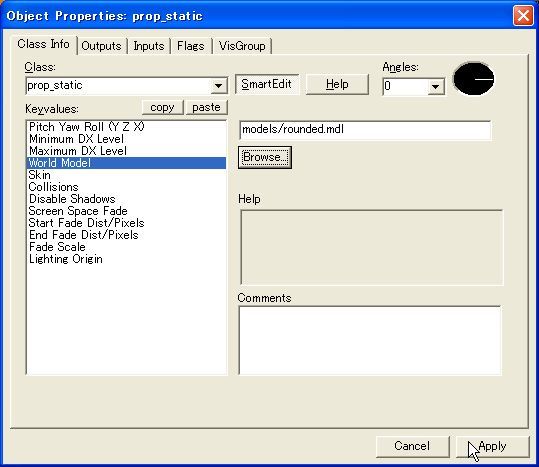
- Set the World Model in entity properties.
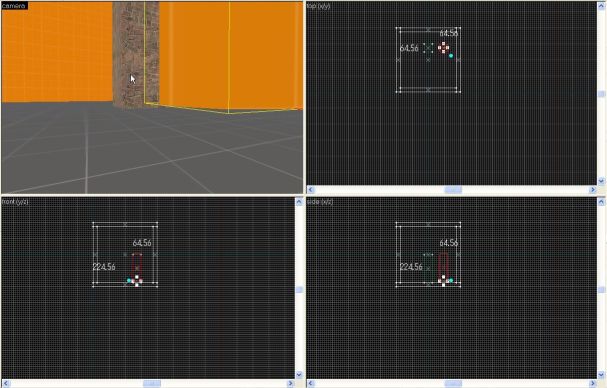
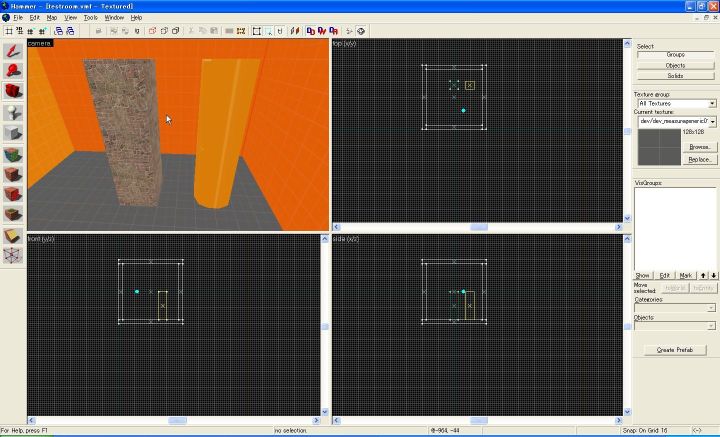
- Now place the model as you like.
