Zh/Half-Life: Alyx Workshop Tools/Level Design/Hotspot Texturing
You can help by
January 2024
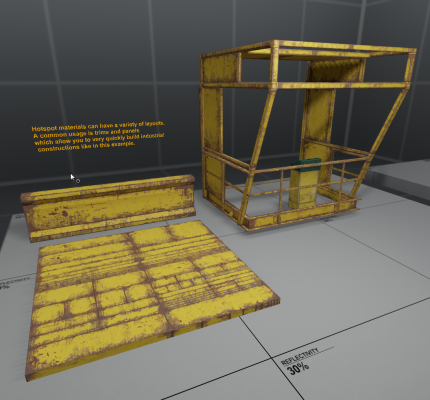
热点纹理可以把预设好的选区快速应用纹理到模型面上。它对由“trims”和“panels”组成的纹理地图很有帮助,并能自动完成许多纹理对齐。
以下为示例:
- workshop_examples/hotspot_example.vmap
要设置一个热点材料纹理,首先需要用Subrect Editor定义热点的布局
使用 Subrect Editor
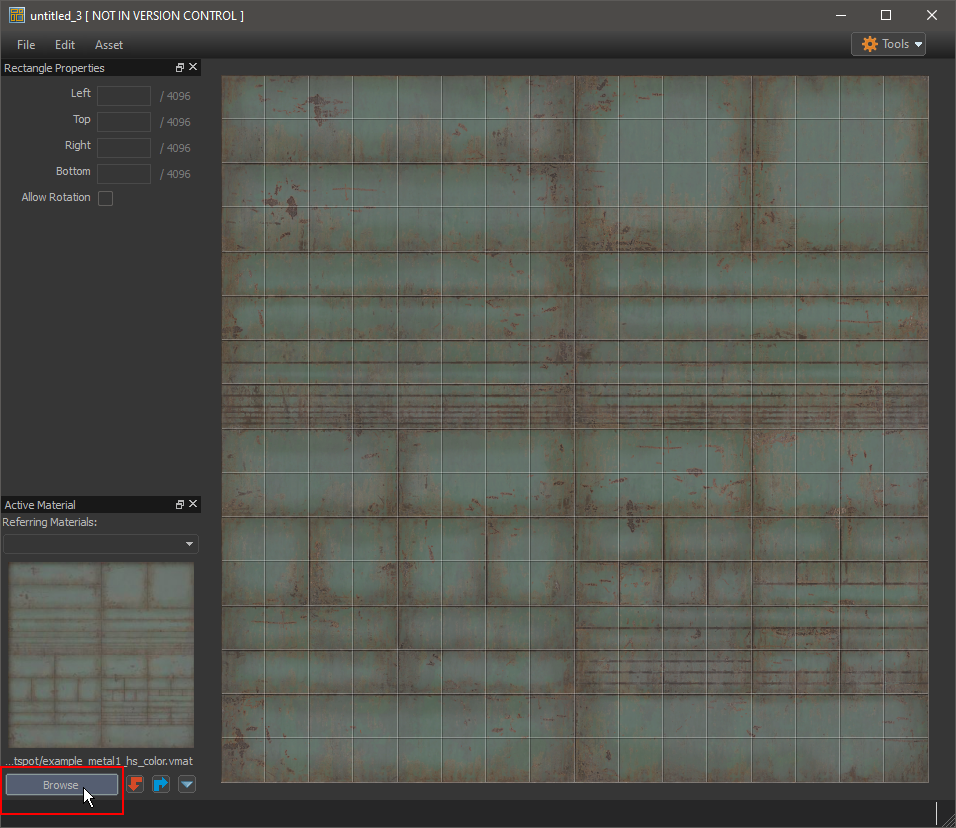
Subrect Editor 可以在资产浏览器中打开:
打开subrect editor后, 选择一个材质
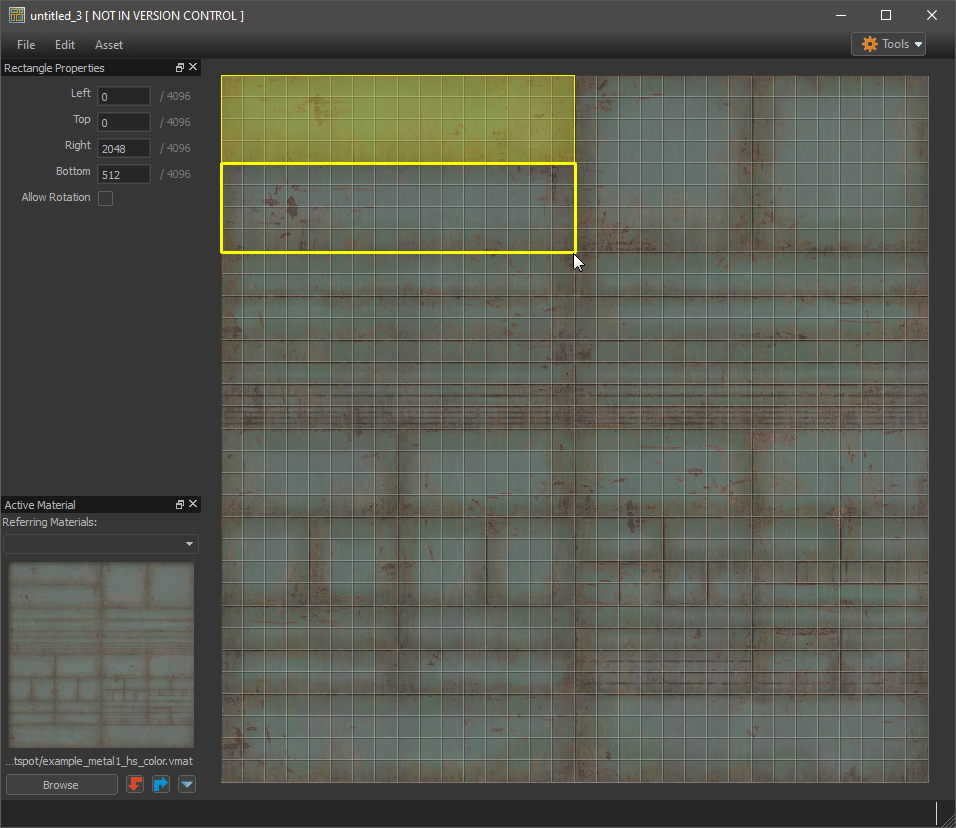
选择材质后,在网格上用鼠标左键拖动来绘制矩形。网格大小可以通过'['and']'(或从Edit菜单中)来改变。
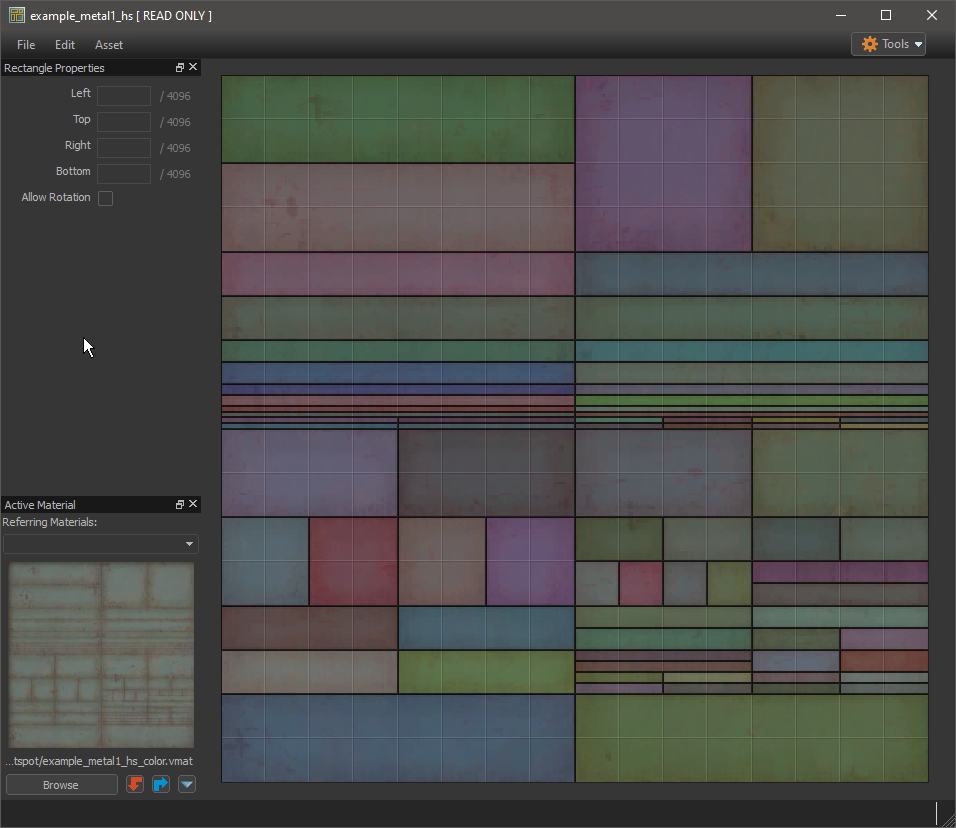
下面是所有矩形绘制后的效果:
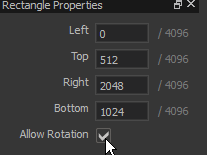
默认情况下,当它们被应用时,hammer会尝试将矩形与世界方向对齐。 但想让矩形有更多的变化,你可以在矩形属性中选择“allow rotation”允许它们旋转。
Setting up materials for hotspotting
Once you have defined the rectangles for you image, save the file. This will create a .rect file, which contains the definitions of the rectangles. The .rect file may be referenced by multiple different materials.
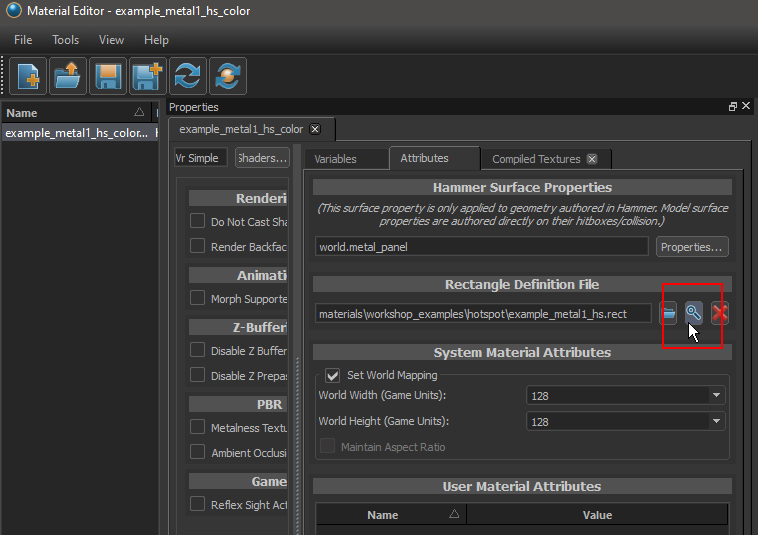
To assign the rectangle definition to a material, open the material in the material editor, select the attributes tab and then click on the browse button (magnifying glass) under the "Rectangle Definition File".
(to make sure you get a consistent pixel density from the hotspot tool, make sure to set world mapping values as well)
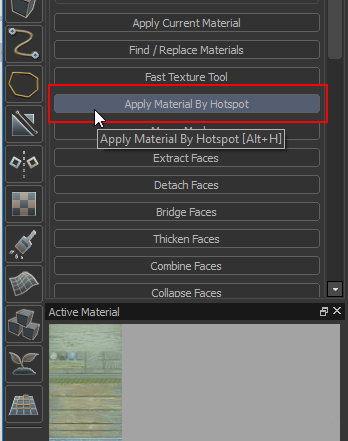
Once the rectangle file has been assigned to a material, the hotspot texture application tool can be used on a face selection in Hammer.
This will attempt to automatically assign the best rectangles of the material to the faces based on size and aspect ratio.
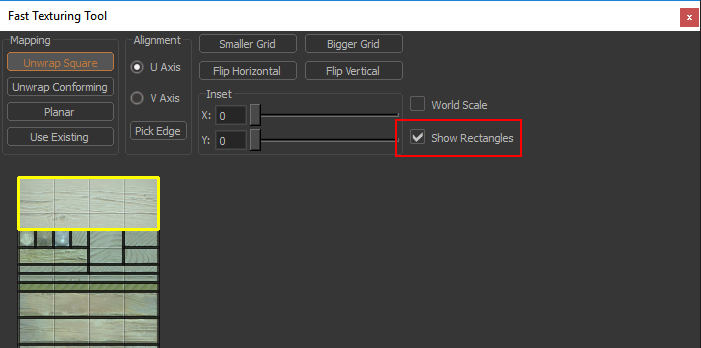
Additionally the rectangle definition can be used with the fast texture tool (ctrl + g). The rectangles can be displayed by selecting 'Show Rectangles'.
Double clicking on the image will select the rectangle under the cursor and update the uvs of the current selection.
