Half-Life: Alyx Workshop Tools/Modeling/Houdini Vertex Animation
This tutorial assumes working knowledge of Houdini and only demonstrates how to correctly export vertex animations to Source 2, using Houdini version 19+.
Install SideFX Labs
Read up on how to install SideFX Labs here
Install Valve_outputnodes.hda
Download the Valve_outputnodes.hda file here OneDrive - Download
Read up on how to install the Houdini Digital Asset (.hda) here
Choose File > Import > Houdini Digital Asset
Create your Rigid Body Simulation
Houdini rigid body simulation documentation here
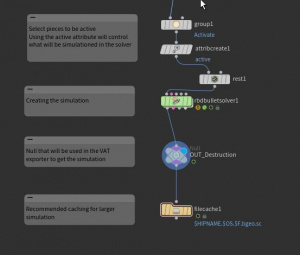
Add a rest node
Add a rest node before starting the simulation on your mesh, this is required to avoid incorrect data on pos0 caused by texture edge bleeding.
Example: rest pose node before the rbdbulletsolver1
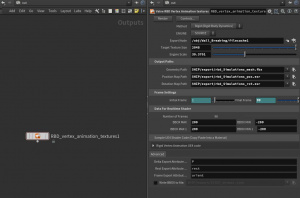
Houdini export settings
- Export node, select the last node in the simulation - a cache will be faster.
- Engine scale 39.3701 (when working in meters)
- Frame Settings ( simulation range) 1 to ..N.
- Check attributes : Delta = P ; Rest = rest ; Frame = orient.
Before exporting the simulation, choose the path, for faster iterations you can chose to export directly to the content folder.
Hit Export
Asset setup
Make sure your exported .fbx, position and rotation textures are present in the content folder, you can keep both the textures and the .fbx in a models/simulations folder.
Launch the Source 2 tools.
Create a material for your asset using the Material Editor, using the VR Complex Shader.
- Check: Pre Baked Vertex Animation
- Check: Disable Z Prepass
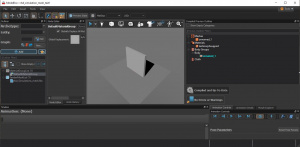
In ModelDoc click the +ADD button, add the mesh (Add Meshes) and add the material (DefaultMaterialGroup).
- Keep the Archetype and Entity in the outliner empty.
- The scale should be set in Houdini, not in the engine.


