Half-Life: Alyx Workshop Tools/Modeling/Houdini Vertex Animation
This tutorial assumes working knowledge of Houdini and only demonstrates how to correctly export vertex animations to Source 2, using Houdini version 19+.
Install SideFX Labs
Read up on how to install SideFX Labs here
Install Valve_outputnodes.hda
Download the Valve_outputnodes.hda file here OneDrive - Download
Read up on how to install the Houdini Digital Asset (.hda) here
Choose File > Import > Houdini Digital Asset
Create your Rigid Body Simulation
Houdini rigid body simulation documentation here
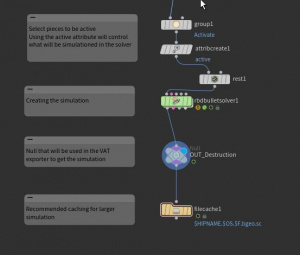
Add a rest node
Add a rest node before starting the simulation on your mesh, this is required to avoid incorrect data on pos0 caused by texture edge bleeding.
Example: rest pose node before the rbdbulletsolver1
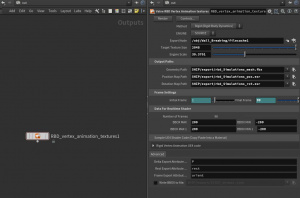
Houdini export settings
- Export node, select the last node in the simulation - a cache will be faster.
- Engine scale 39.3701 (when working in meters)
- Frame Settings ( simulation range) 1 to ..N.
- Check attributes : Delta = P ; Rest = rest ; Frame = orient.
Before exporting the simulation, choose the path, for faster iterations you can chose to export directly to the content folder.
Hit Export
Asset setup
- Make sure your exported .fbx, position and rotation textures are present in the content folder, you can keep both the textures and the .fbx in a models/simulations folder.
- Launch the Source 2 tools
- Create a material for your asset using the Material Editor, using the VR Complex Shader
- * Check: Pre Baked Vertex Animation
- * Check: Disable Z Prepass
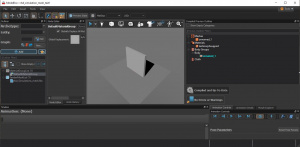
- # In ModelDoc click the +ADD button, add the mesh (Add Meshes) and add the material (DefaultMaterialGroup).
- Keep the Archetype and Entity in the outliner empty.
- The scale should be set in Houdini, not in the engine.


