Applying Textures
Now, we'll change the brick walls of our room into something more appropriate.
Applying Textures
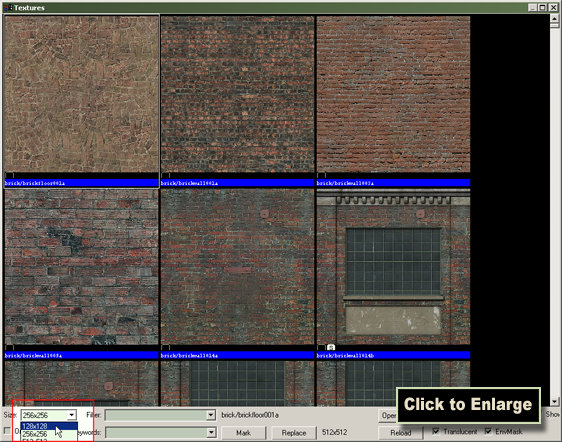
Click the Browse button in the Texture Bar on the right side of the Hammer window.
This will open the Texture Browser.
The Texture Browser lets you view and select textures to apply to objects in your map.
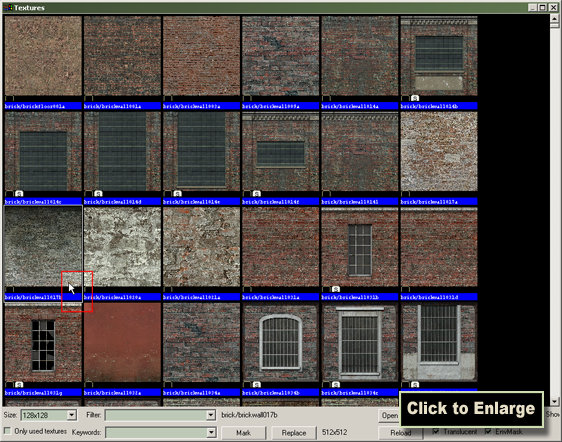
Pick 128x128 from the Size drop-down list at the bottom-left of the Texture Browser window, if it's not already selected.
This will reduce the size of the texture samples, so we can see more at once.
Double-click the wall texture shown in the image (brick/brickwall017b).
This will select the texture for use, and close the Texture Browser.
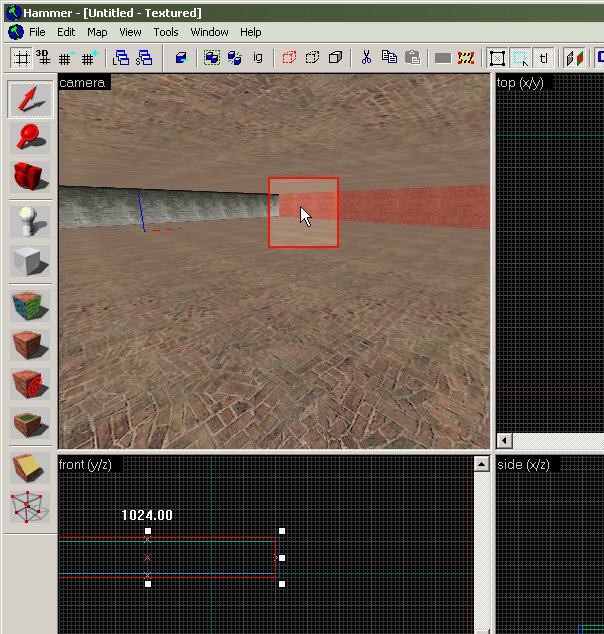
In the 3D View, left-click one of the walls of the hollow room. This will select it, turning it red like in this image.
Note: If the camera view is showing a wireframe image (like this) instead of solid textures like in the image on the right, go the View menu and choose 3D Textured Polygons to switch to the textured view.
Click a brush in the 3D View to select it.
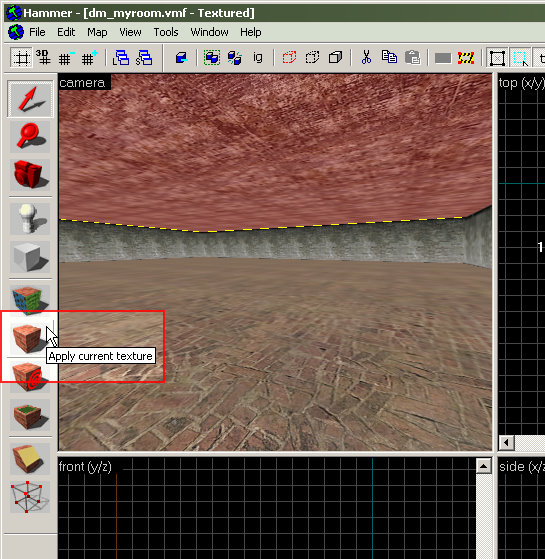
Click the Apply Current Texture icon from the panel on the left side of the Hammer window.
Clicking this button applies the texture we picked in the Texture Browser to the current selection.
Select the next wall brush by left-clicking it in the 3D View, then click the Apply Current Texture button to assign the wall texture to it, too.
You'll now need to move the camera to be able to apply the wall texture to the other two walls of the room.
You can move the camera using the Camera Tool like you learned earlier, or you can use another method, called "freelook" mode.
To enter freelook mode, press the "Z" key. The mouse now controls the direction of the camera — move the mouse left and right to change the direction. Press the "W" key to move the camera forward, and the "S" key to move the camera backward. Press the "Z" key again to exit freelook mode.
Use the Apply Current Texture icon to put textures on the selection.
Move the camera so that it faces the walls that haven't been textured yet.
Select each of the walls with the Selection Tool, and use the Apply Current Texture icon to assign the wall texture, just like the other two walls.
Now we'll texture the ceiling, so it looks more like a ceiling.
Click the Browse button the bring up the Texture Browser again.
Click Browse to bring up the Texture Browser again.
In the text box next to where it says "Filter:", type in "ceiling", as shown in the image.
This will filter the list of textures so that only textures with "ceiling" in their name will be shown in the Texture Browser window.
Double click the texture called "concrete\concreteceiling02a", as shown in this image. The texture will be selected and the browser will close.
Double-click the ceiling texture to select it.
Now, click the ceiling in the 3D View to select it.
Next, click the Apply Current Texture icon the assign the texture to the ceiling.
Now onto Adding Entities!


