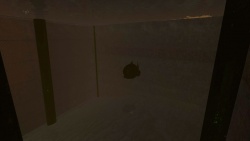
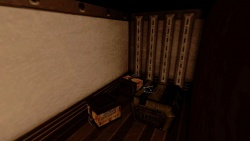
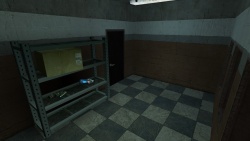
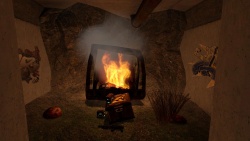
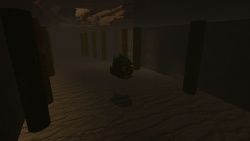
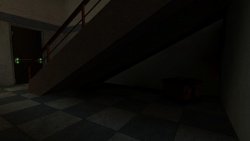
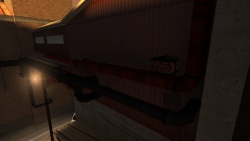
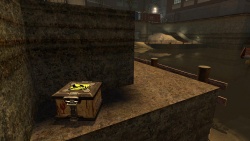
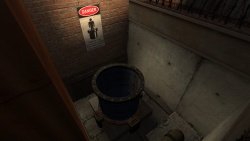
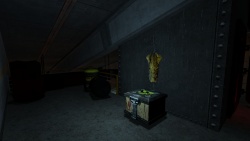
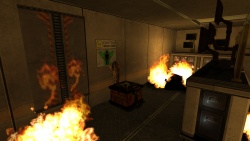
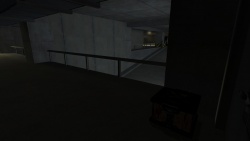
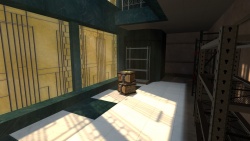
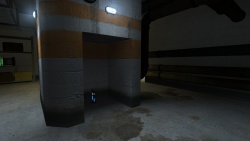
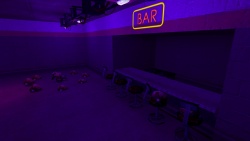
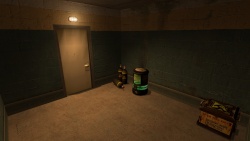
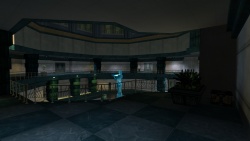
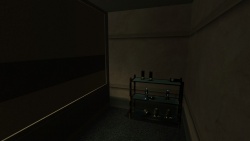
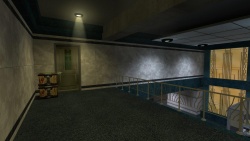
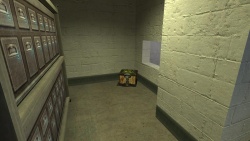
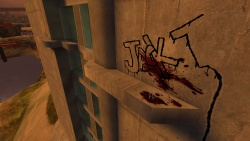
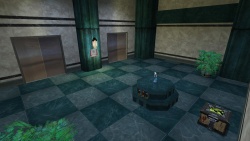
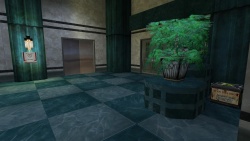
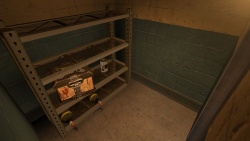
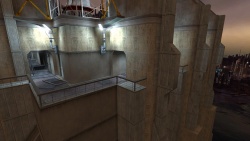
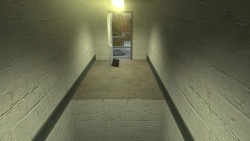
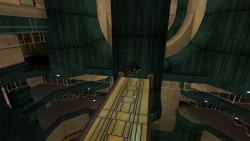
In Sin Episodes there is a lot of secret areas scattered around the game for the player to find like in Half-Life 2 with lambda caches, which upon doing so will mostly promote the player by giving them either an item crate, ammunition or some health pack of sort for the work and time put into finding the hidden secret. This is not always the case through by which sometimes the player can instead find either a stationary 'dope' fish or just trigger or mark the event of being able to find another bigger secret located elsewhere in the same level. Most of the time it must be difficult to find the secrets as they are hidden in areas the player might not look after them but can in addition require the player to either stack objects to reach it, being skilled by using manoeuvres like jumping or crouching, destroying power generators or must be opened by pushing a series of buttons to unlock; sometimes multiple times. There is a total of 44 actual secrets in the game (easter eggs does not classify) and is individually optained once the player enters a trigger secret brush that will play a short music sound effect letting the player aware of the achievement, display a hud hint with 'You have found a secret!' and sometimes also on walls a tiki decal will be sprayed or something else entirely depending on the type of secret. The following list contains all of the secret areas in the order they appear in game, with a description about how to access each and every one, bundled together with images of the secrets themselves and what number they are in both the whole game and the given level in general.
Docks
| Amount
|
Number
|
Location
|
Image
|
| se1_docks01 (Docks - Trapped)
|
| 1
|
1
|
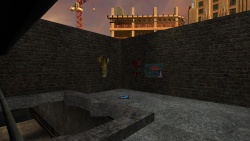
This is the first secret in the game and can be found right after talking with Garrison, where a series of grunts will attack and destroy a section of wooden floor boards with explosive barrels. From here jump down into the water below and swim all the way to the end towards where Garrison stands on top, which will reveal a dopefish in the murky waters.
|
|
| 2
|
2
|
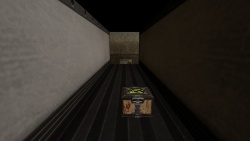
Jessica has just teached the player about the health mechanics in the game and left by squeezing through an opening in a malfunctioning door. Another door will get blown open from where the player will be on a tight industrial road and then instead of going left, go right instead to the end of a parked trailer. Open its doors and the secret will unlock, giving the player a pair of item crates and ammunition.
|
|
| 3
|
3
|
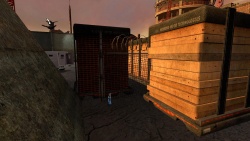
The player will exit the first warehouse after almost getting run down by a truck, entering a small courtyard. Kill every enemy in the selected area and upon doing so take and stack the bins lying around the vicinity as close as possible to the windows at the staircase. Then carefully jump on top of them and into the nearest window, triggering the secret and giving the player some health and ammunition.
|
|
| se1_docks02 (Docks - Lighthouse)
|
| 4
|
1
|
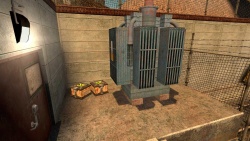
At the docks right when seeing the lighthouse for the first time, go to the left and enter the chainlink fence door by the red building. From here shoot at the generator's blue core until it breaks and then afterwards toggle the three switches by the breaker box nearby until the door opens up. Inside is a corridor with the first instance of the scattergun, ammunition and an item box down the hall, giving the player access to use of the weapon before initially intended to by the infiltration stage of the druglab.
|
|
| 5
|
2
|
After exiting by the door of the second dockhouse right before entering the lighthouse, jump down into the water at any place and swim in between the two buildings. This will reveal a hidden dopefish, looking the player dead in the eyes with its grin.
|
|
| 6
|
3
|
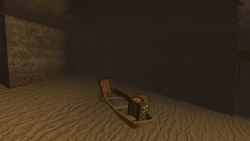
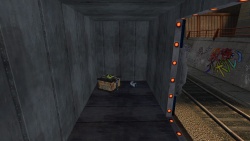
While still in the same pool of water by the dopefish in the previous secret, begin to swim towards the net at the end of the pier at the side of the concrete flood wall. At the bottom of the water there will be a sunken row boat with two item boxes inside.
|
|
| se1_docks03 (Docks - Generators)
|
| 7
|
1
|
|
|
| 8
|
2
|
|
|
| se1_docks04 (Docks - Trainyard)
|
| 9
|
1
|
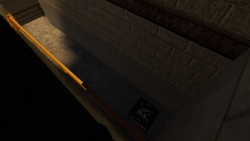
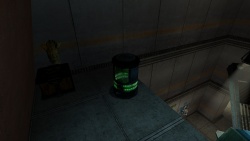
The player will enter a large open area with a high bridge of pipes and a crane nearby, right after scaring away the pigeons. Here go back around the left side of the building follwing the railing while trying not to fall into the body of water, which after a second left turn will yield an item box, stuffed into the dark corner all by itself.
|
|
| 10
|
2
|
|
|
| 11
|
3
|
|
|
| 12
|
4
|
|
|
| 13
|
5
|
|
|
| 14
|
6
|
|
|
Druglab
| Amount
|
Number
|
Location
|
Image
|
| se1_u4lab01 (U4 Lab - Infiltration)
|
| 15
|
1
|
|
|
| 16
|
2
|
|
|
| se1_u4lab02 (U4 Lab - Laboratory)
|
| 17
|
1
|
|
|
| 18
|
2
|
|
|
| 19
|
3
|
|
|
| se1_u4lab03 (U4 Lab - Catastrophe)
|
| 20
|
1
|
|
|
| se1_u4lab04 (U4 Lab - Hunted)
|
| 21
|
1
|
|
|
| 22
|
2
|
|
|
| 23
|
3
|
|
|
Pit
| Amount
|
Number
|
Location
|
Image
|
| se1_pit01 (Pursuit - Descent)
|
| 24
|
1
|
|
|
| 25
|
2
|
|
|
| se1_pit02 (Pursuit - Emergence)
|
| 26
|
1
|
|
|
| 27
|
2
|
|
|
Highrise
| Amount
|
Number
|
Location
|
Image
|
| se1_highrise01 (Supremacy Tower - Entry)
|
| 28
|
1
|
|
|
| 29
|
2
|
|
|
| 30
|
3
|
|
|
| 31
|
4
|
|
|
| 32
|
5
|
|
|
| se1_highrise02 (Supremacy Tower - Search)
|
| 33
|
1
|
|
|
| 34
|
2
|
|
|
| 35
|
3
|
|
|
| 36
|
4
|
|
|
| se1_highrise03 (Supremacy Tower - NOC)
|
| 37
|
1
|
|
|
| 38
|
2
|
|
|
| 39
|
3
|
|
|
| 40
|
4
|
|
|
| 41
|
5
|
|
|
Finale
| Amount
|
Number
|
Location
|
Image
|
| se1_finale01 (Showdown - Finale)
|
| 42
|
1
|
|
|
| 43
|
2
|
|
|
| 44
|
3
|
|
|
