Getting Started: Difference between revisions
Jump to navigation
Jump to search
Angry Beaver (talk | contribs) m (Restored original article despite being screwed with) |
m (tidy) |
||
| Line 21: | Line 21: | ||
{{NavBar|:Category:Level Design|Your First Map|View Navigation}} | {{NavBar|:Category:Level Design|Your First Map|View Navigation}} | ||
{{otherlang:en}} {{otherlang:en:ru| | {{otherlang:en}} | ||
{{otherlang:en:de|Getting_Started:de}}, | |||
{{otherlang:en:ru|Getting_Started:ru}} | |||
Revision as of 13:11, 18 January 2008
The first thing to do is launch Hammer, the level editor for Source:
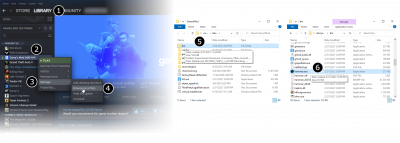
- Double-click Source SDK in the Steam Play Games menu. (If Source SDK doesn't show up in the Play Games menu, go to the View - Tools menu and install it there.)
- Select the game you wish to map for from the Current Game from the dropdown list in the Source SDK Launcher.
- Now double-click Hammer Editor to launch it.
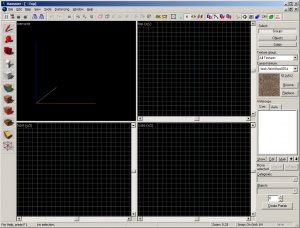
The Hammer editor should now launch, and start with a blank window, ready to use.
Pick New from the File menu to create an empty map.
An empty, blank map is created, and you are ready to start building.
Template:Otherlang:en Template:Otherlang:en:de, Template:Otherlang:en:ru


